home → TEMPLATES → Storyboard
Music Video Storyboard Template
Plan your video with precision
A music video storyboard template is a crucial part of pre-production that helps plan and visualize your storyboard for music video projects. Whether you’re creating a film storyboard for a performance, narrative, or experimental music video, refining your visuals in advance saves time and money.
In this step-by-step guide, we will utilize StudioBinder’s storyboard creator to demonstrate each stage of the process. While StudioBinder is our tool of choice, the steps outlined are universally applicable—whether you're storyboarding on digital software or simply sketching with paper and pen.
How to create a storyboard for music video production
1. Decide your presentation format
Step 1
1. Choose the right storyboard template
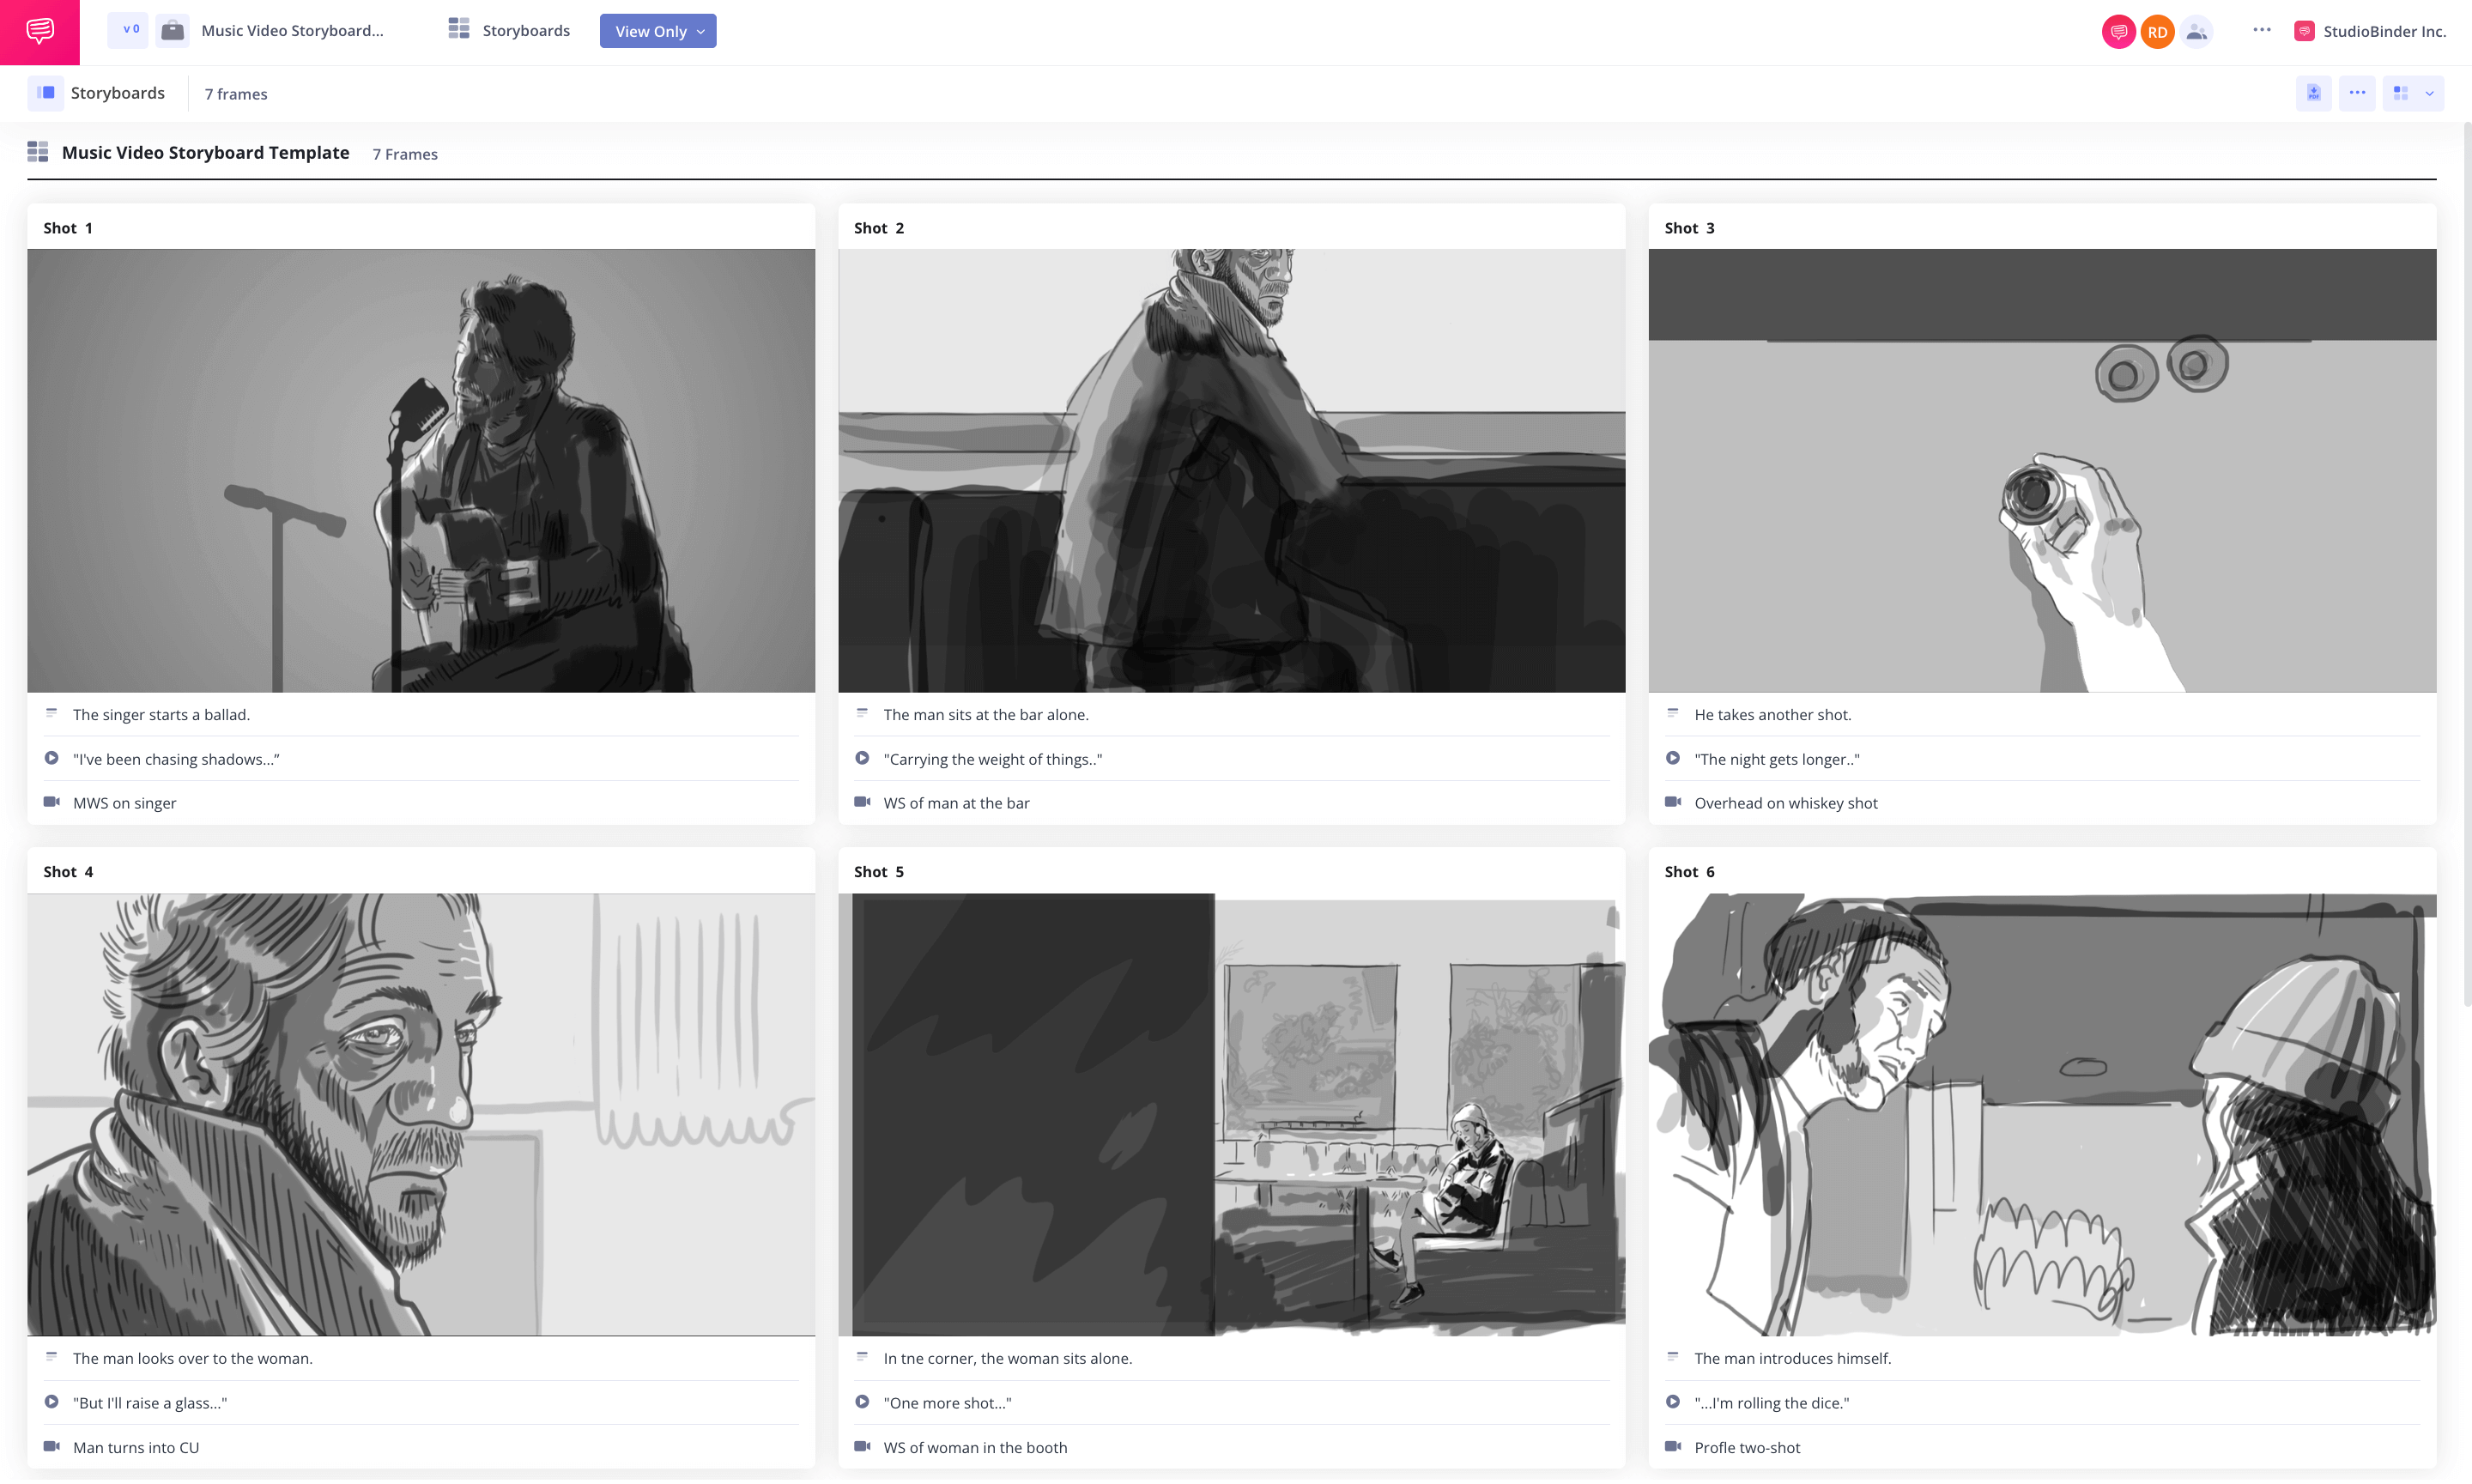
First, decide on the best storyboard template for your storyboard for music video. Whether using storyboarding software or drawing stick figures, consider how many panels per page will clearly define each shot or scene.
If you're using storyboard software, take advantage of features that allow you to toggle between different view types and adjust shot specifications, such as aspect ratios, to see what best fits your project.
How to do this in StudioBinder
- Switch between view types (from 1 - 4 columns).
- Hide or reveal shot specs in panels (scene number, description, audio, video).
- Automatically fit your image to the aspect ratio.
Step 2
2. Analyze the script for your storyboard
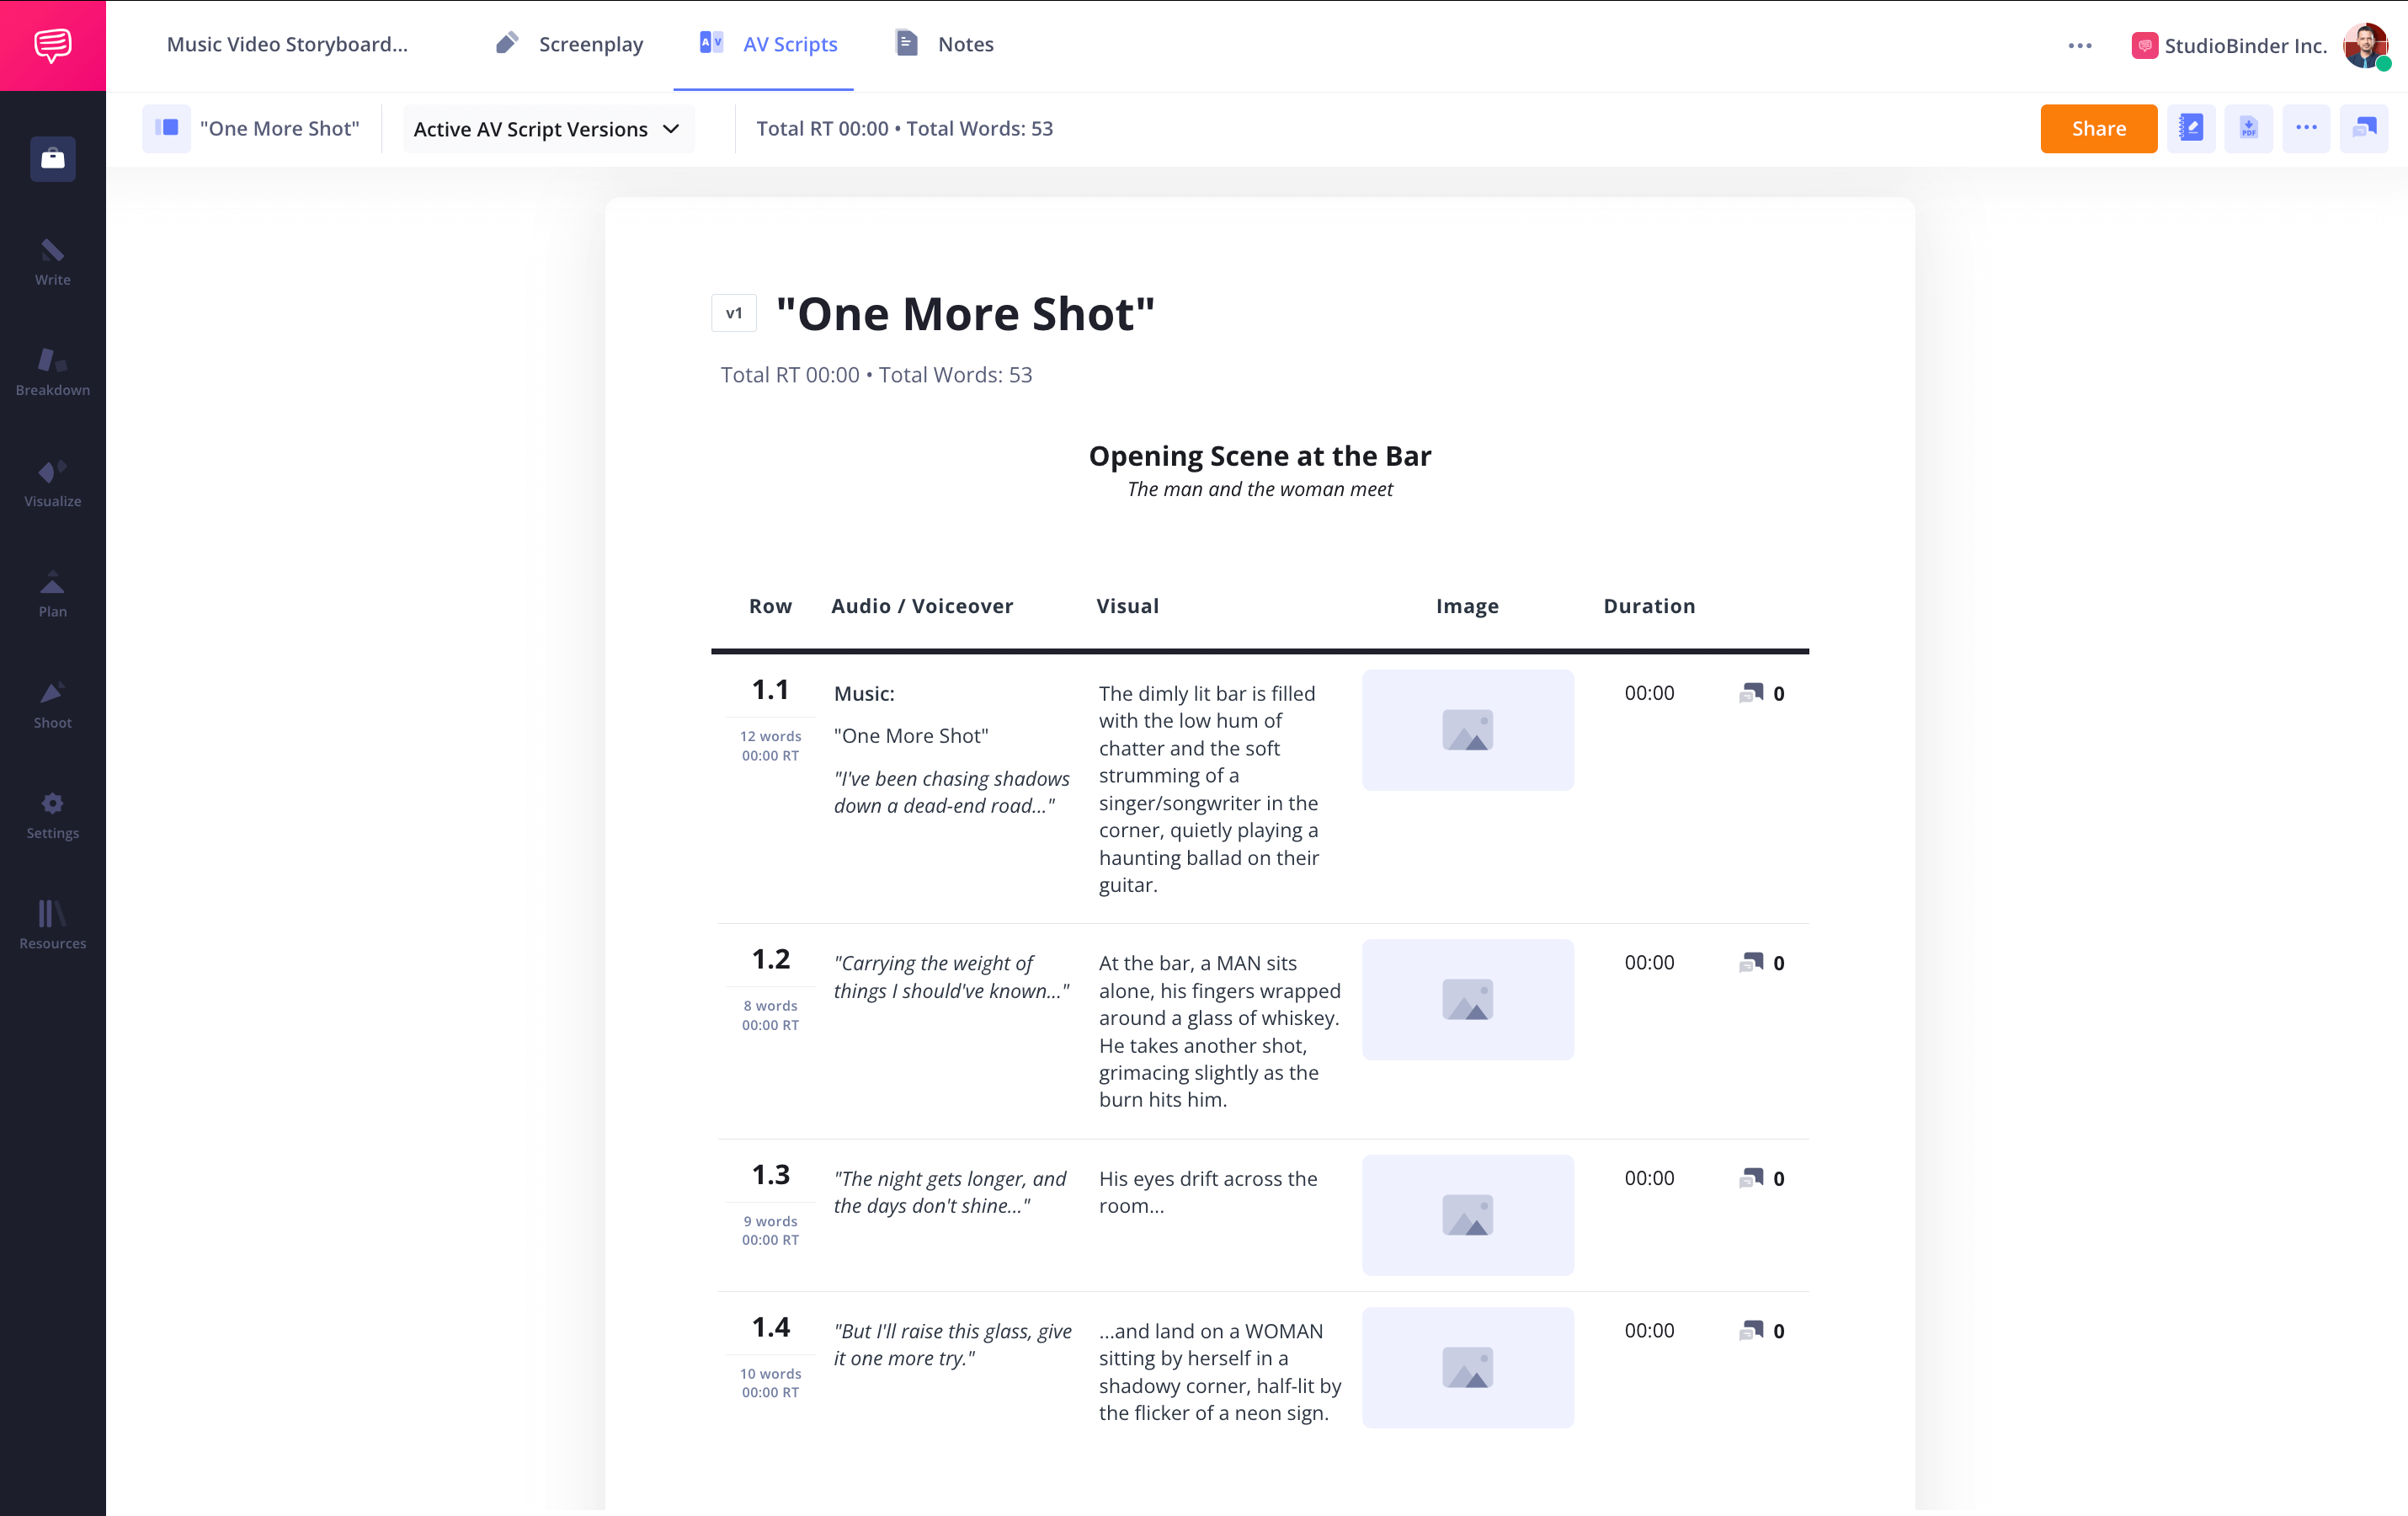
Start by analyzing your pre-production materials, including your script, treatment, or song lyrics. This step aligns visuals with camera movements, special effects, and overall film storyboard design.
Visualize this in your head as it would play out on screen. Make notes on how you pre-visualize the scenes, imagining the types of shots—close-ups, wide shots, or dynamic camera movements—that will best capture the essence of the music and the concept.

How to do this in StudioBinder
- Import a script or treatment to automatically turn scenes into blank storyboards.
- Tag each line to create a new panel in the storyboard.
Step 3
3. Create and add images to storyboard
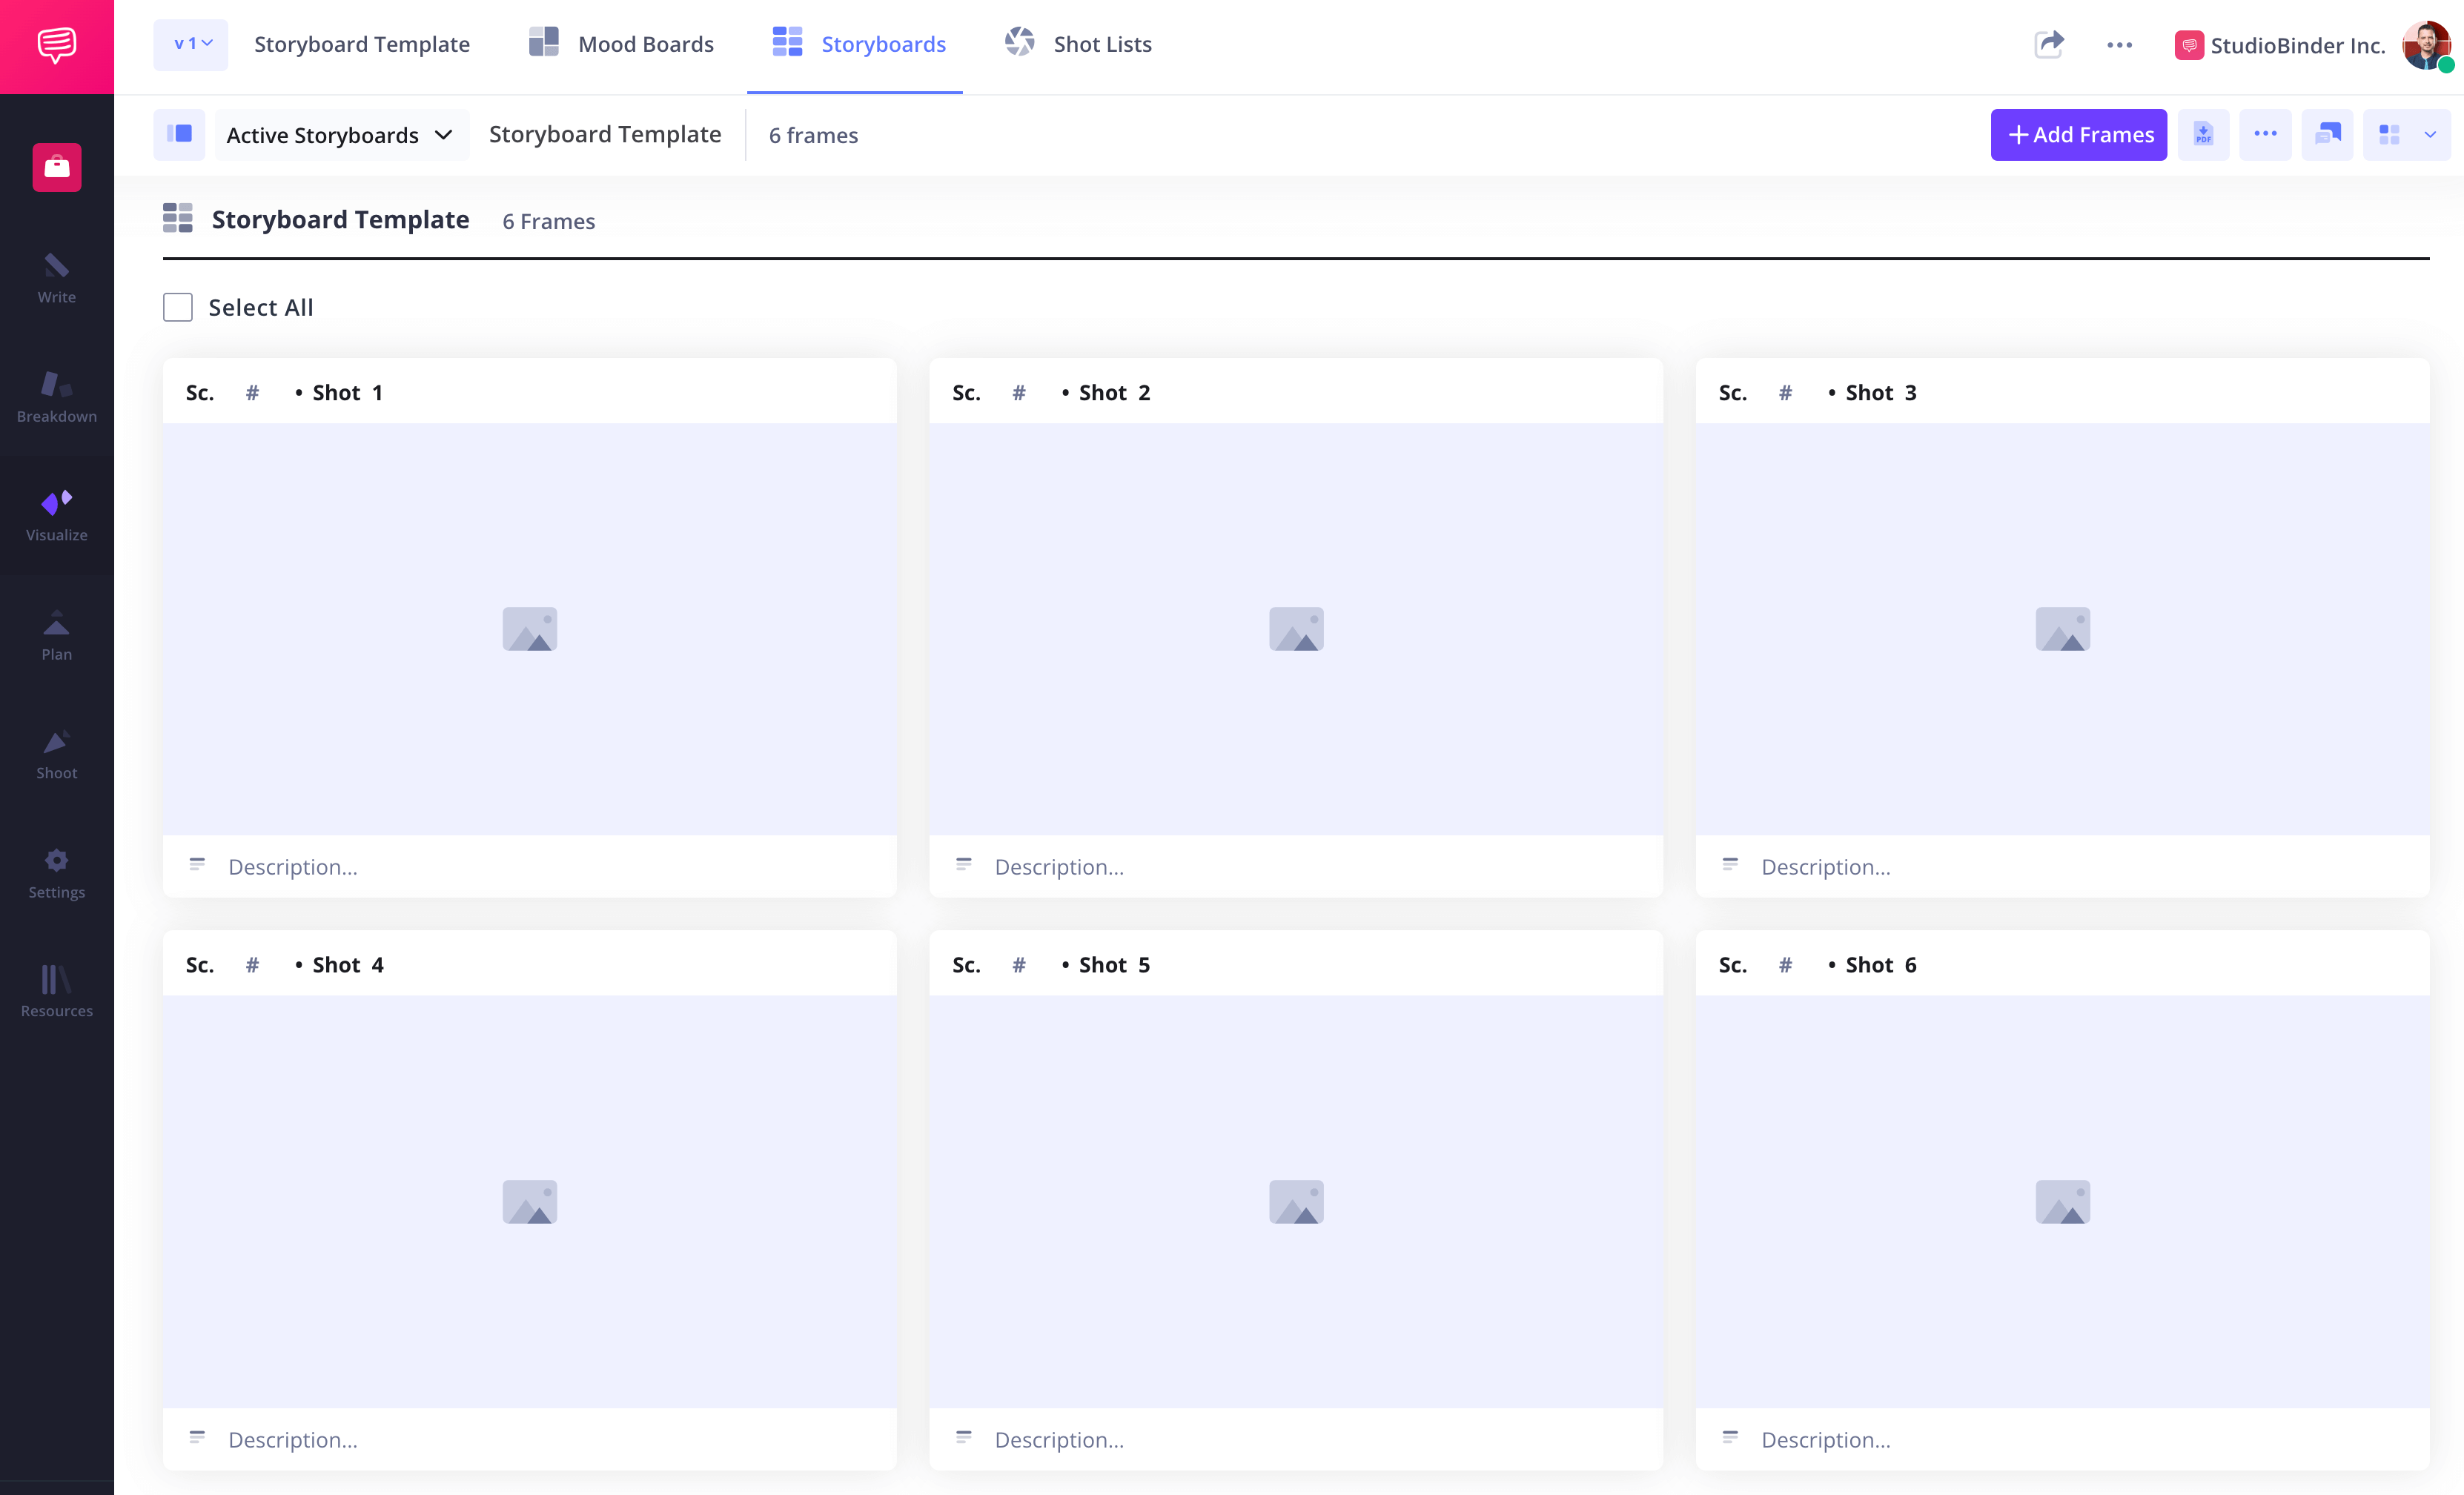
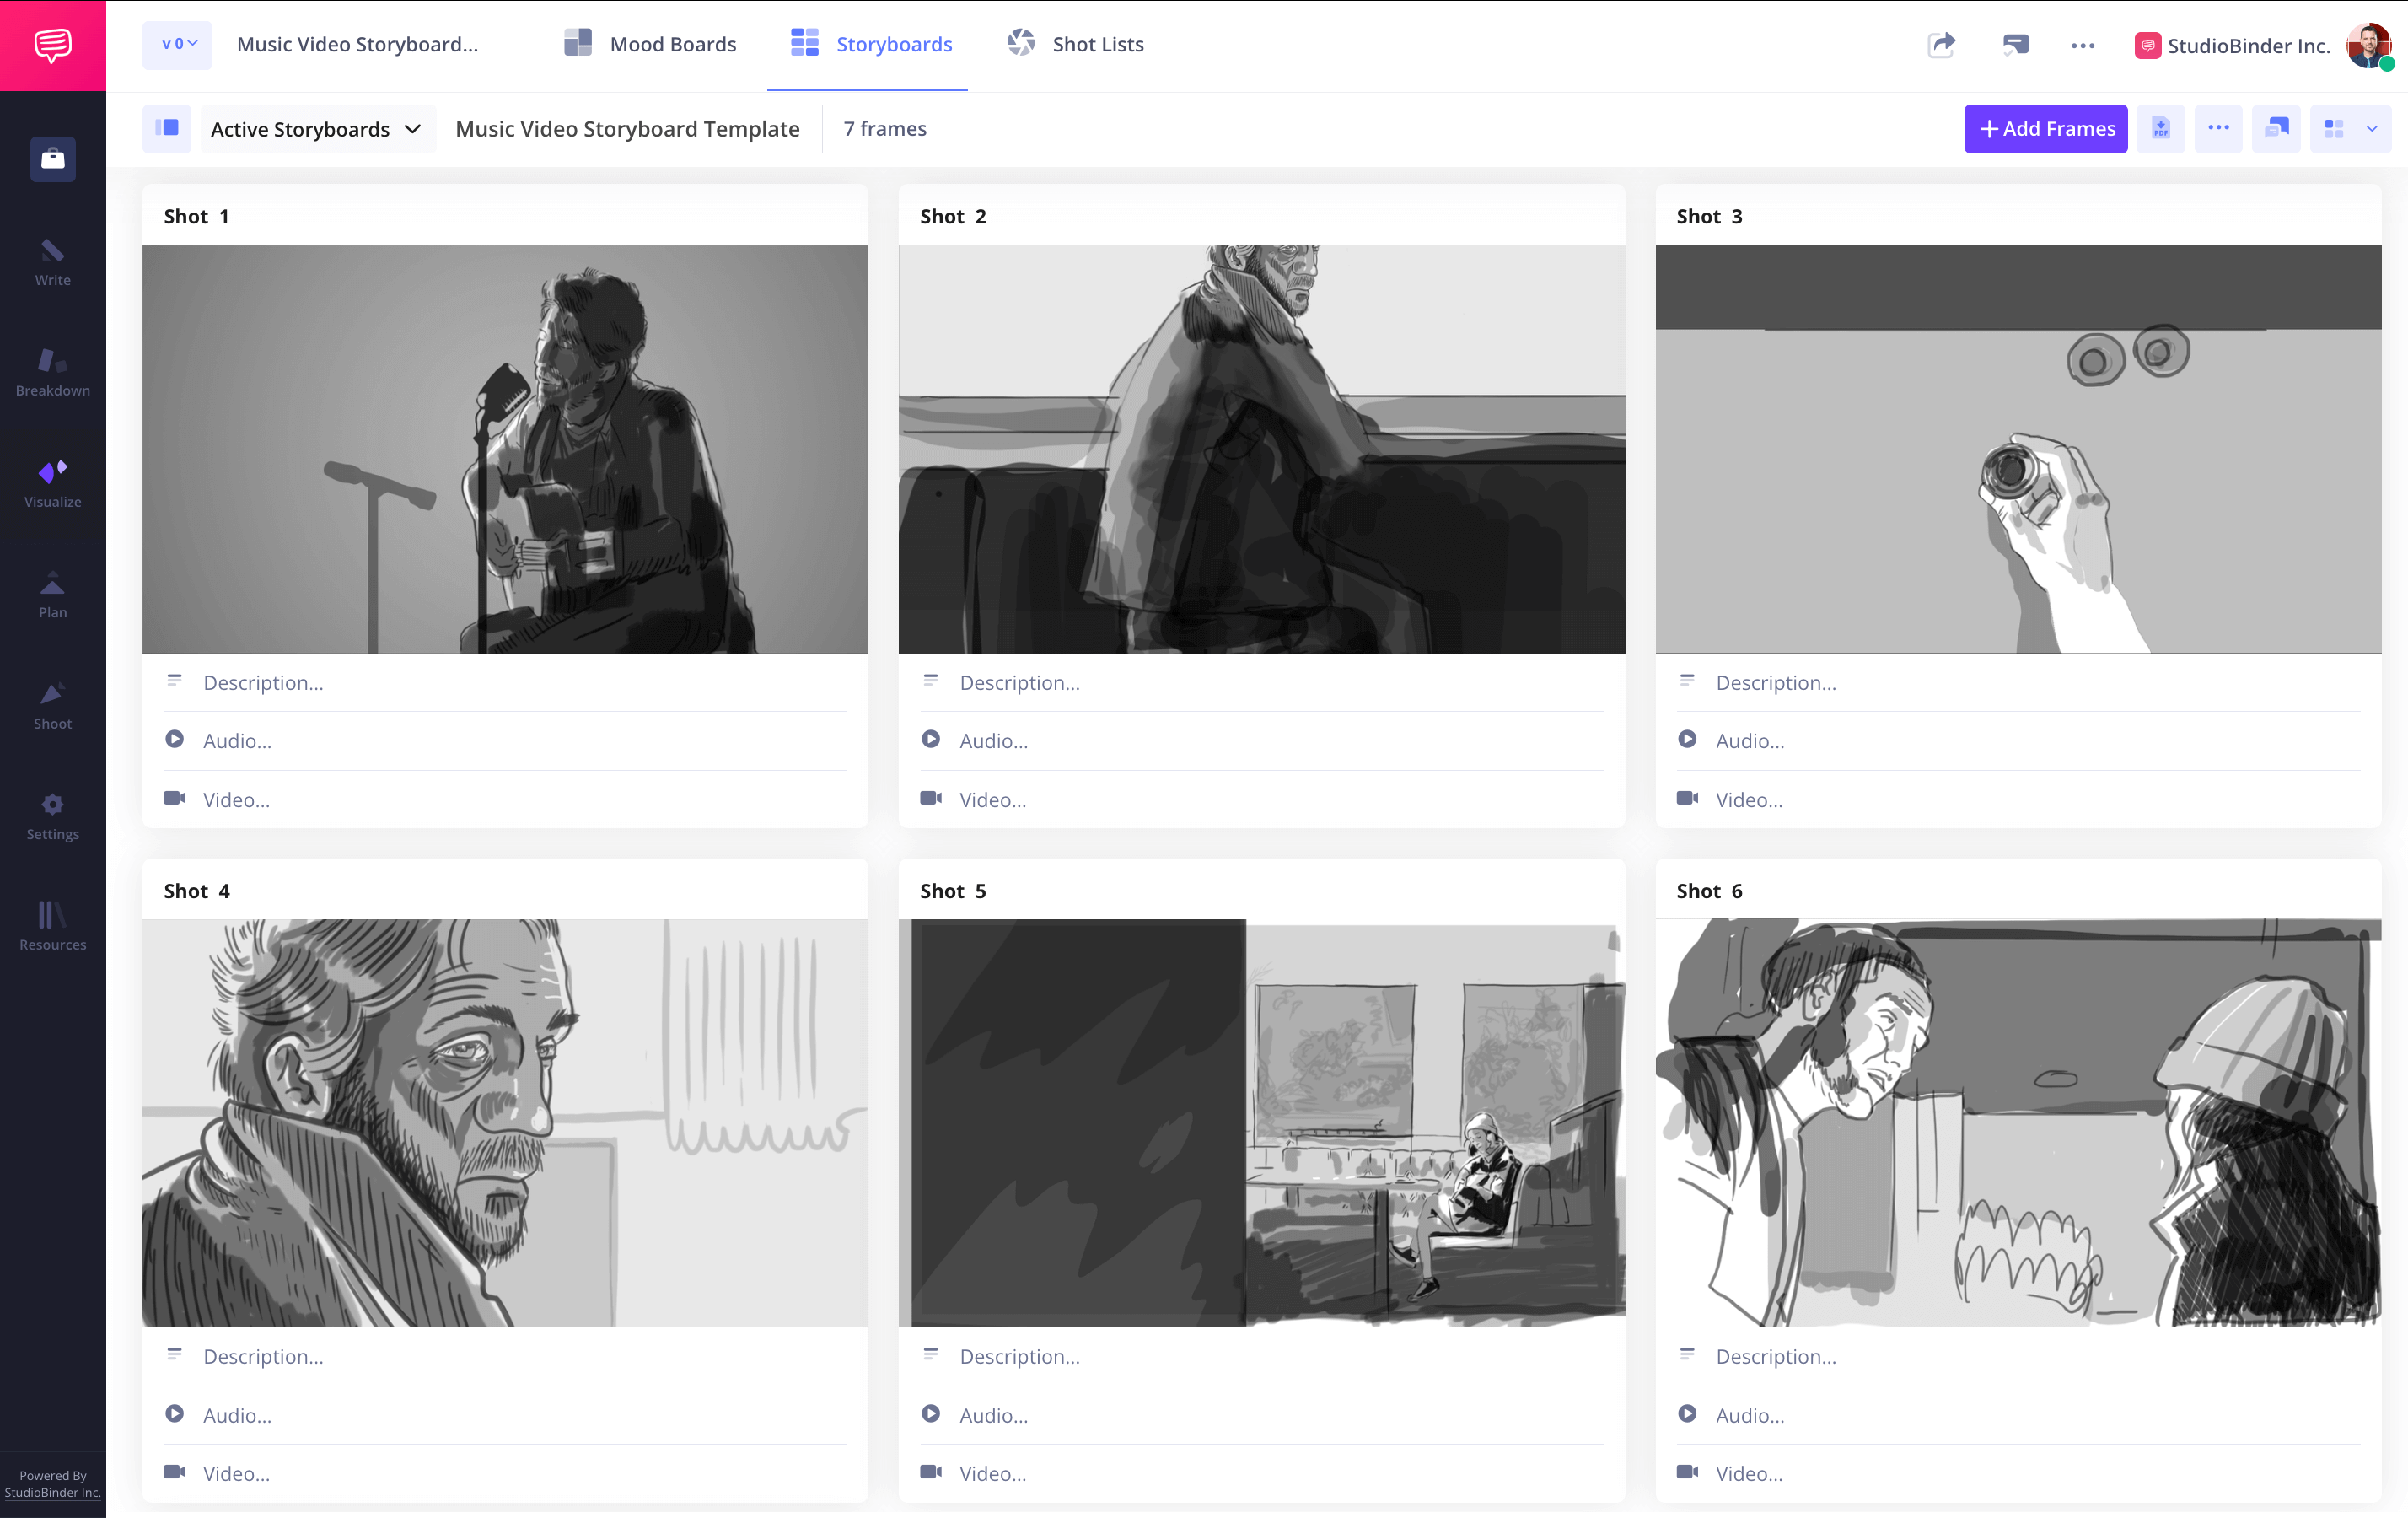
Gather images or create a storyboard using storyboarding software. You can upload reference photos, add images, or sketch stick figures to map out the shot or scene sequence accurately.
Make sure the images are arranged chronologically as they do in the music video to accurately map out the progression of shots.

How to do this in StudioBinder
- Upload images from anywhere, including previous projects.
- Use your webcam to capture hand-drawn frames.
- Reorder images by simply clicking and dragging frames.
Step 4
4. Include text and annotations
Contextualize your music video storyboard template by including camera angles, VFX, and camera movements. Adding annotations clarifies each shot or scene, ensuring your film storyboard captures your vision.
Use arrows to indicate movement within the frame, whether it involves characters or the camera itself.
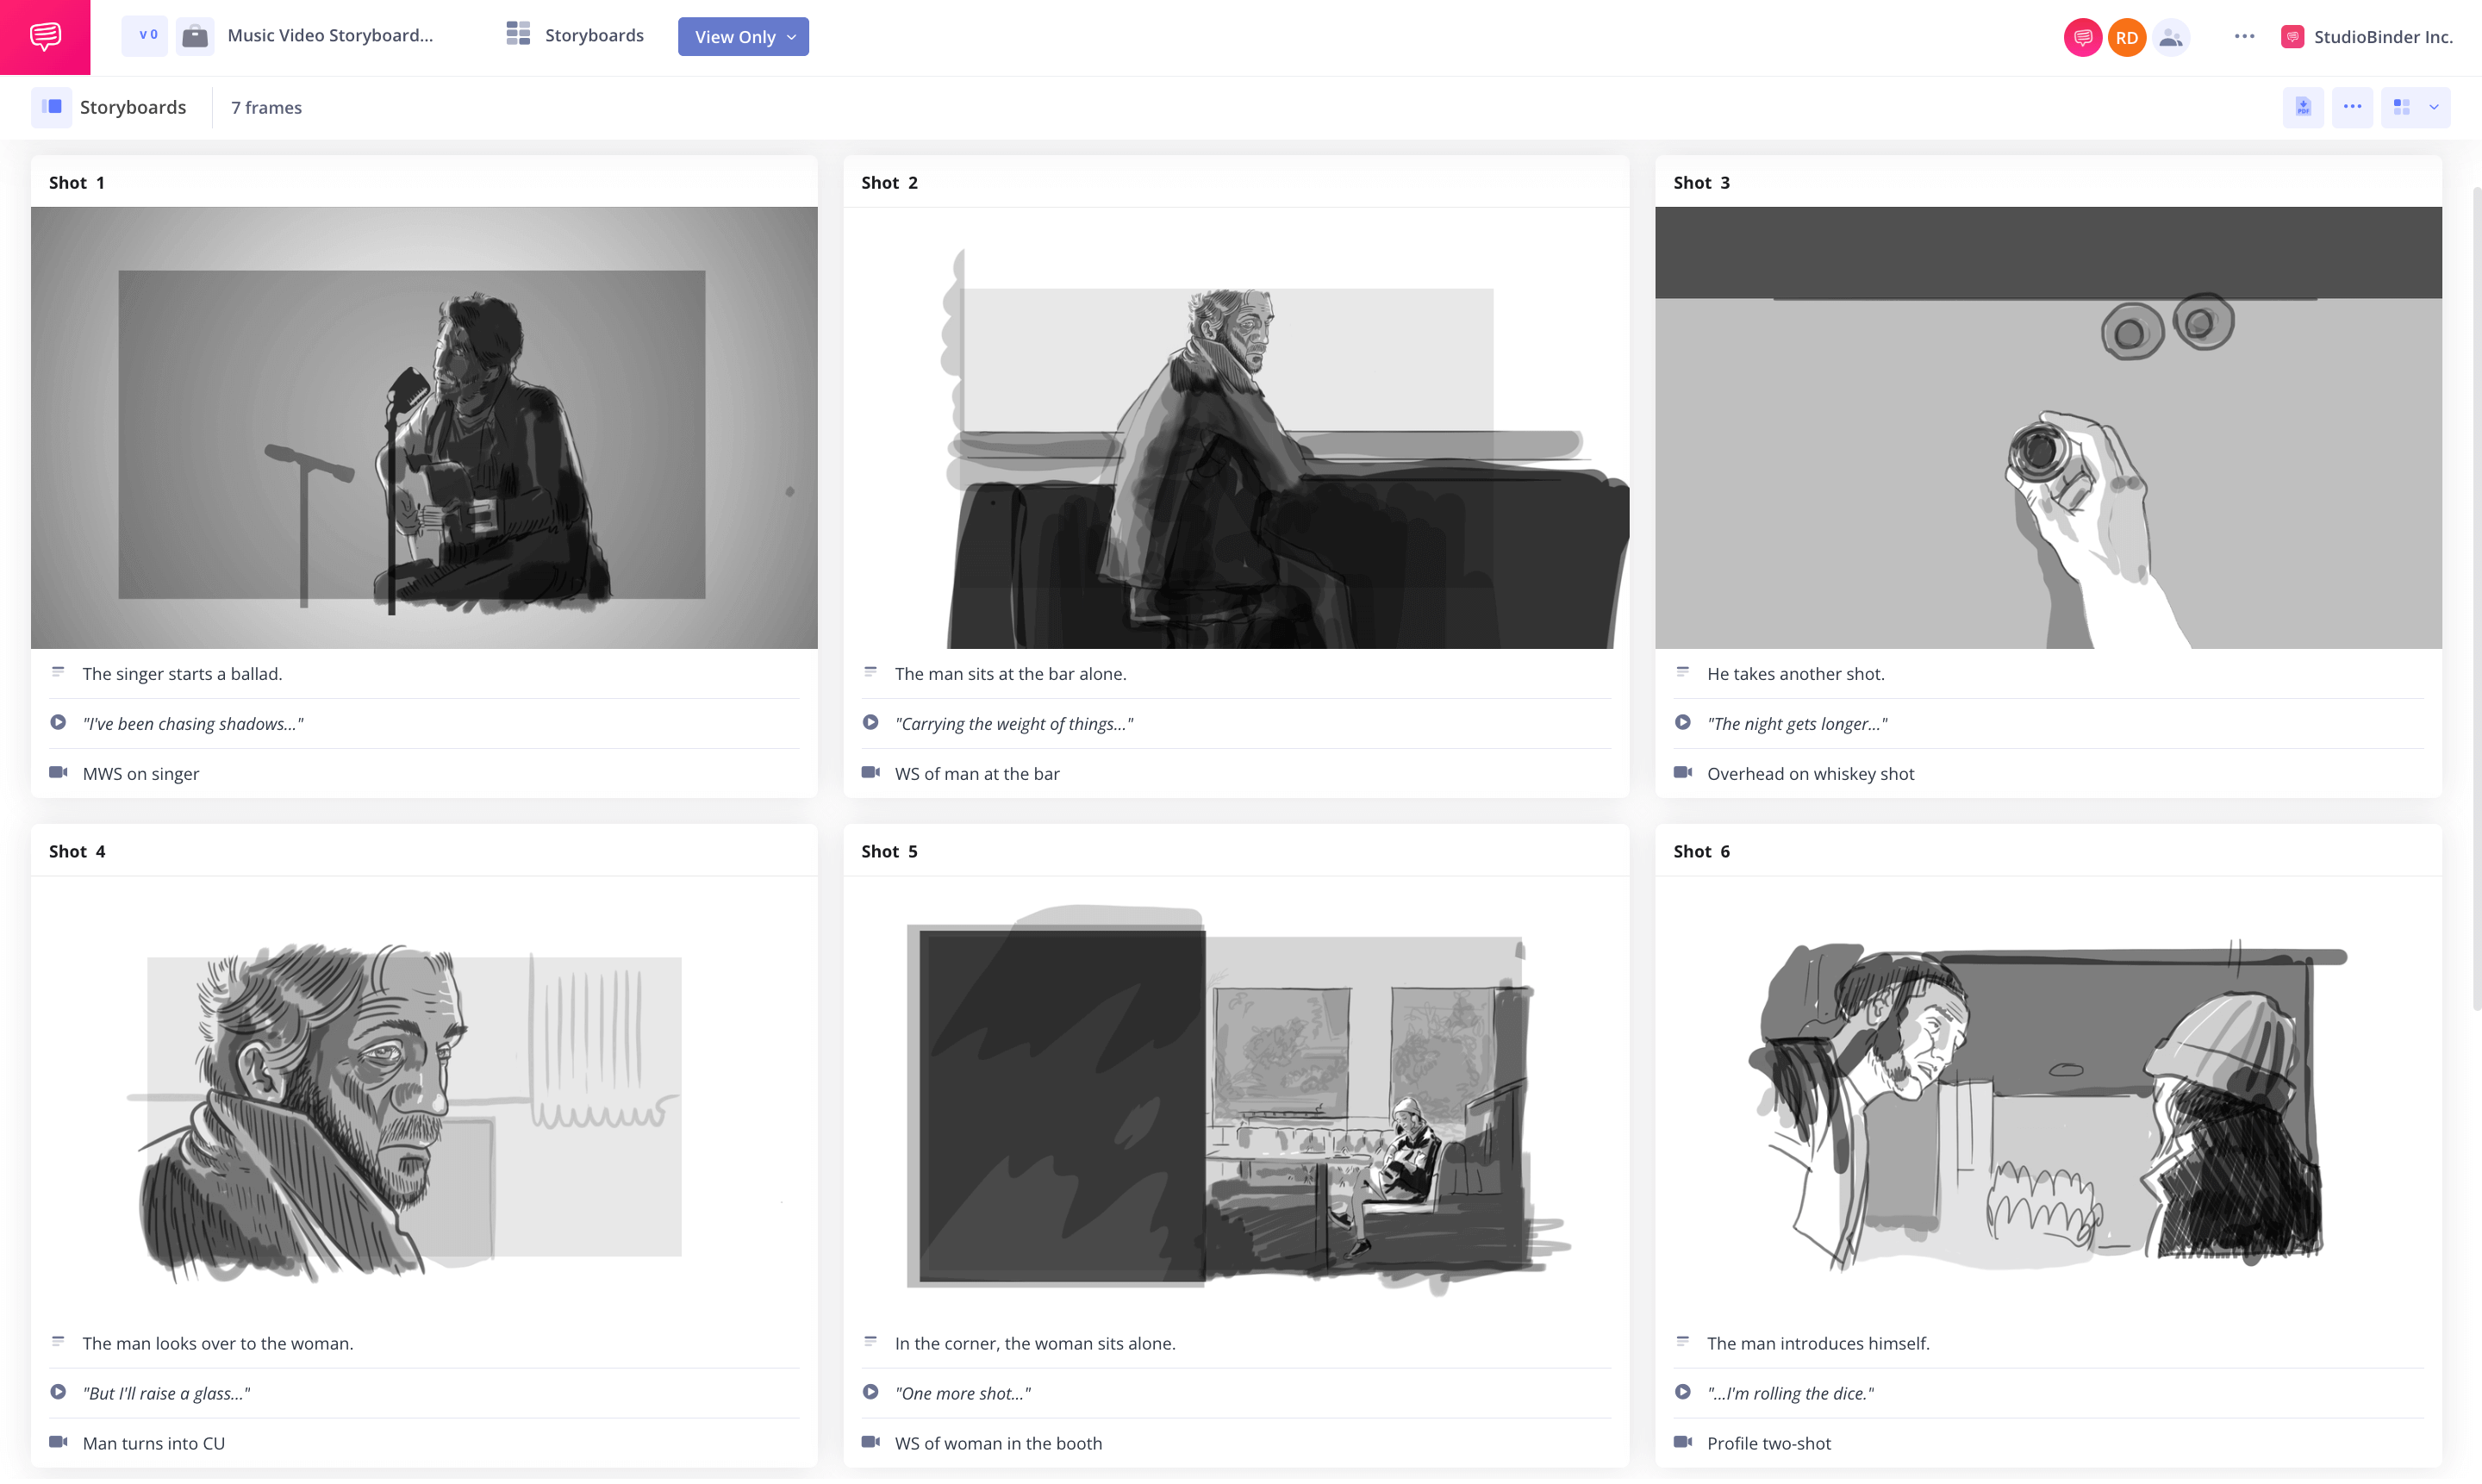

How to do this in StudioBinder
- Add scene descriptions, audio information like dialogue, and video information explaining the visuals like shot types and sizes.
- Create arrows, text, and shapes to clarify the direction.
Step 5
5. Share and collaborate on storyboards
Once your storyboard for music video is complete, share and collaborate with your team, including your storyboard artist, director, and cinematographer. Getting feedback helps refine your video project before filming.
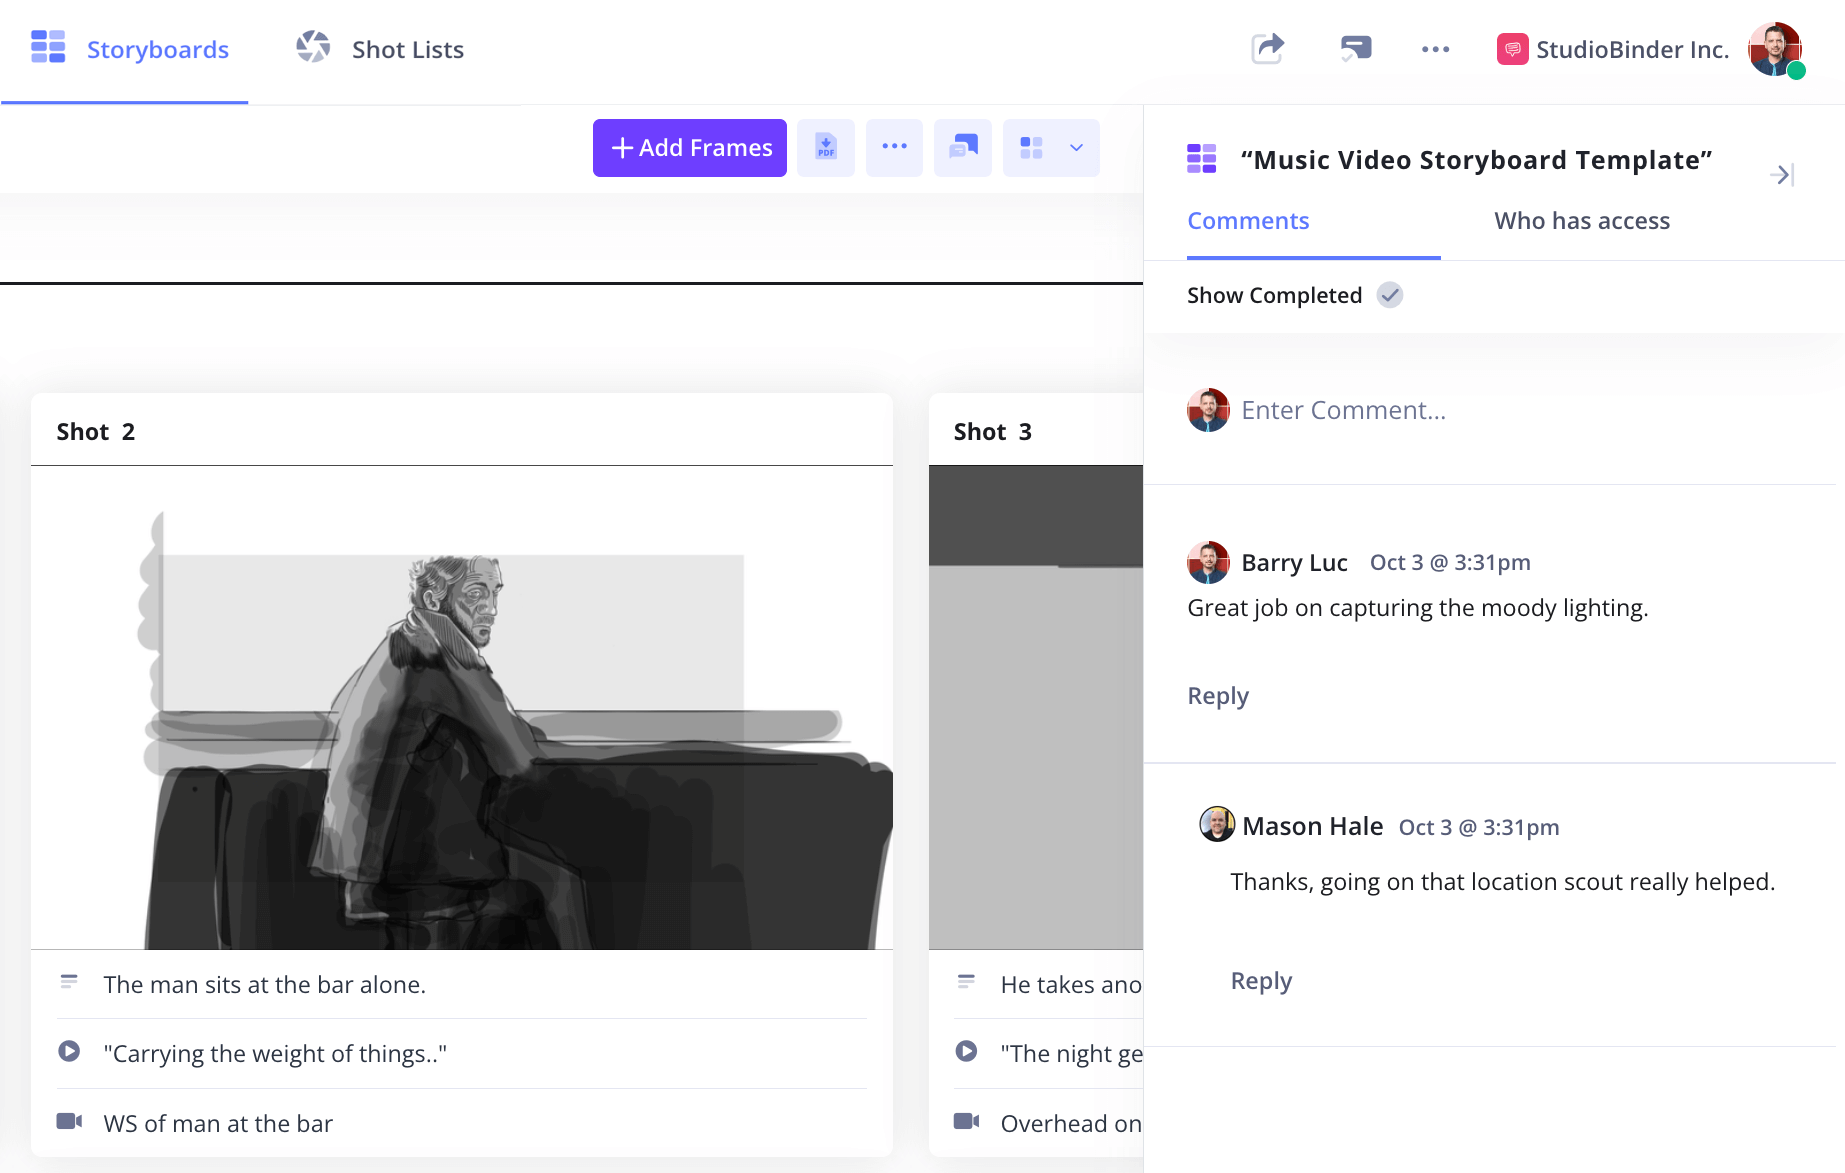

How to do this in StudioBinder
- Share with a view-only link, and invite collaborators to work on this specific feature/page (not the entire project).
- Collaborate with clients and team members with the comment feature.
Step 6
6. Print your storyboard for filming
Before filming, print your music video storyboard template for on-set reference. A well-prepared storyboard provides clarity, saves time, and ensures smoother execution of your video project.
When printing, consider customizable options like adding watermarks, headers, or footers for a professional touch. Format the storyboard for easy navigation during the shoot, such as using larger panels or organizing it by day-to-day schedules.
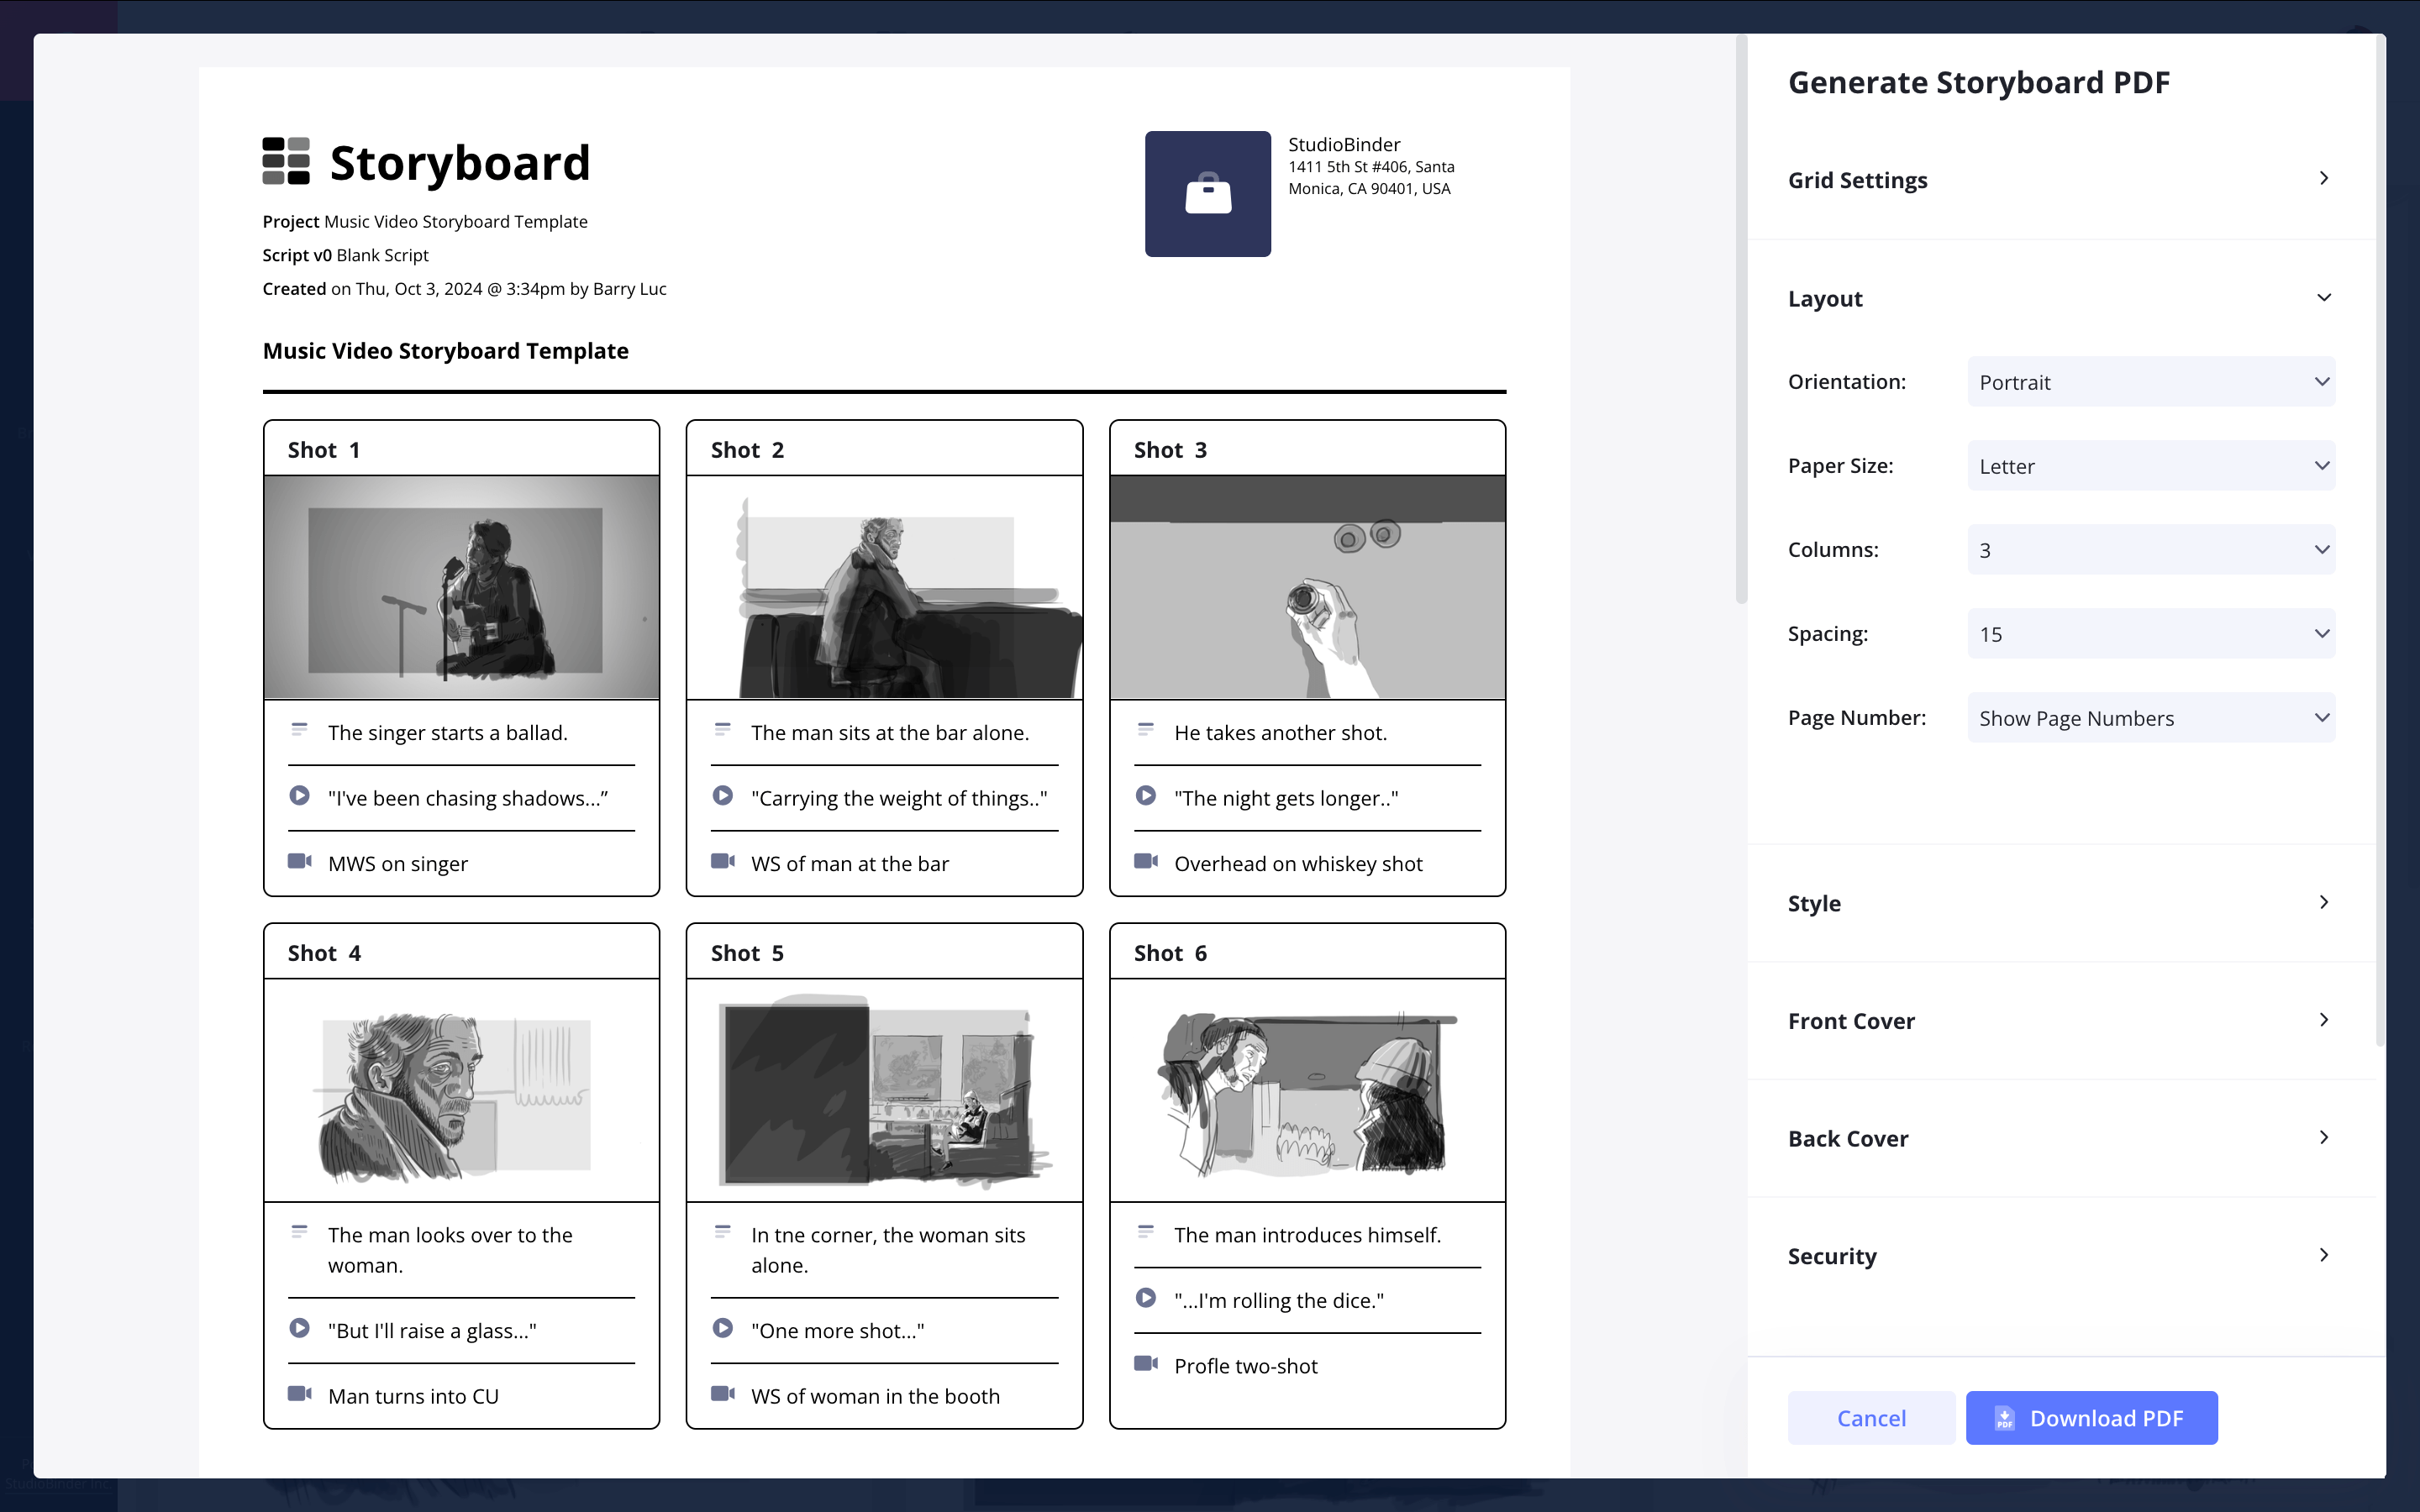

How to do this in StudioBinder
- Generate customizable storyboard PDFs for a professional presentation with added security.
Conclusion
Start your storyboard today
A well-planned storyboard for music video production streamlines pre-production, saves time and money, and ensures an efficient workflow. Use a music video storyboard template to bring your vision to life.
This music video storyboard template is one of many storyboard templates you can use. Browse other storyboard templates on our Templates page.
