home → TEMPLATES → Storyboard
Explainer Video Storyboard Template
Organize your explainer video
In today’s digital landscape, explainer videos are essential for simplifying complex information in an engaging way. A well-structured explainer video storyboard template ensures clarity, consistency, and a streamlined production process.
This guide will walk you through the process of creating a storyboard using StudioBinder’s storyboard creator. These steps apply whether you’re using a digital tool or traditional paper-based storyboarding.
Steps to create an explainer video storyboard
1. Decide your presentation format
2. Analyze the explainer video script
3. Create or find images for video scenes
4. Add descriptions and annotations
Step 1
1. Decide your presentation format
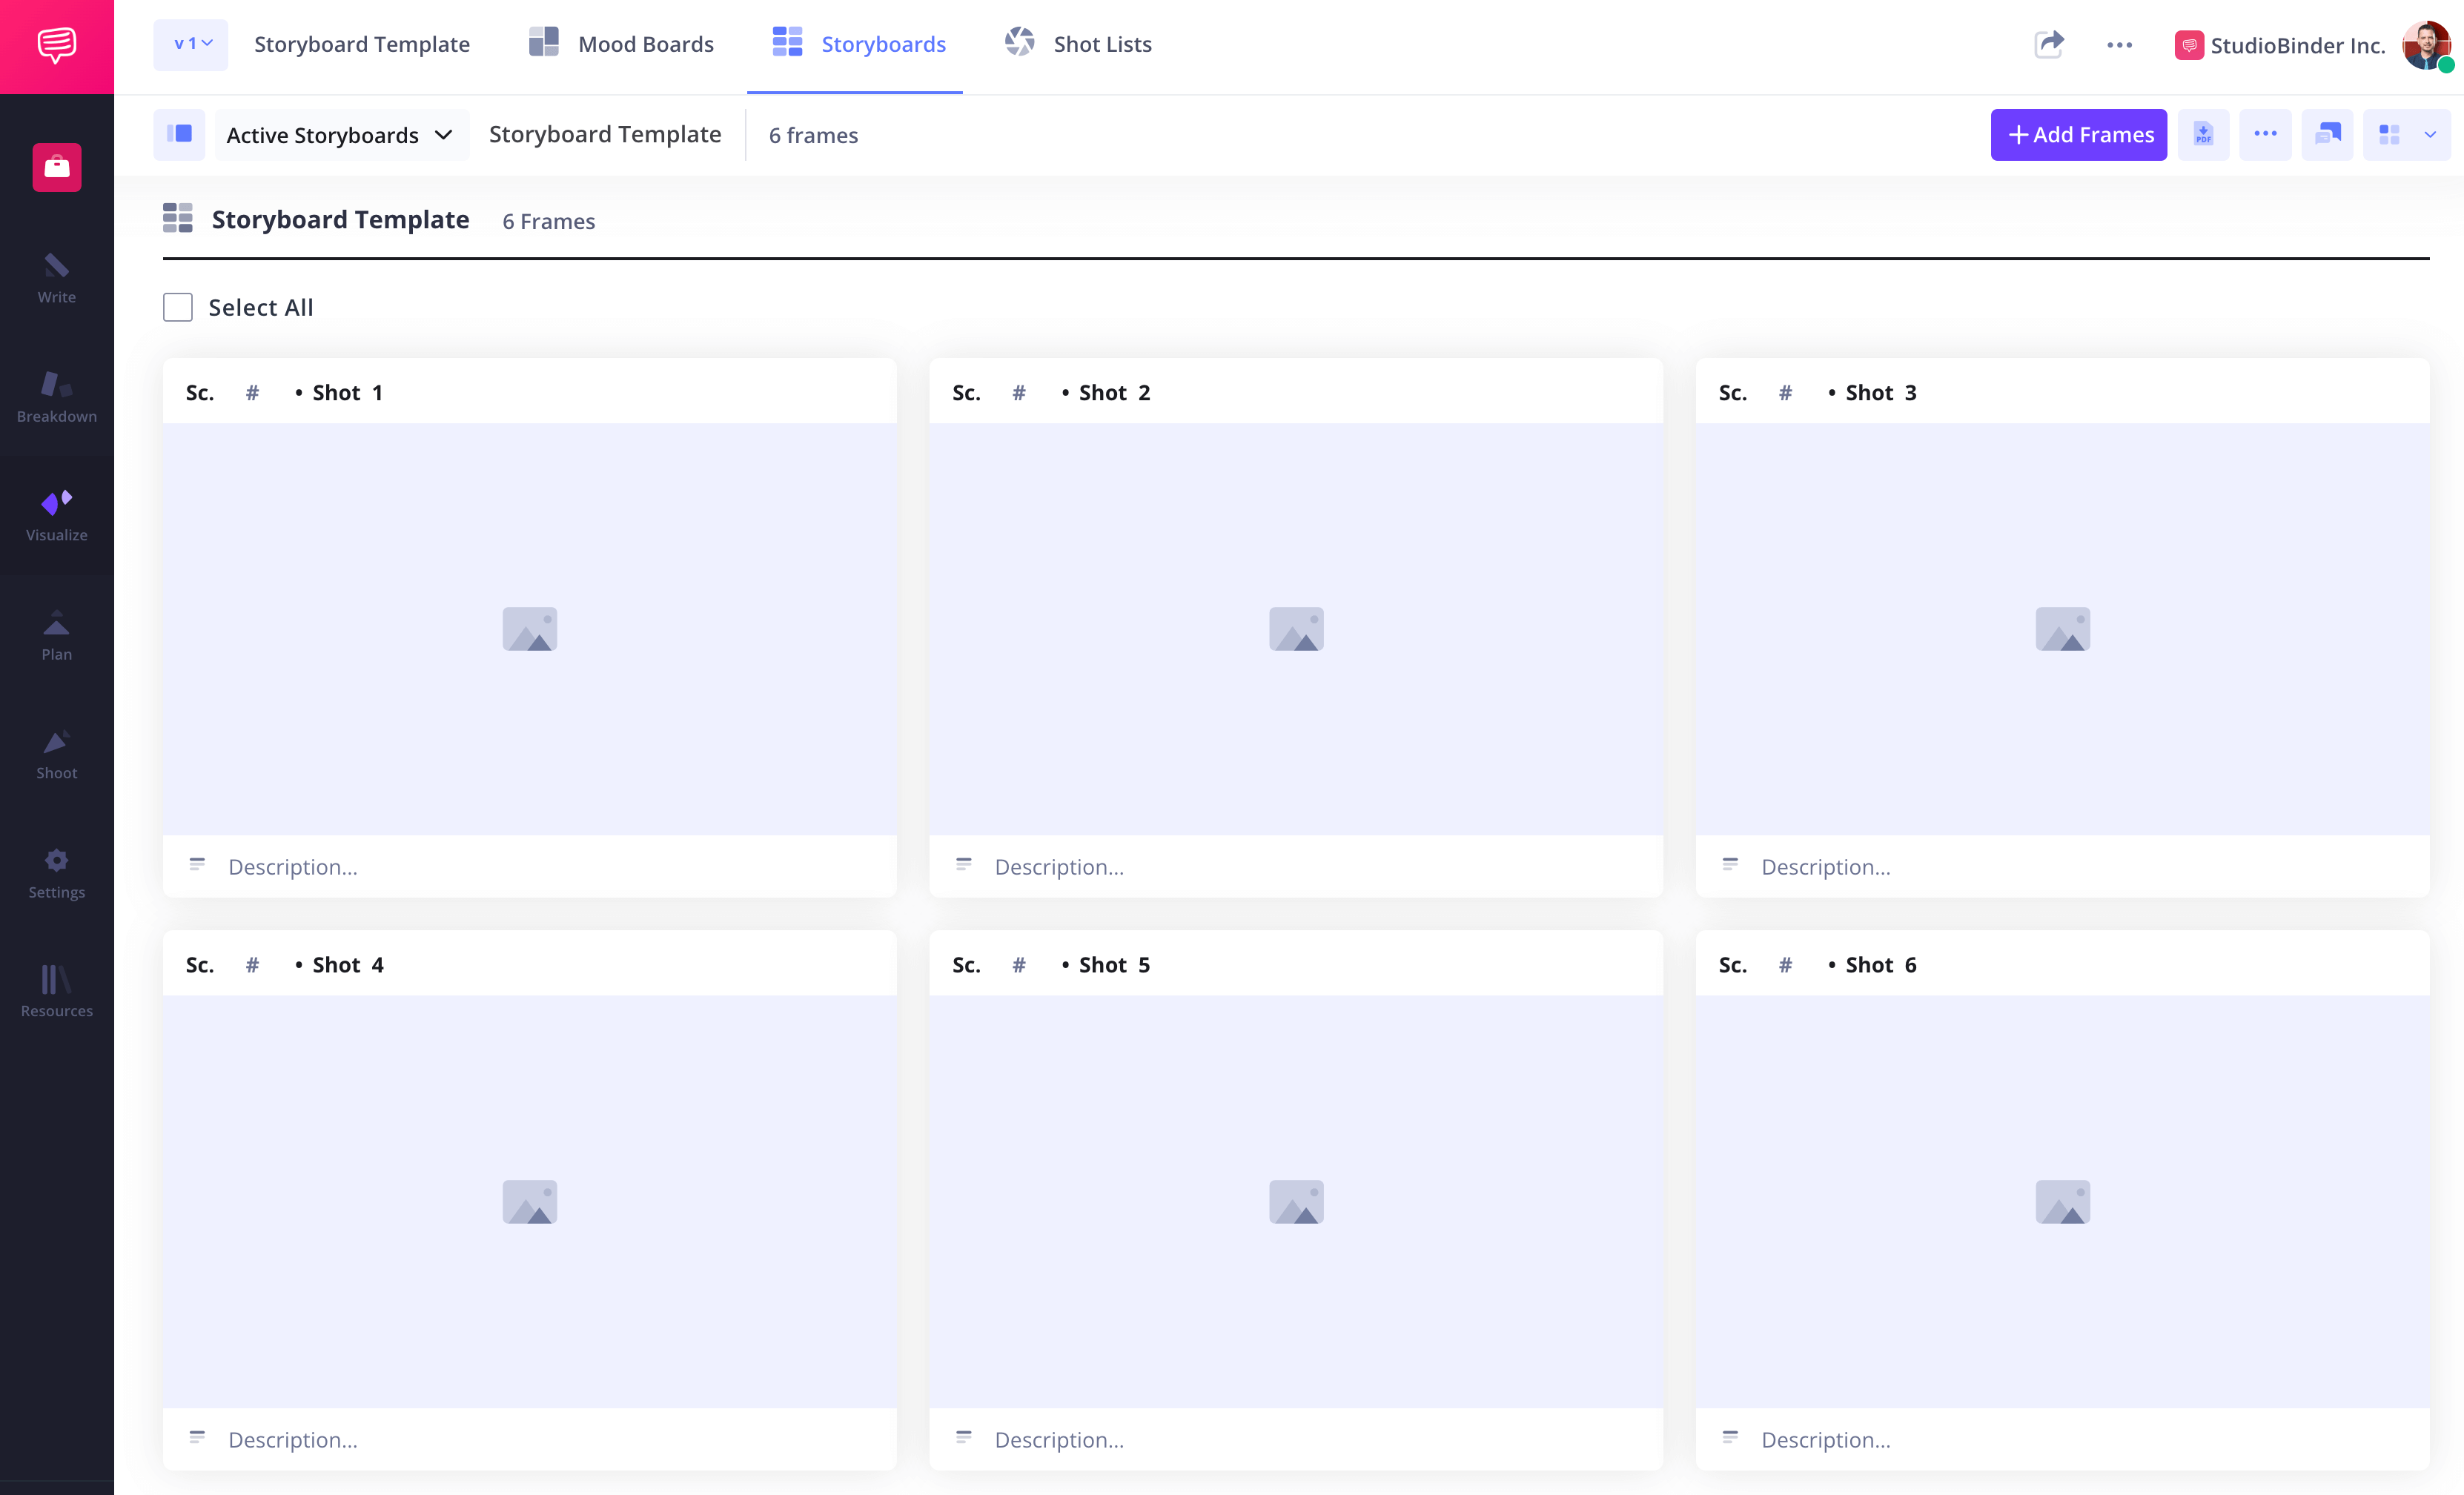
Choosing the right format is crucial when creating a video storyboard template. Consider how many panels you need per page and opt for visuals that focus on the core message without distractions.
How to do this in StudioBinder
- Switch between 1–4 column view types.
- Hide or reveal shot specs (scene number, description, audio, video).
- Fit the image to the aspect ratio automatically.
Step 2
2. Analyze the explainer video script
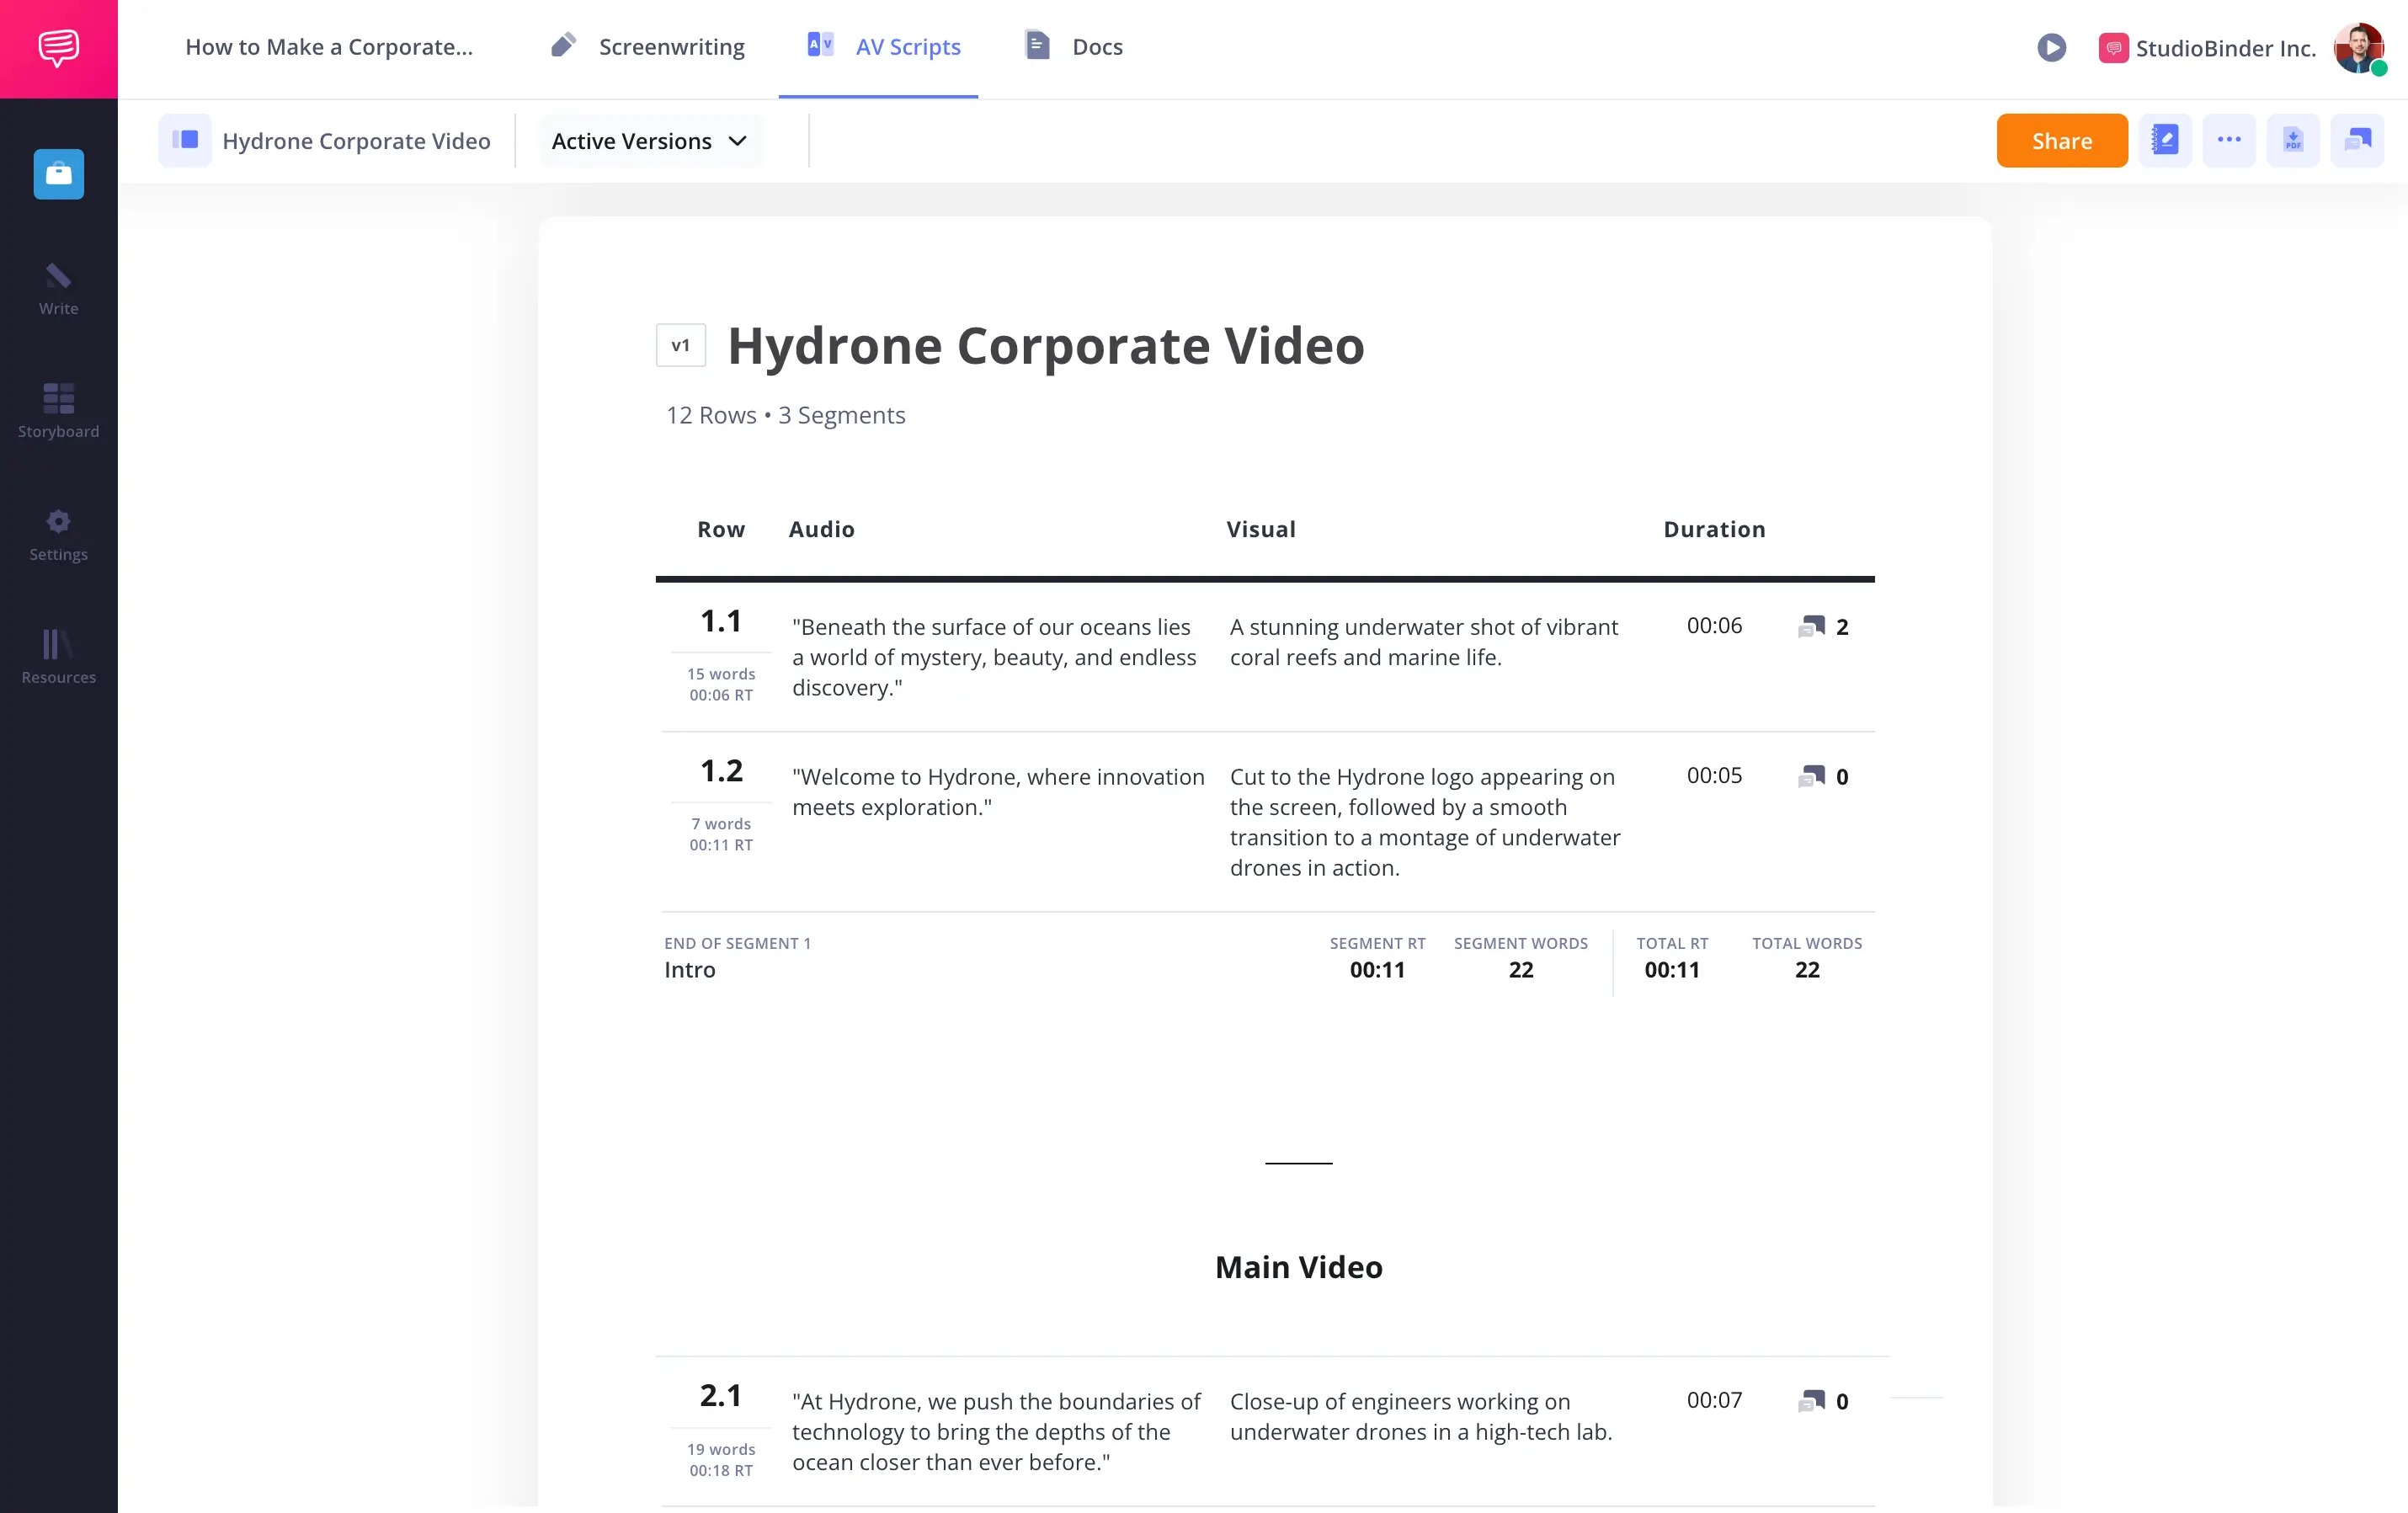
Before designing your animated explainer video storyboard, read through the explainer video script to identify key moments. Highlight important visuals, product features, or pain points to ensure a clear message.

How to do this in StudioBinder
- Import your script or treatment to auto-generate blank storyboard panels.
- Tag each script line to create corresponding panels.
Step 3
3. Create or find images for scenes
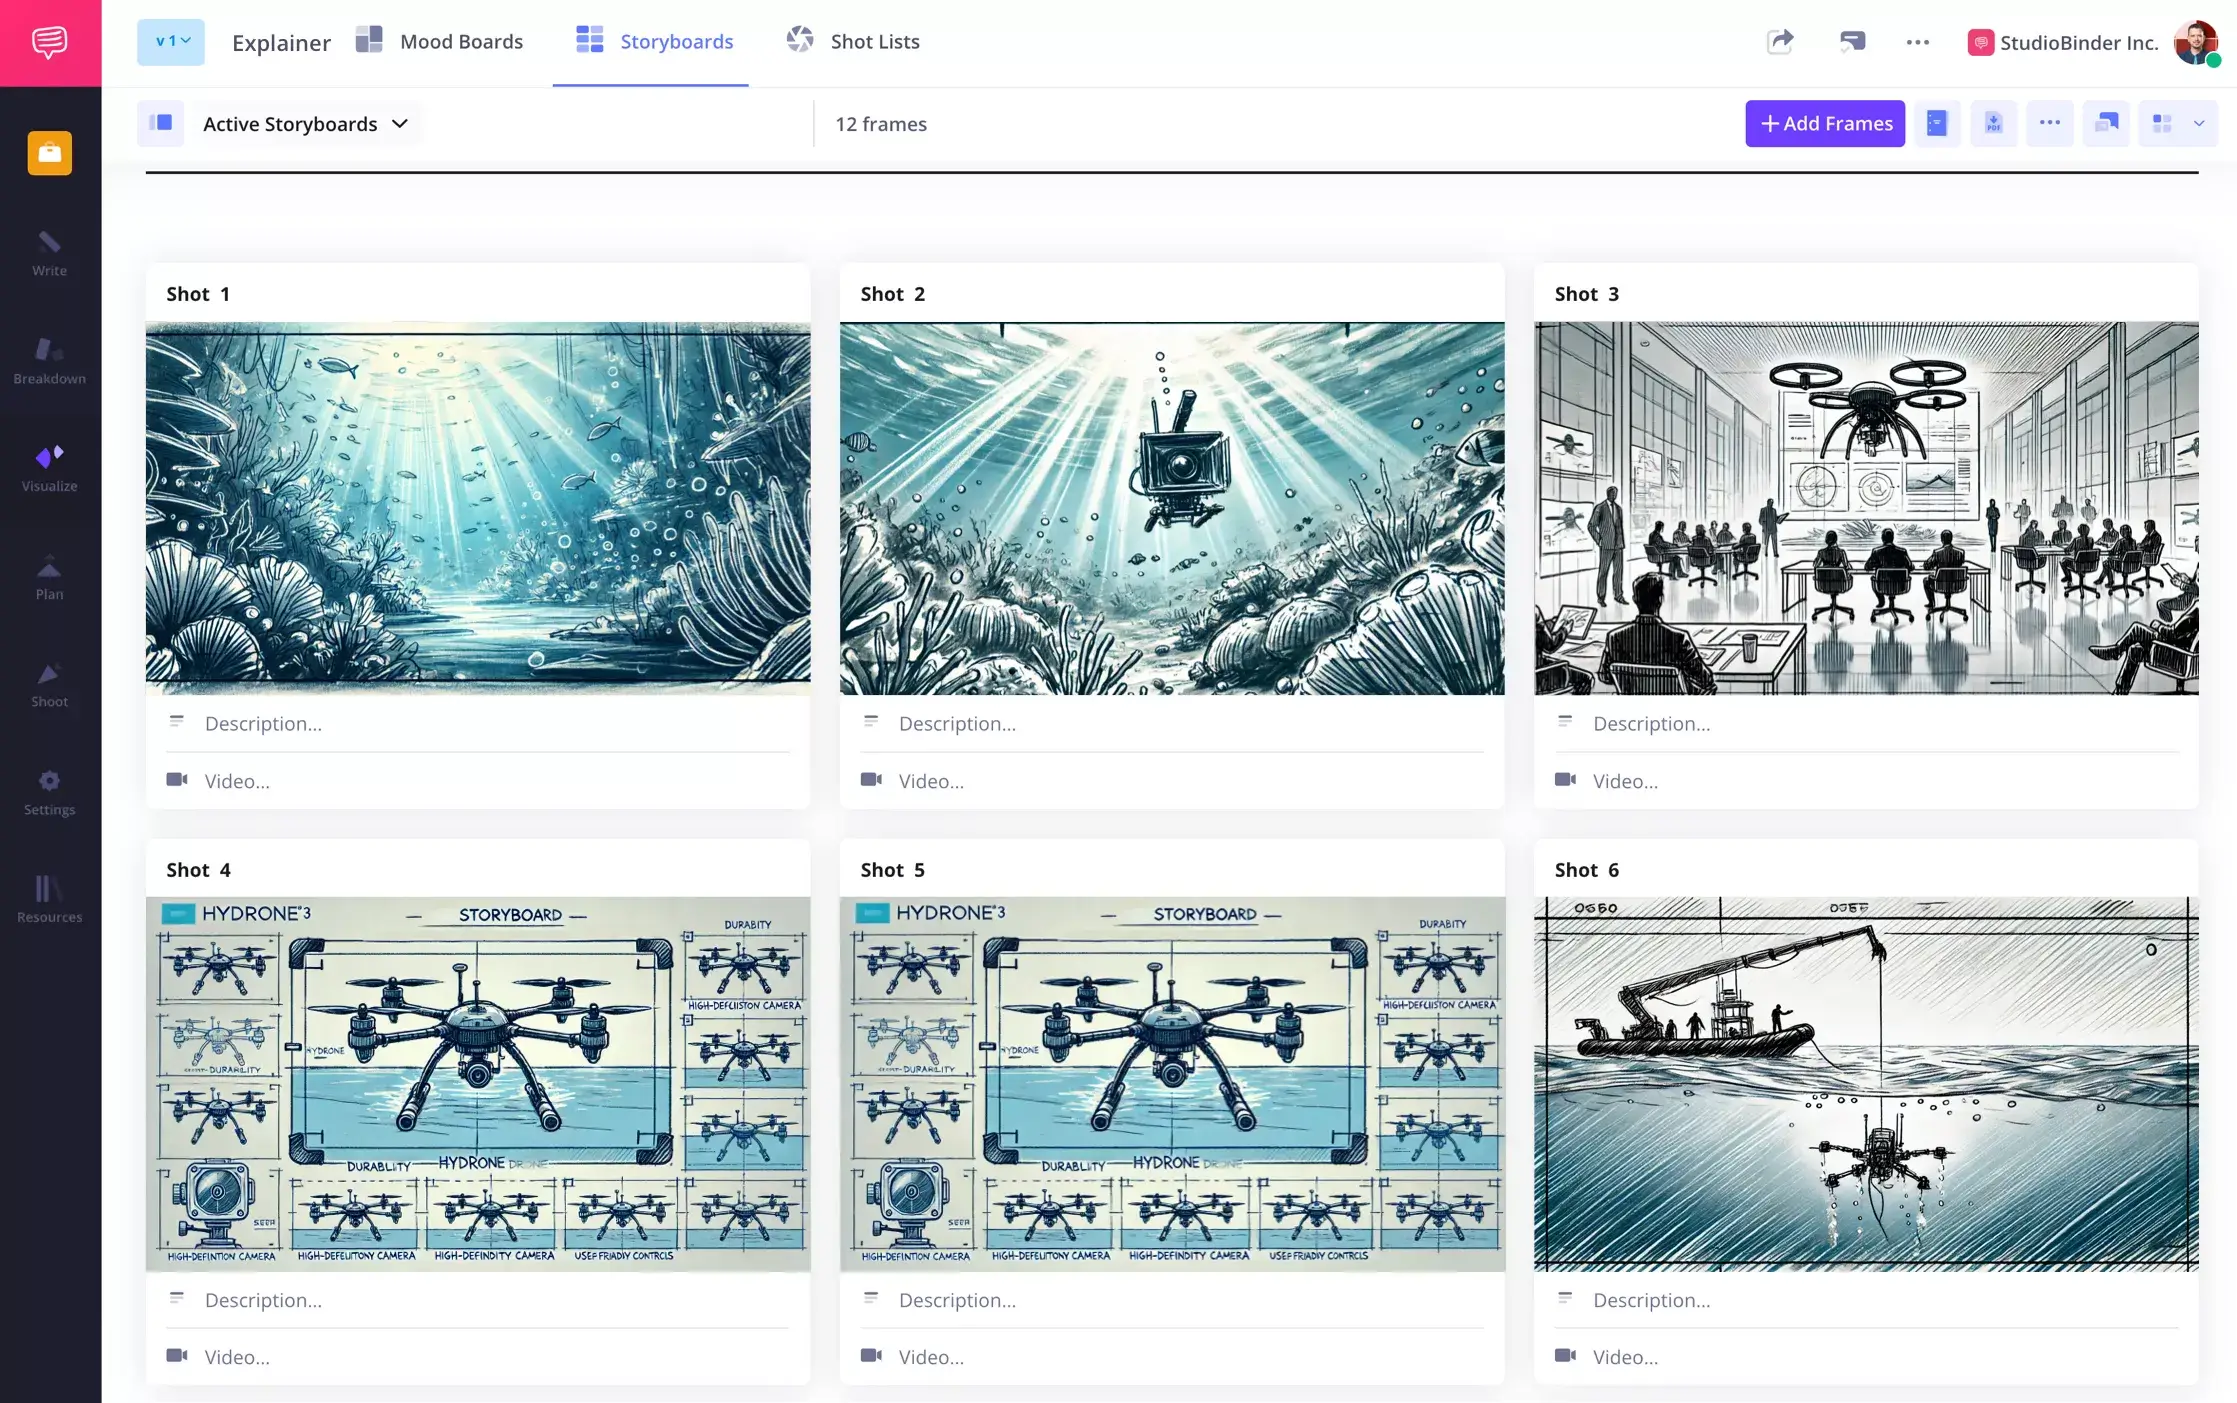
Gather visuals that align with your explainer video template while maintaining consistency in style and branding. Whether it’s custom illustrations, stock images, or simple sketches, visuals should enhance audience understanding.

How to do this in StudioBinder
- Upload images anywhere, including previous projects.
- Use your webcam to capture hand-drawn frames.
- Reorder images by simply clicking and dragging panels.
Step 4
4. Add descriptions and annotations
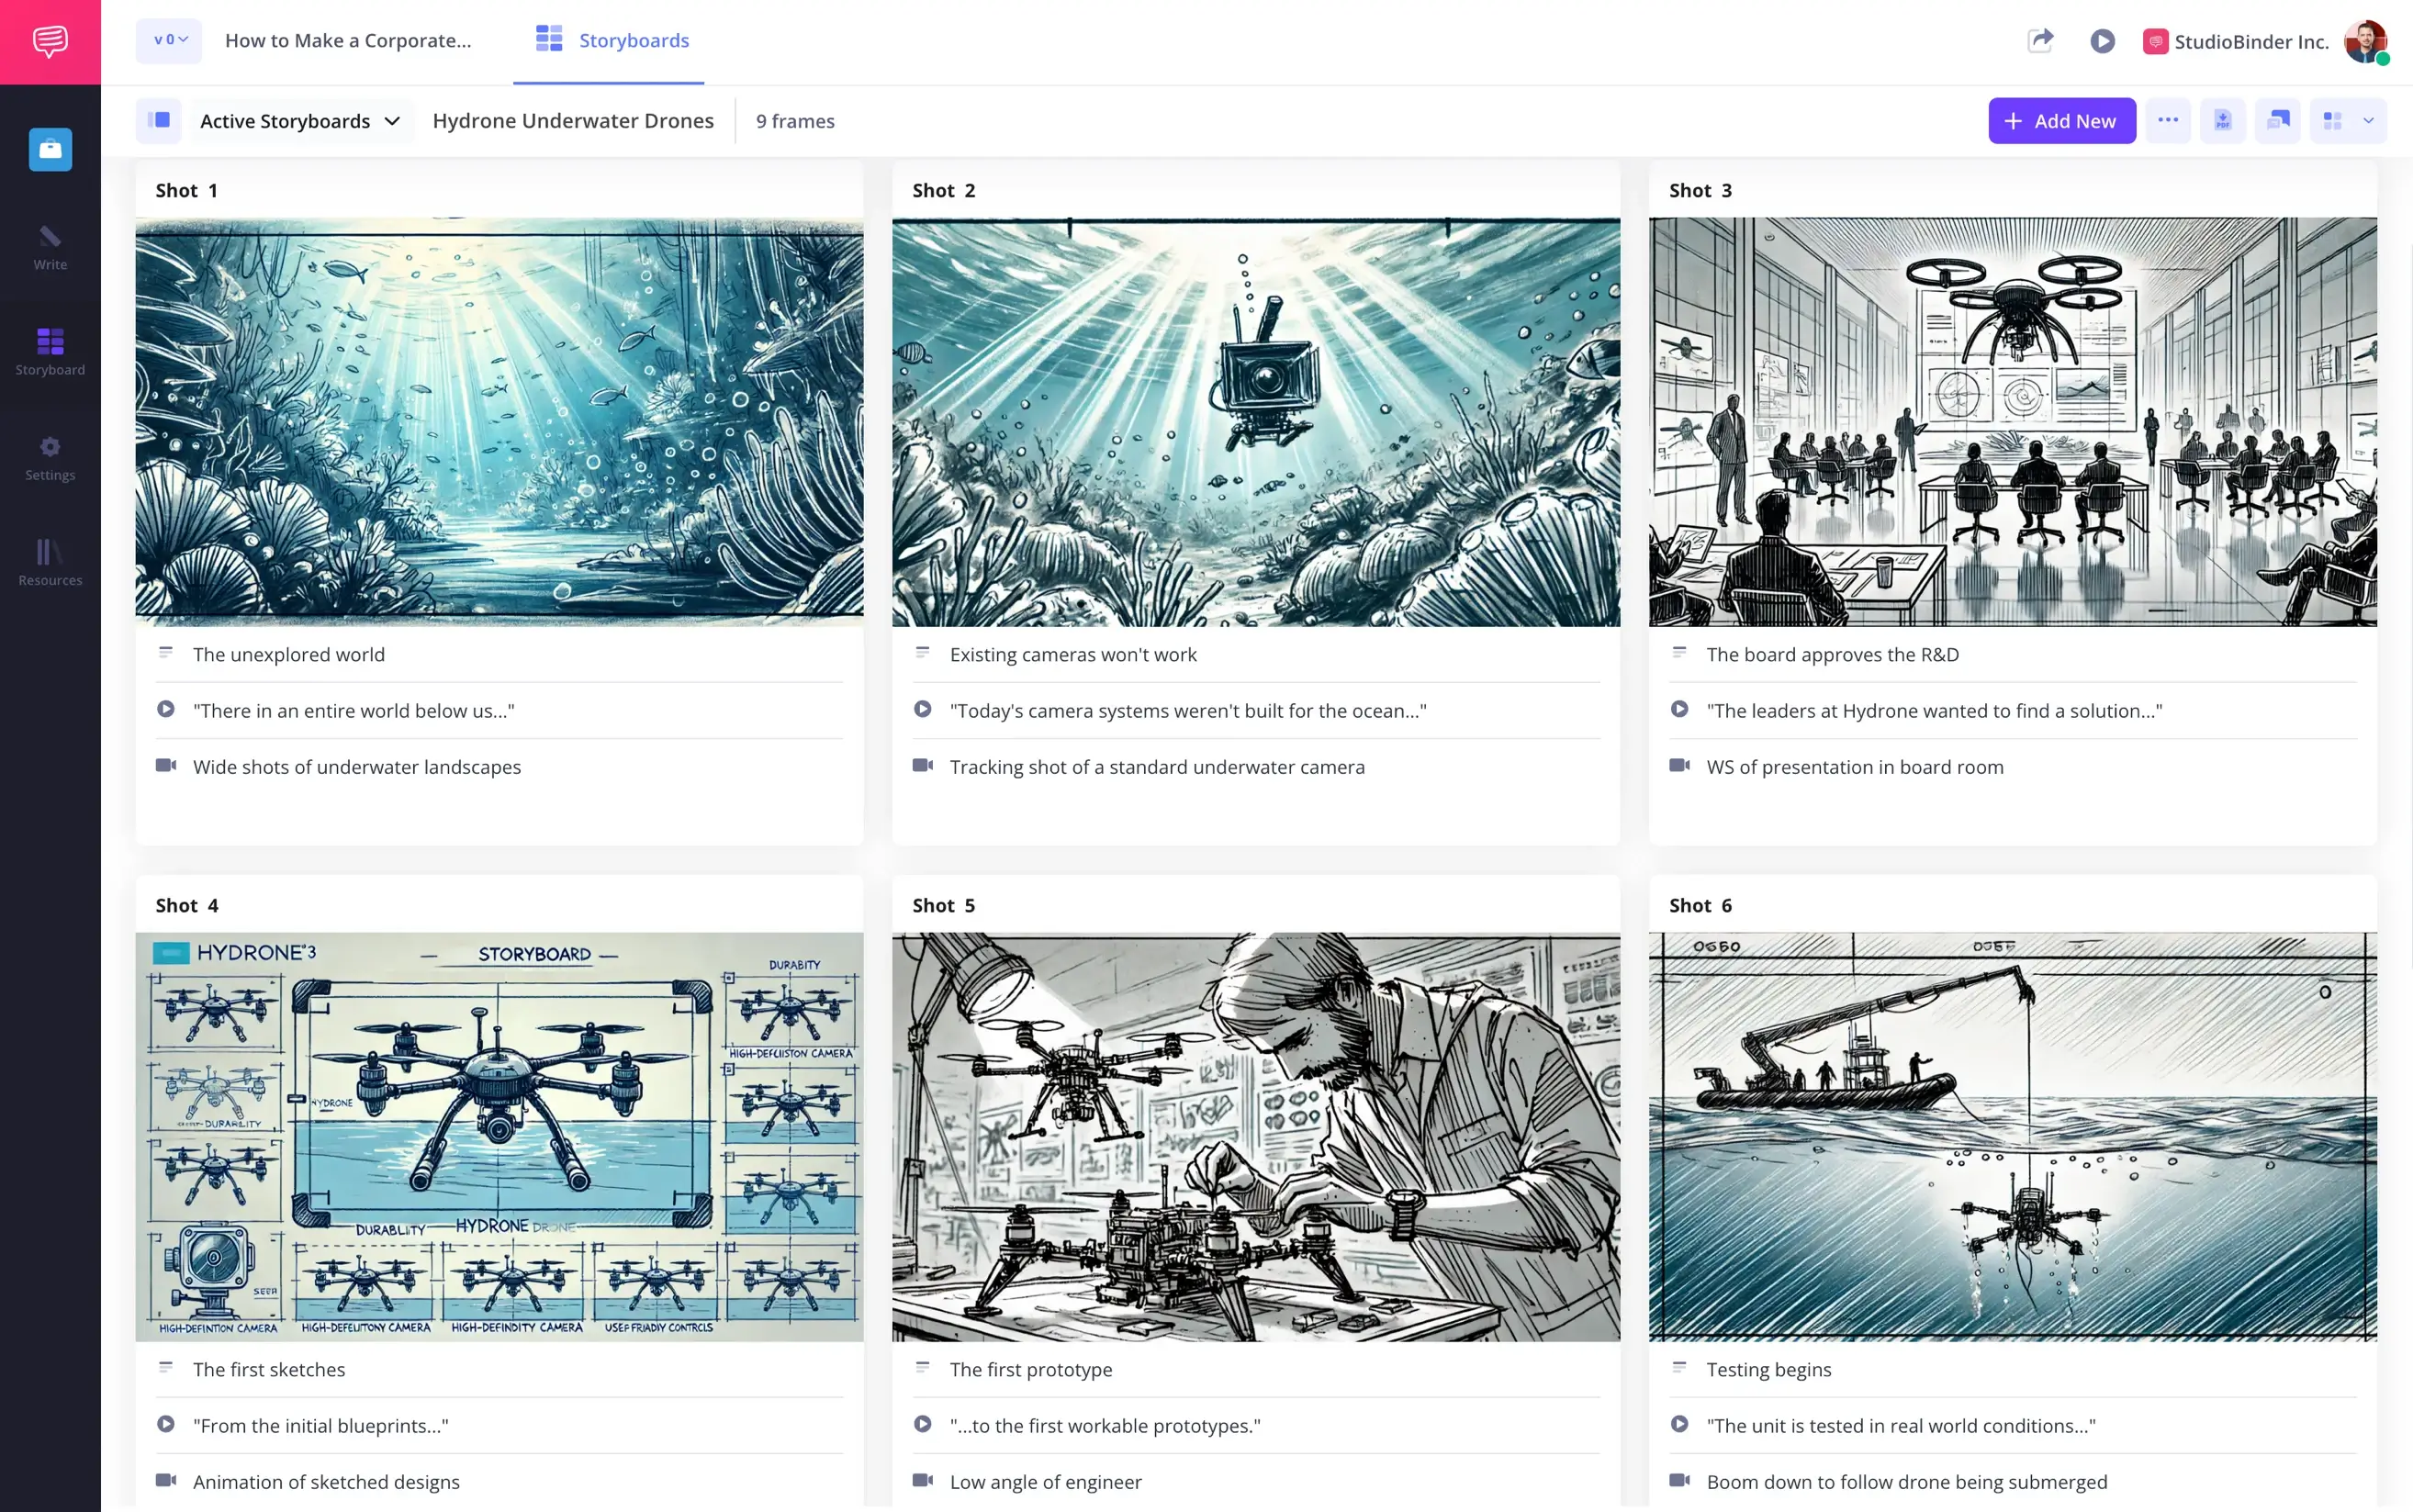
Detailed descriptions help guide the video production company and ensure your storyboard effectively conveys the right message. Include notes on sound effects, camera angles, and any animated explainer video elements.

How to do this in StudioBinder
- Add scene descriptions, audio information like dialogue, and video information explaining the visuals like shot types and sizes.
- Create arrows, text and shapes to clarify the direction of each image.
Step 5
5. Share and collaborate with your team
A great explainer video storyboard is refined through collaboration.
Share your free template with creative teams, stakeholders, or clients for feedback before finalizing the storyboard.
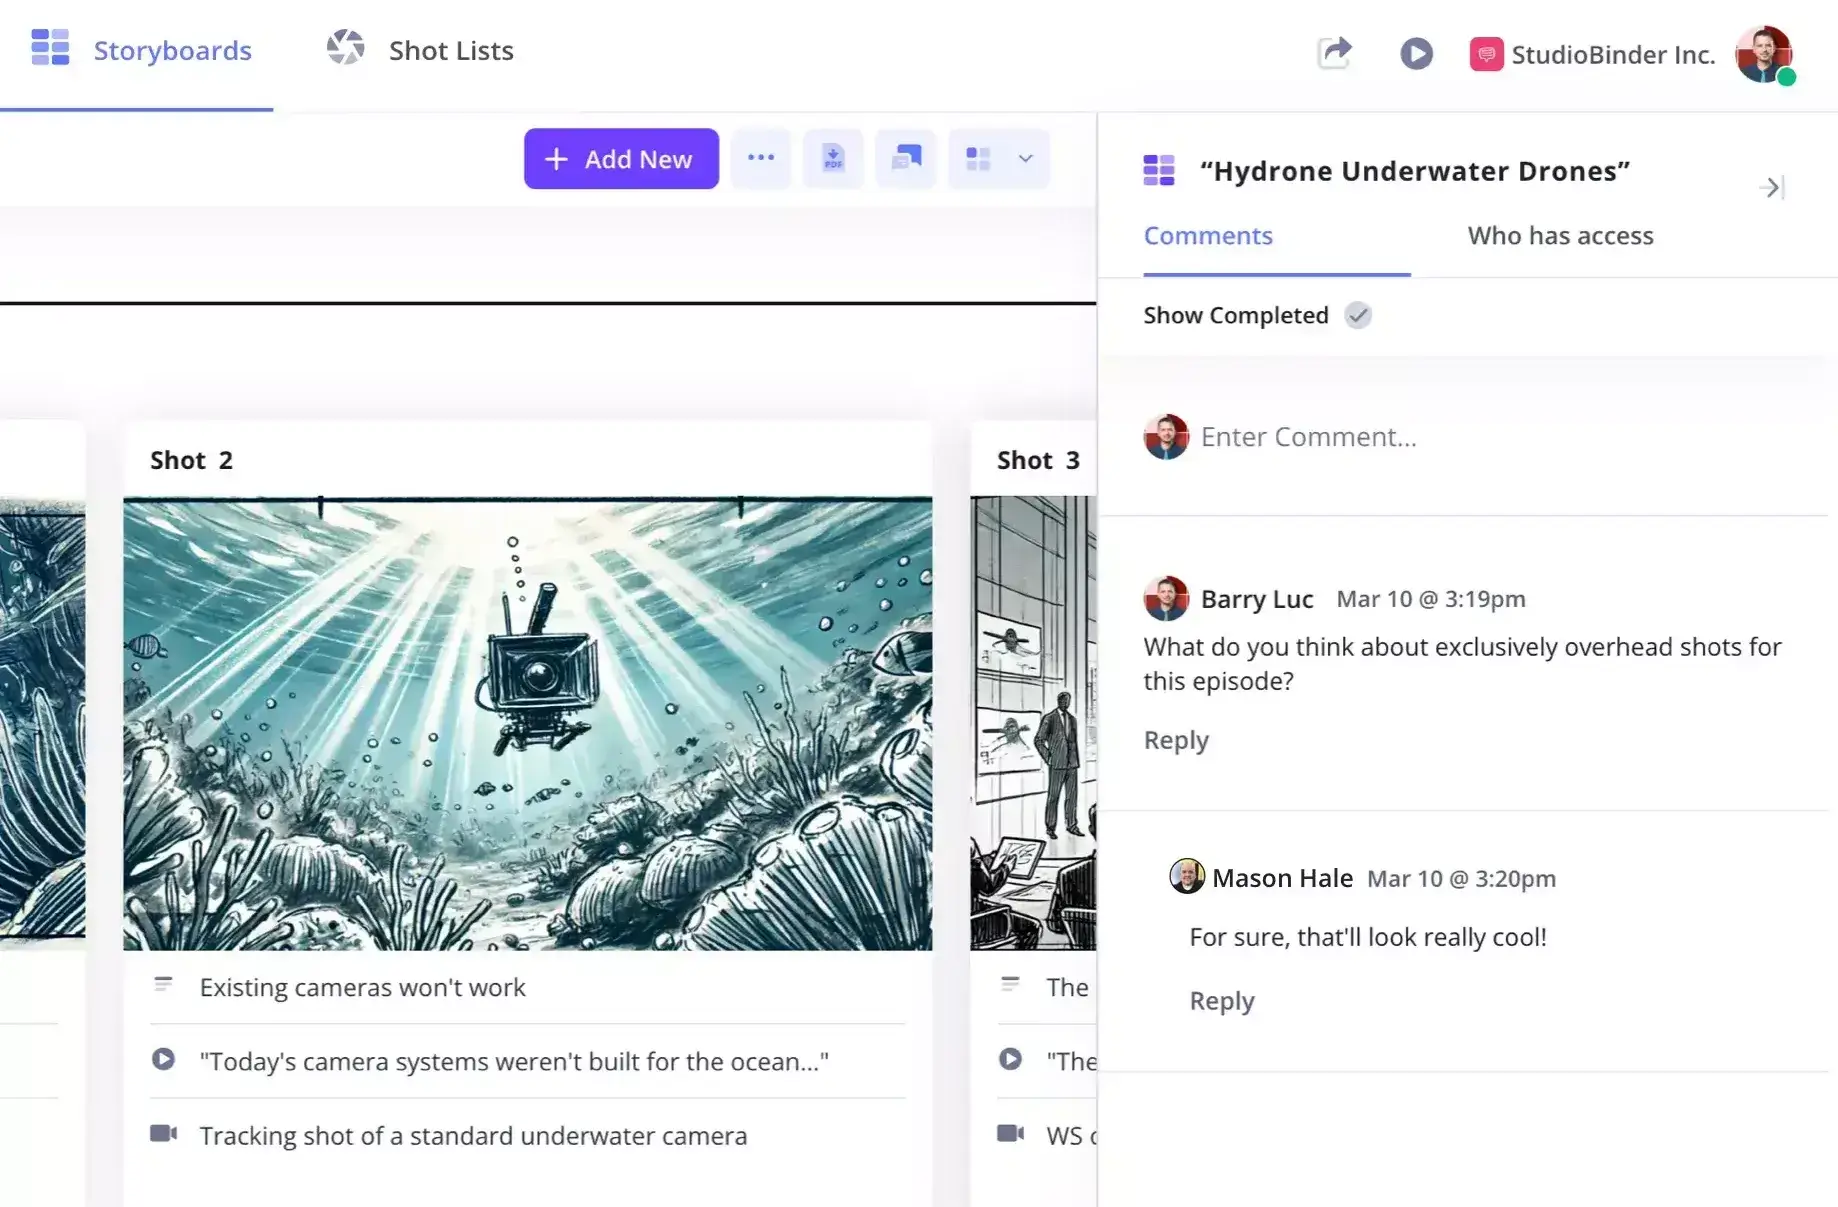

How to do this in StudioBinder
- Share with a view-only link, and invite collaborators to work on this specific feature/page (not the entire project).
- Collaborate with clients and team members with the comment feature.
Step 6
6. Print the storyboard for production
Whether you’re creating a live-action explainer video or an animation, having a printed storyboard template keeps your team aligned during production. A hard copy helps ensure every shot is executed correctly.
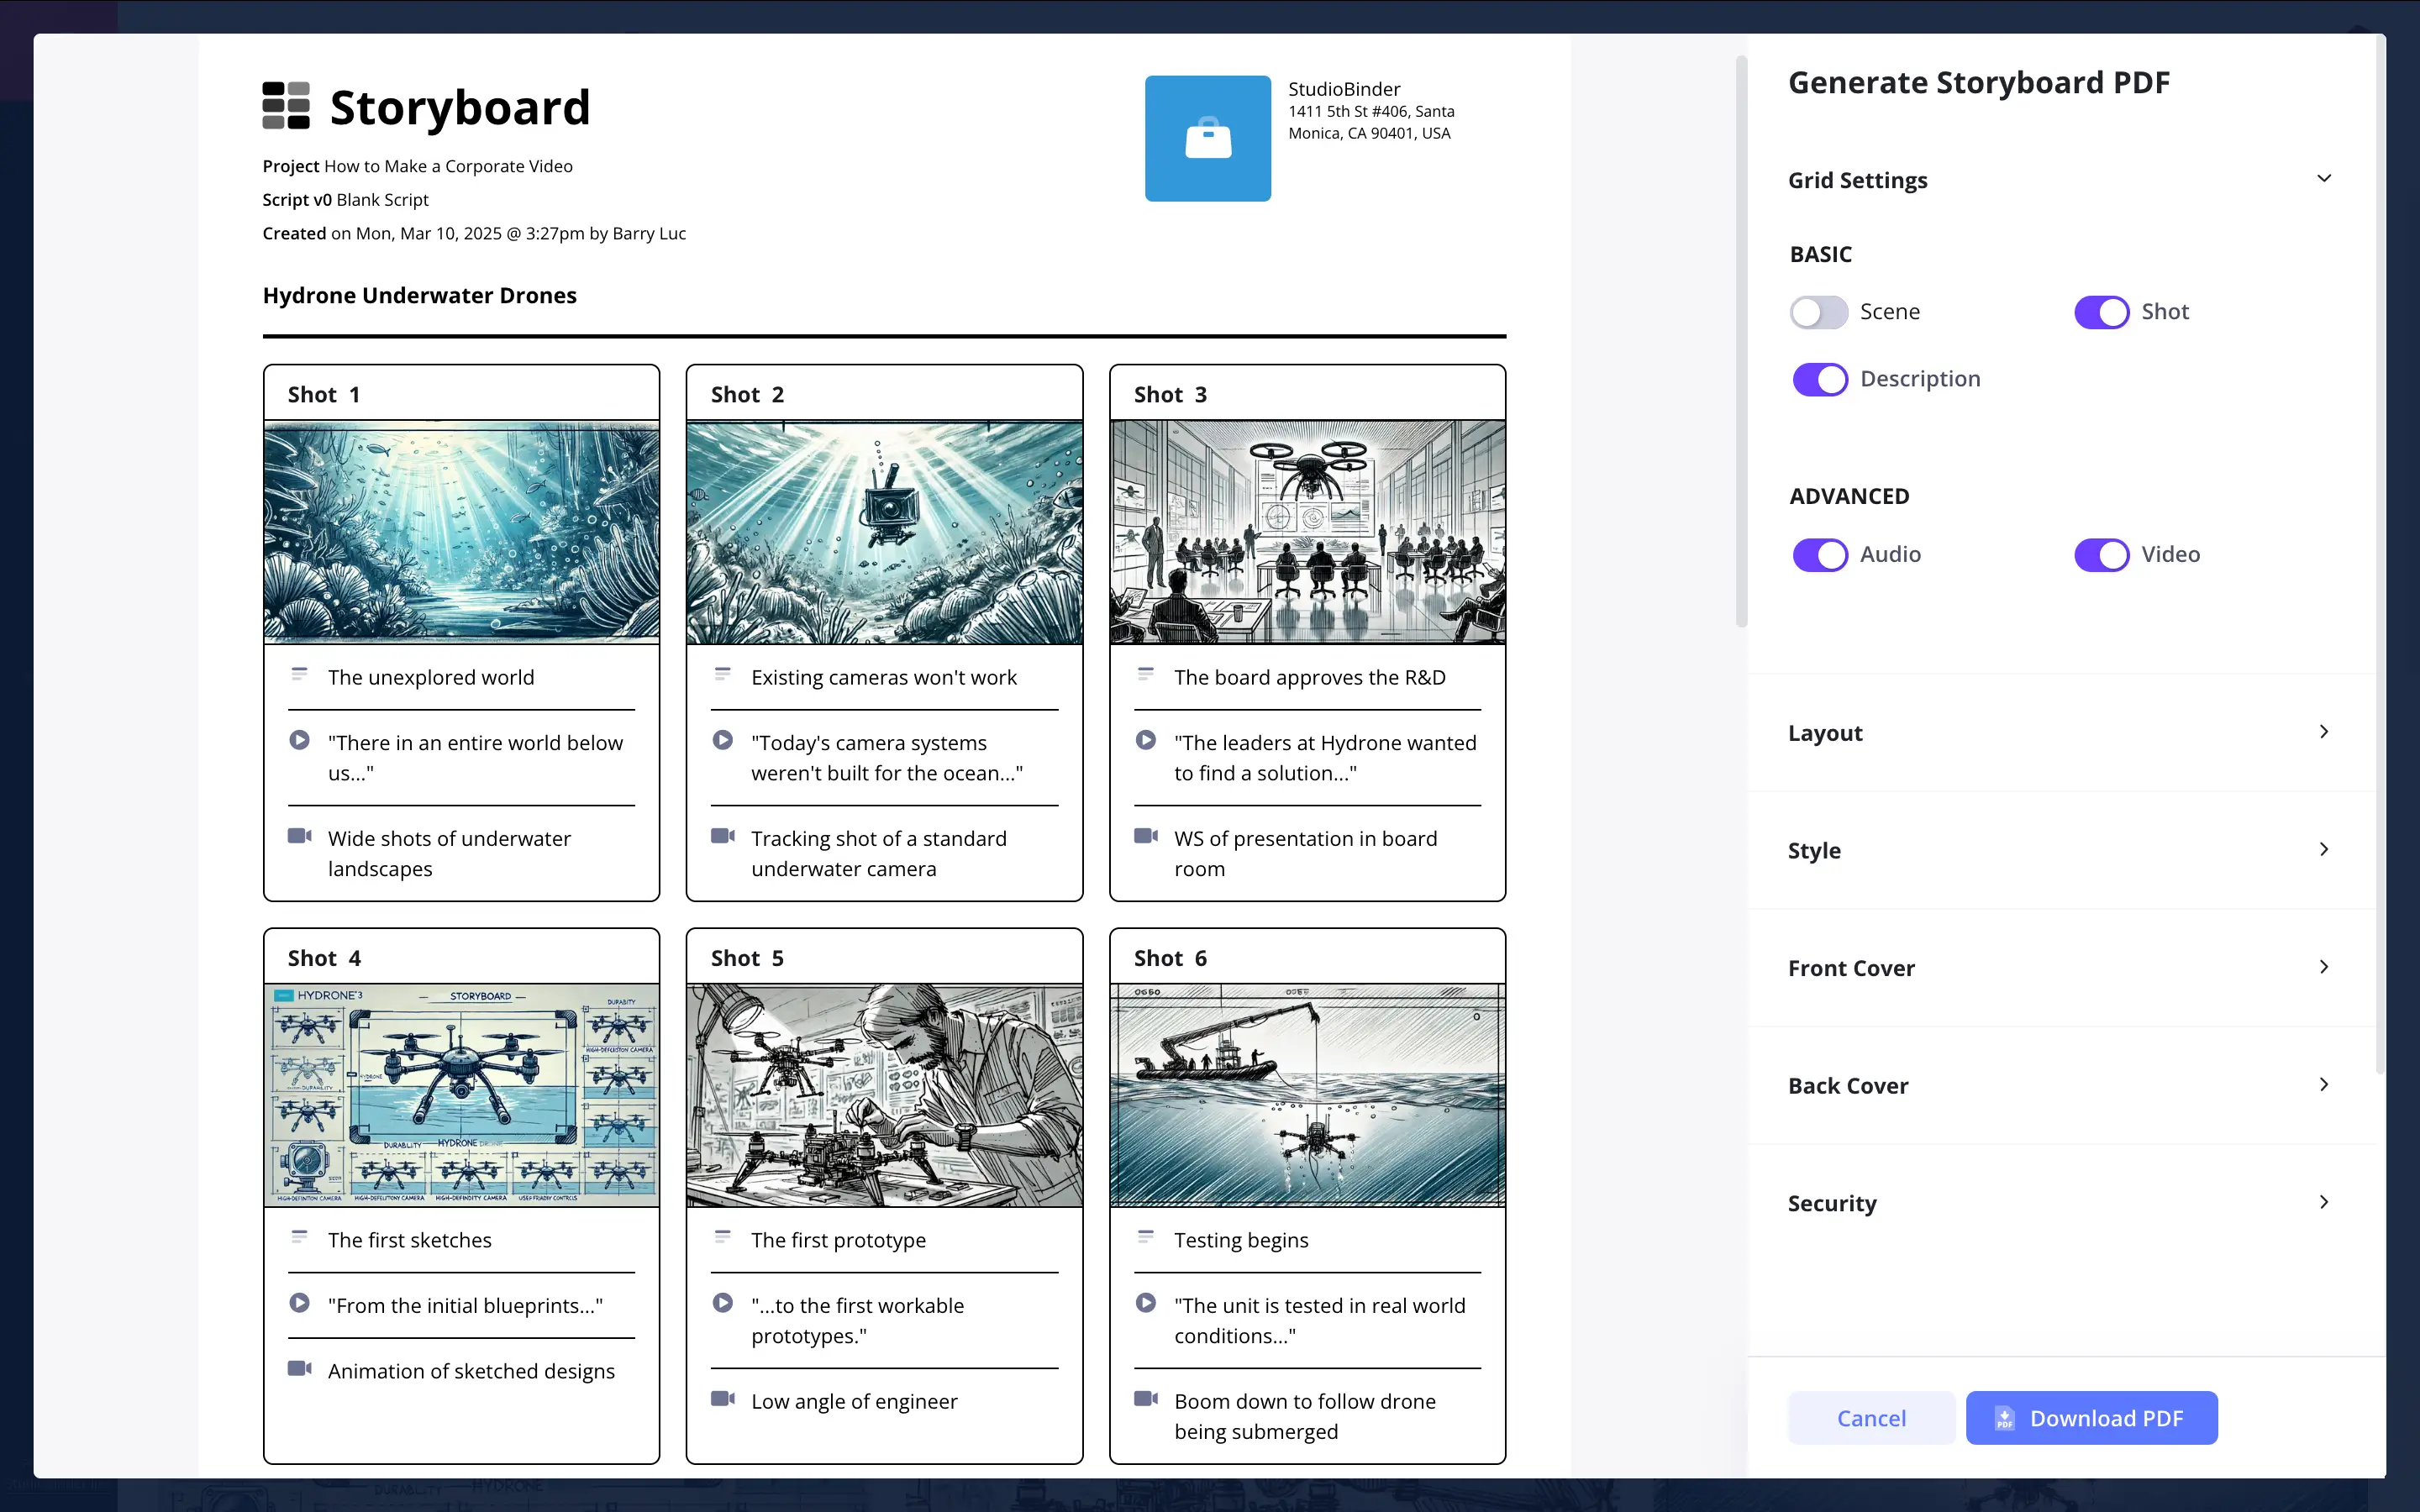

How to do this in StudioBinder
- Generate storyboard PDFs for a presentation with added security.
Conclusion
Explainer video storyboard is complete
A well-planned explainer video storyboard template simplifies production and enhances viewer engagement. By following these steps, you can create a storyboard that helps communicate your message effectively while improving audience retention.
This explainer video storyboard template is one of many storyboard templates you can use. Browse other storyboard templates on our Templates page.