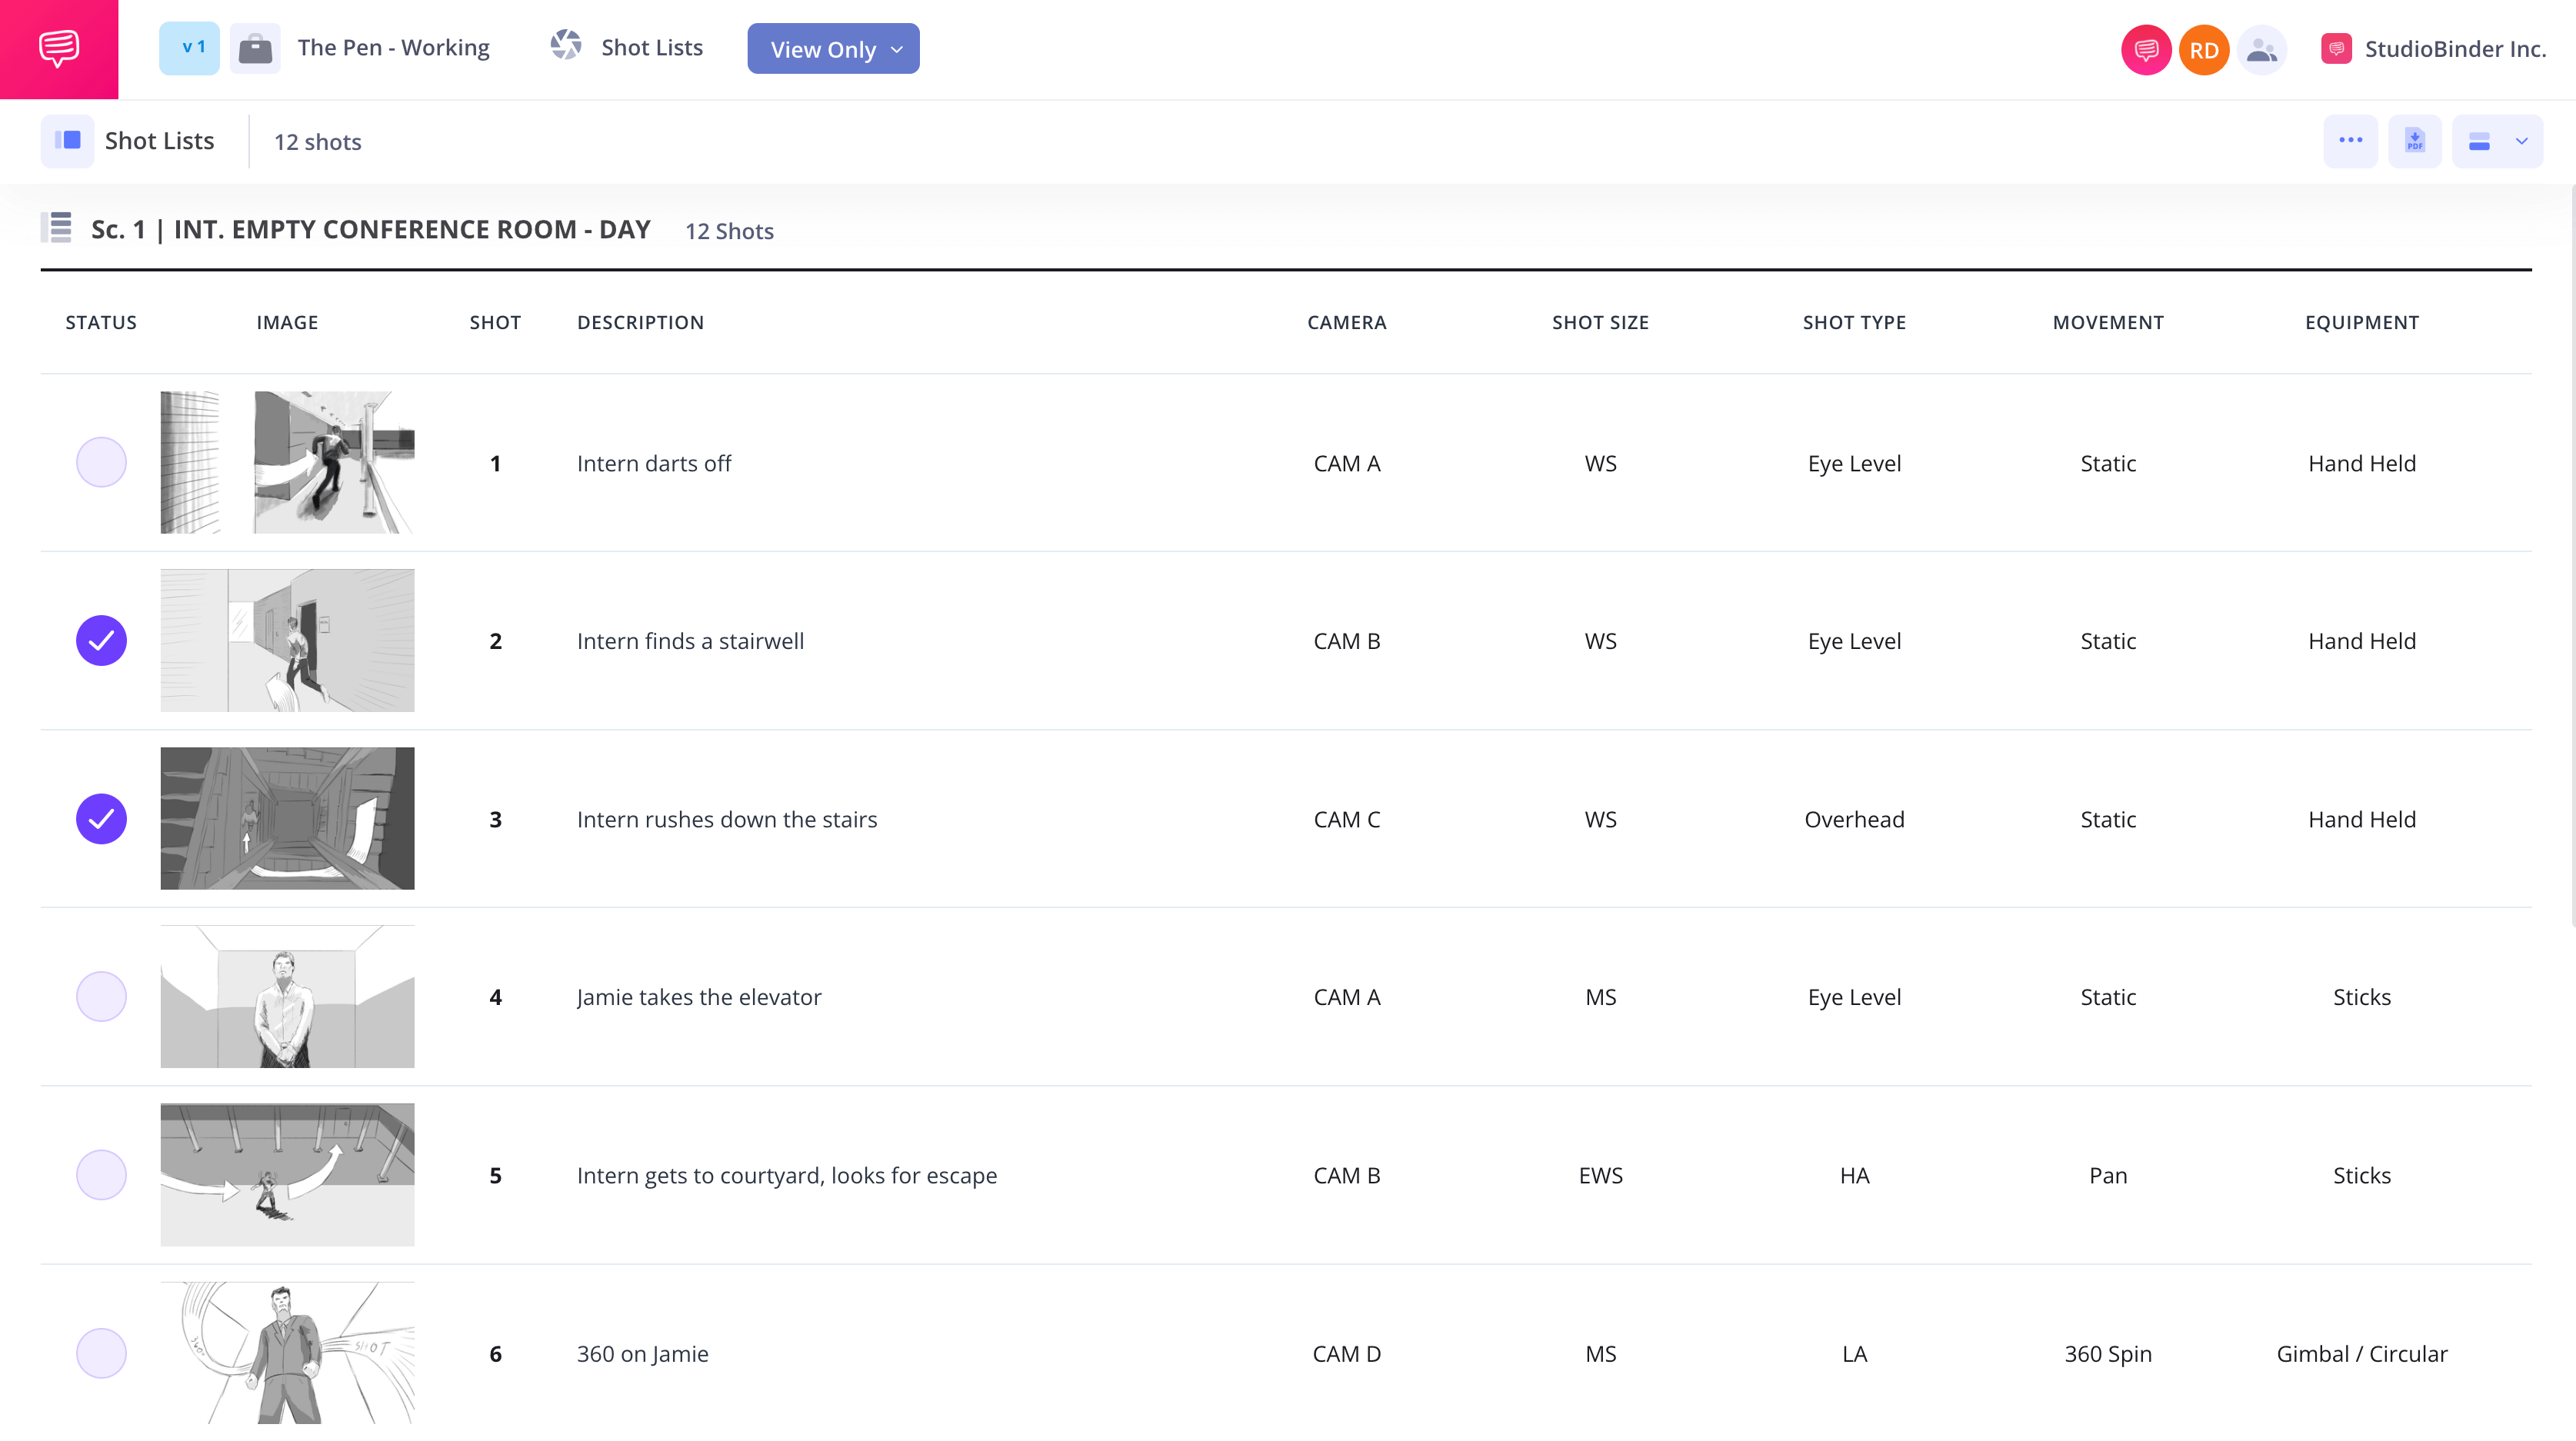
Video Shot List Template
Shot list your video production
Whether you’re working on a YouTube video, commercial, or music video, a shot list can be an invaluable tool to bolster your creativity and maximize your resources.
In this guide, we'll be using StudioBinder’s shot list software to create a photography shot list, but principles and steps are universal no matter how you decide to make your shot list.
Steps in this guide
Step 1
1. Analyze the Script
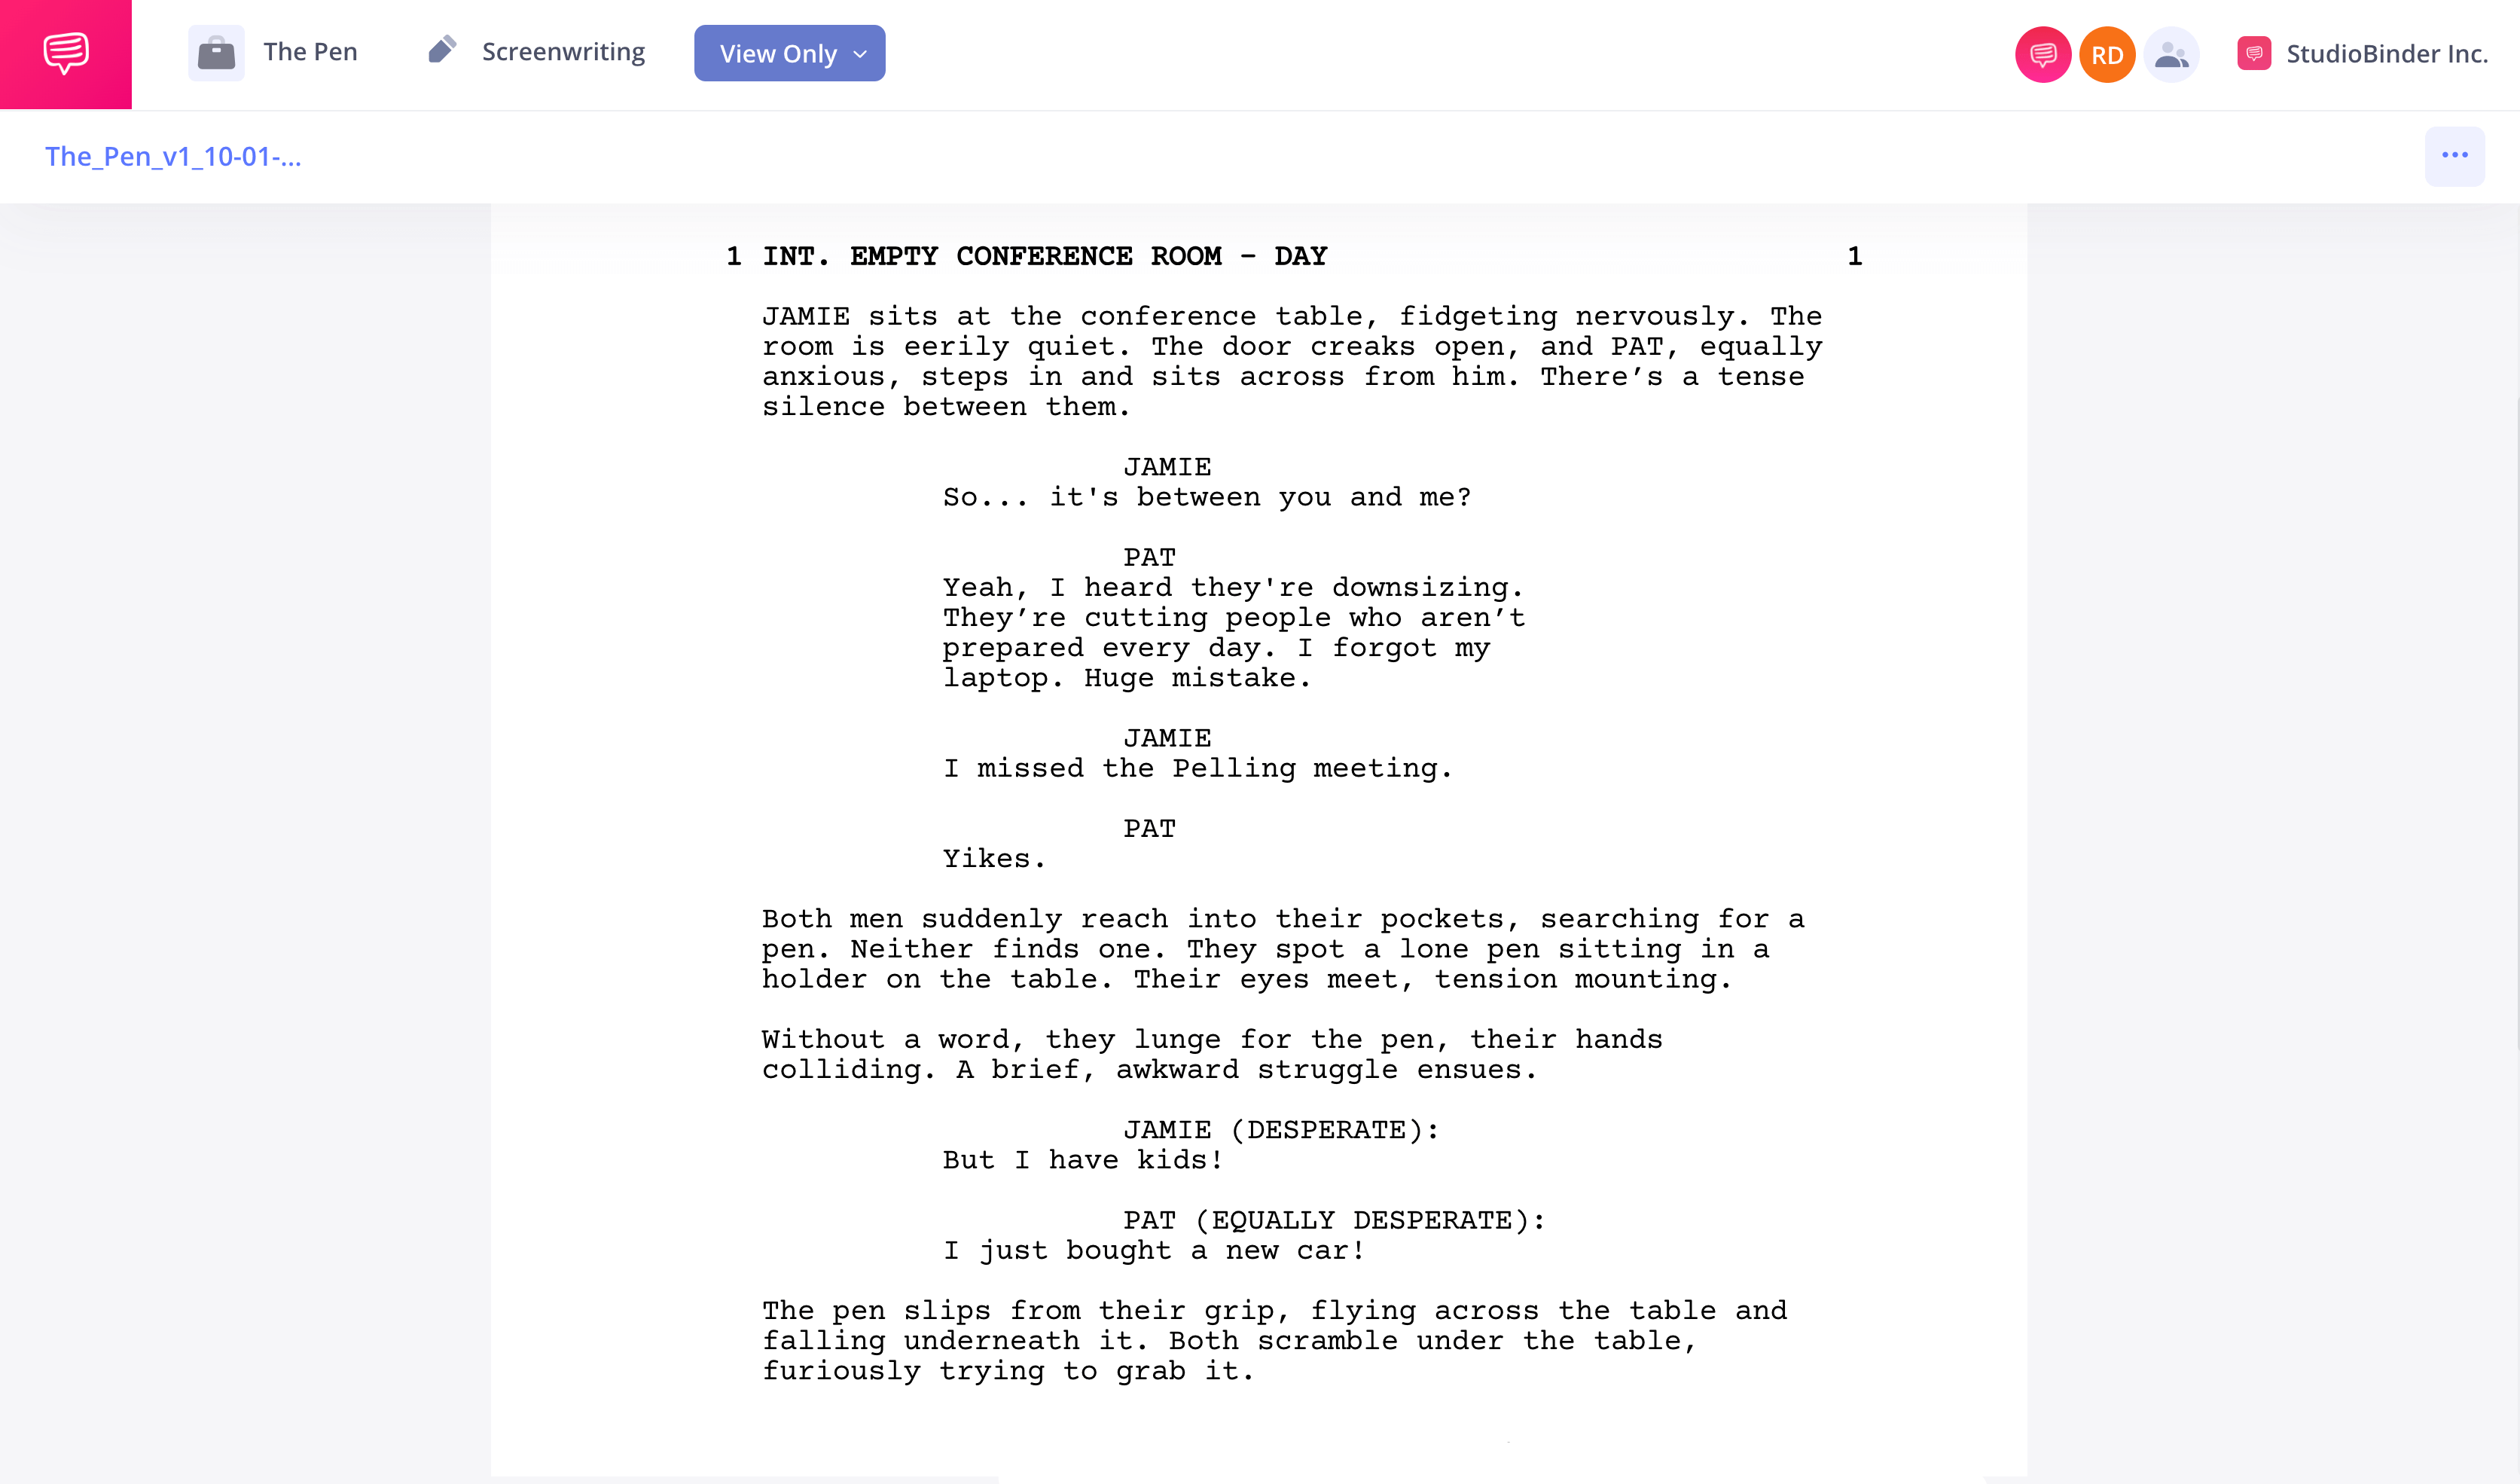
Start by giving your screenplay a good read and analysis. It reveals the storyline, character arcs, and key moments you’ll want to highlight. Grasping the flow of the story will help you pinpoint important scenes and the tone you aim to create, which will become the foundation of your shot list. If your video doesn't have a script, try and find some source material to begin with like a treatment, pitch, or storyboard.
How to do this in StudioBinder
- Import a script or treatment to automatically turn scenes into shots.
- Tag each line to create a new shot in the shot list.
Step 2
2. Consider the Shots
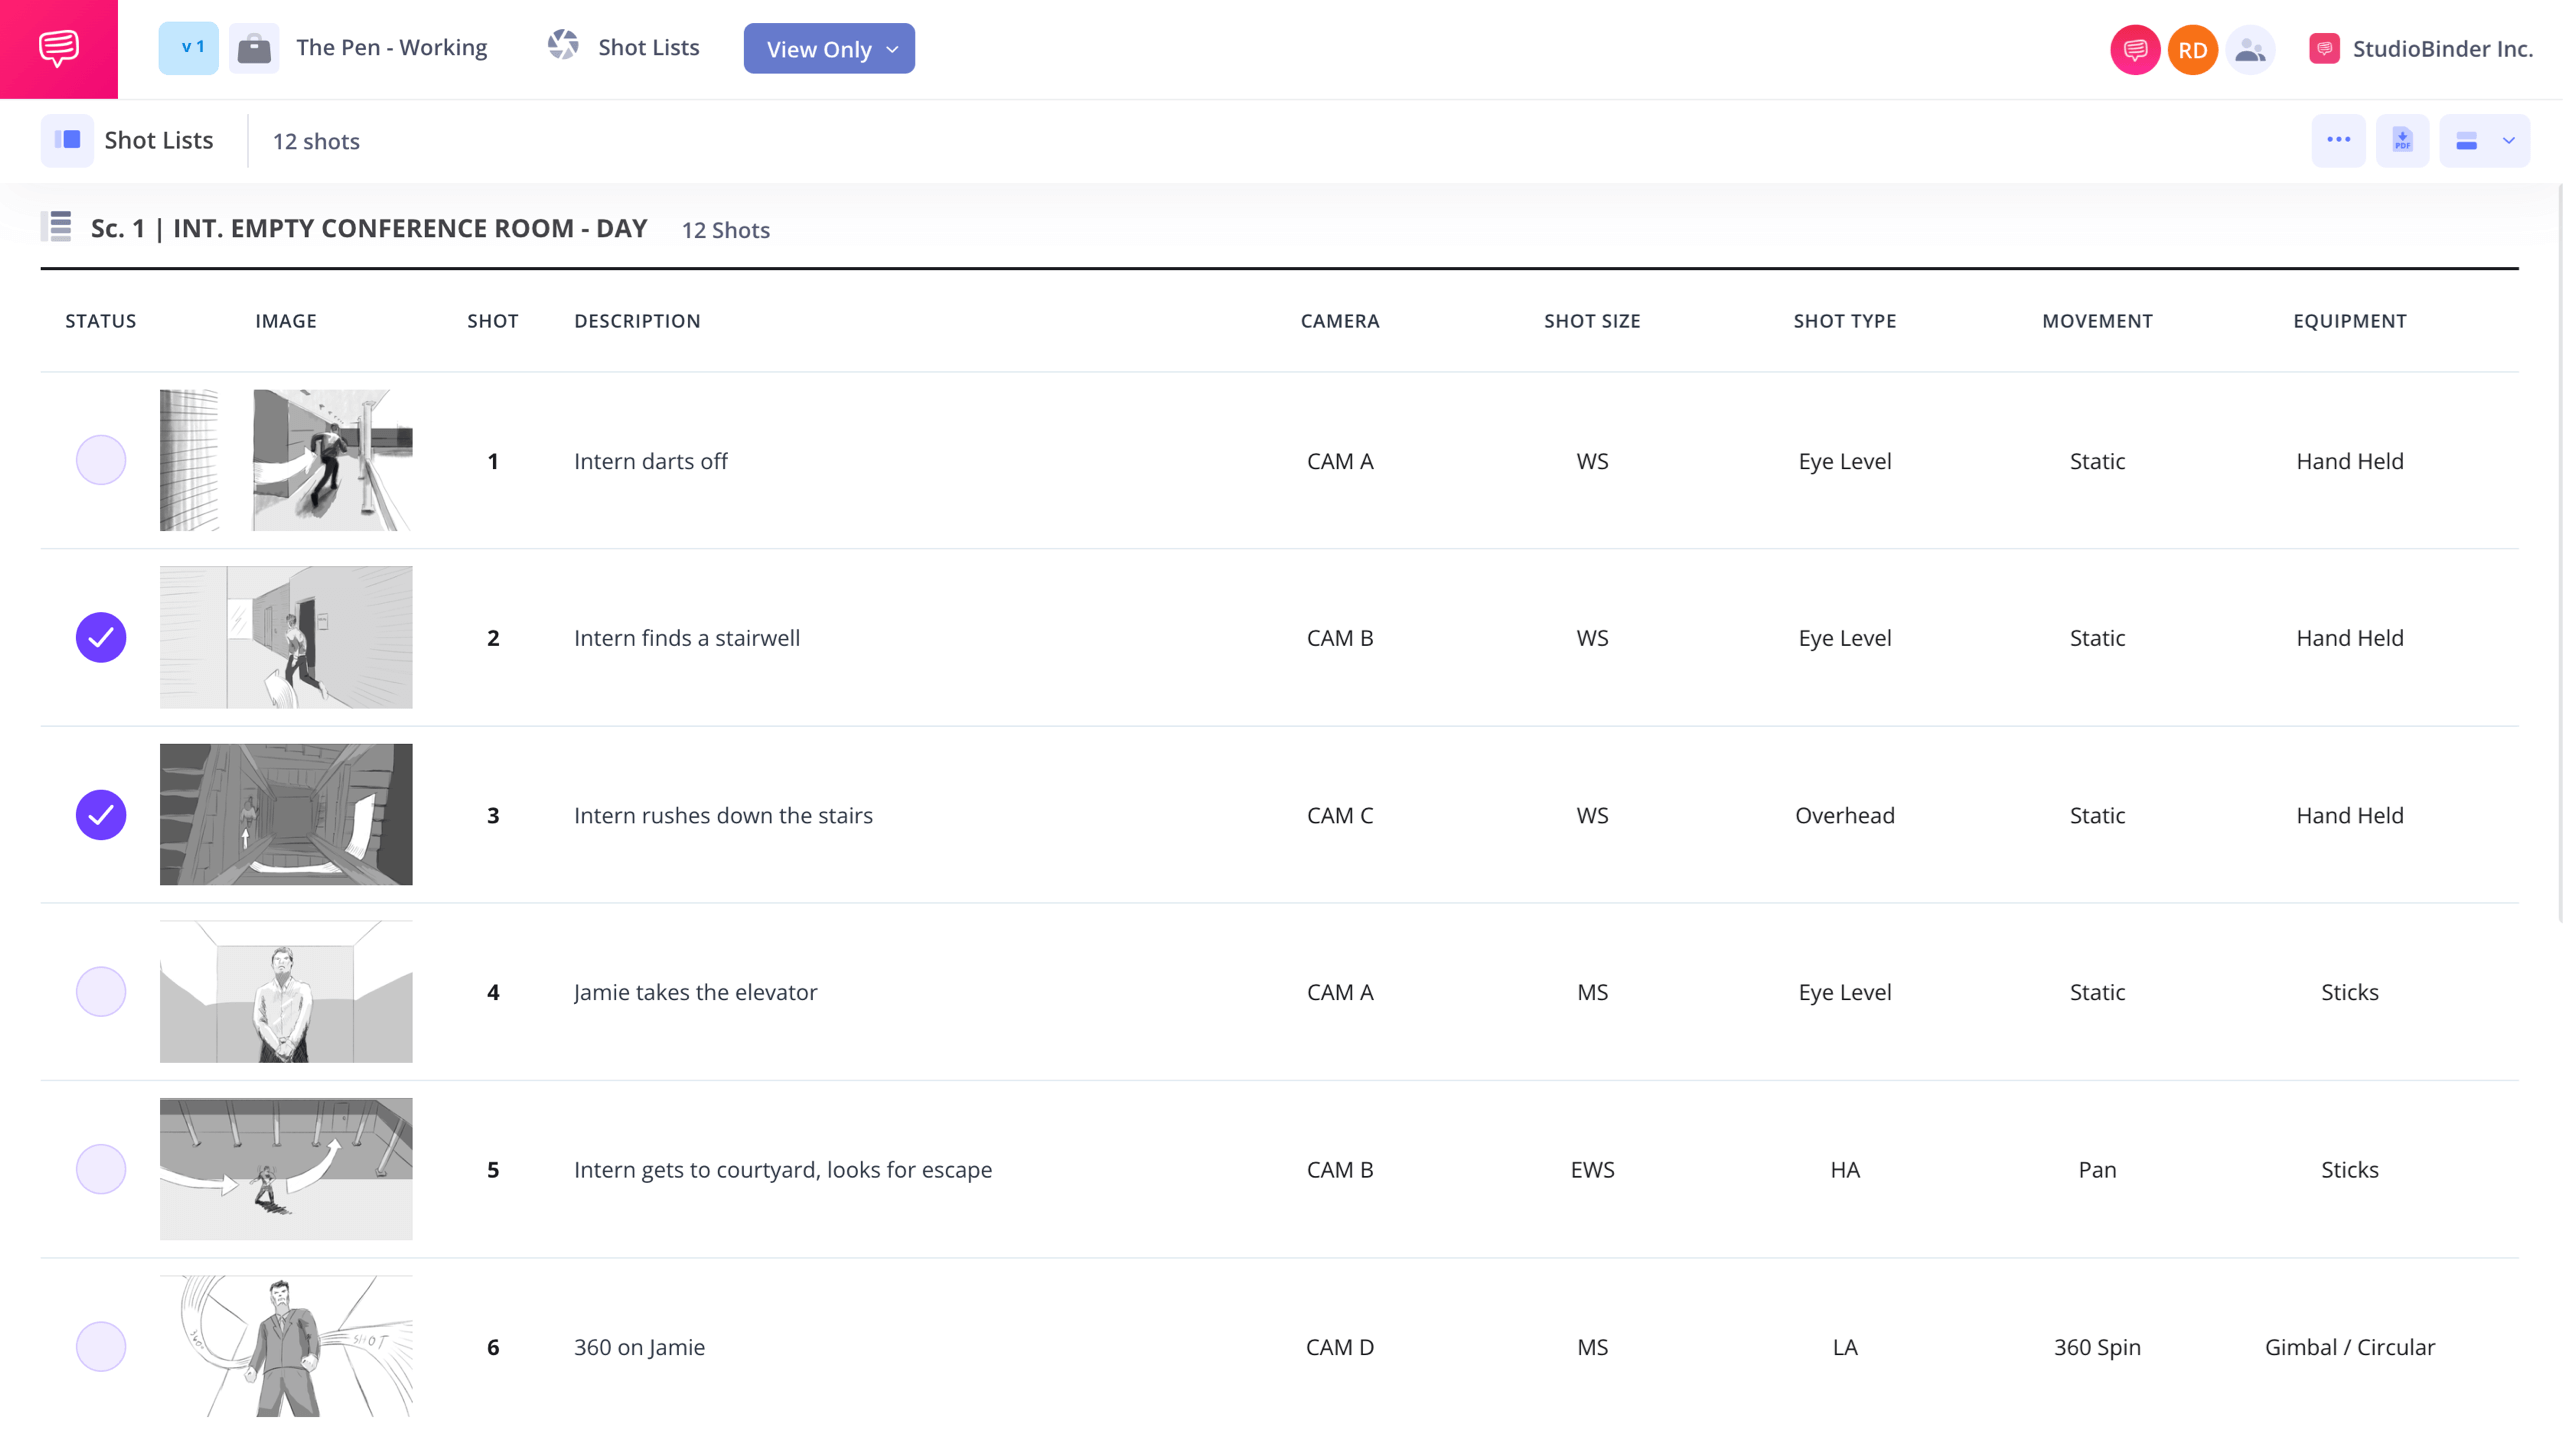
Think about the shots that will show off your video the best. Decide if you want close-ups, medium shots, or wide shots to get your message across.
Also, consider using camera movements like pans, tilts, or tracking shots to add some energy and production value. Just make sure your shot choices match the pacing and tone of your content, story, or information you are communicating through the video.


How to do this in StudioBinder
- Select from dozens of shot spec options, camera lens type, shot angle, shot size, subject, location, and more.
Step 3
3. Use Reference Images
Collect reference images from other videos, films, or photography that reflect the visual style you wish to achieve. These images can provide inspiration and ensure consistency in your visual storytelling. They serve as a useful guide for setting the tone, mood, and atmosphere of your shots.
How to do this in StudioBinder
- Add reference images from other videos or still photography directly within your shot list.
Step 4
4. Collaborate
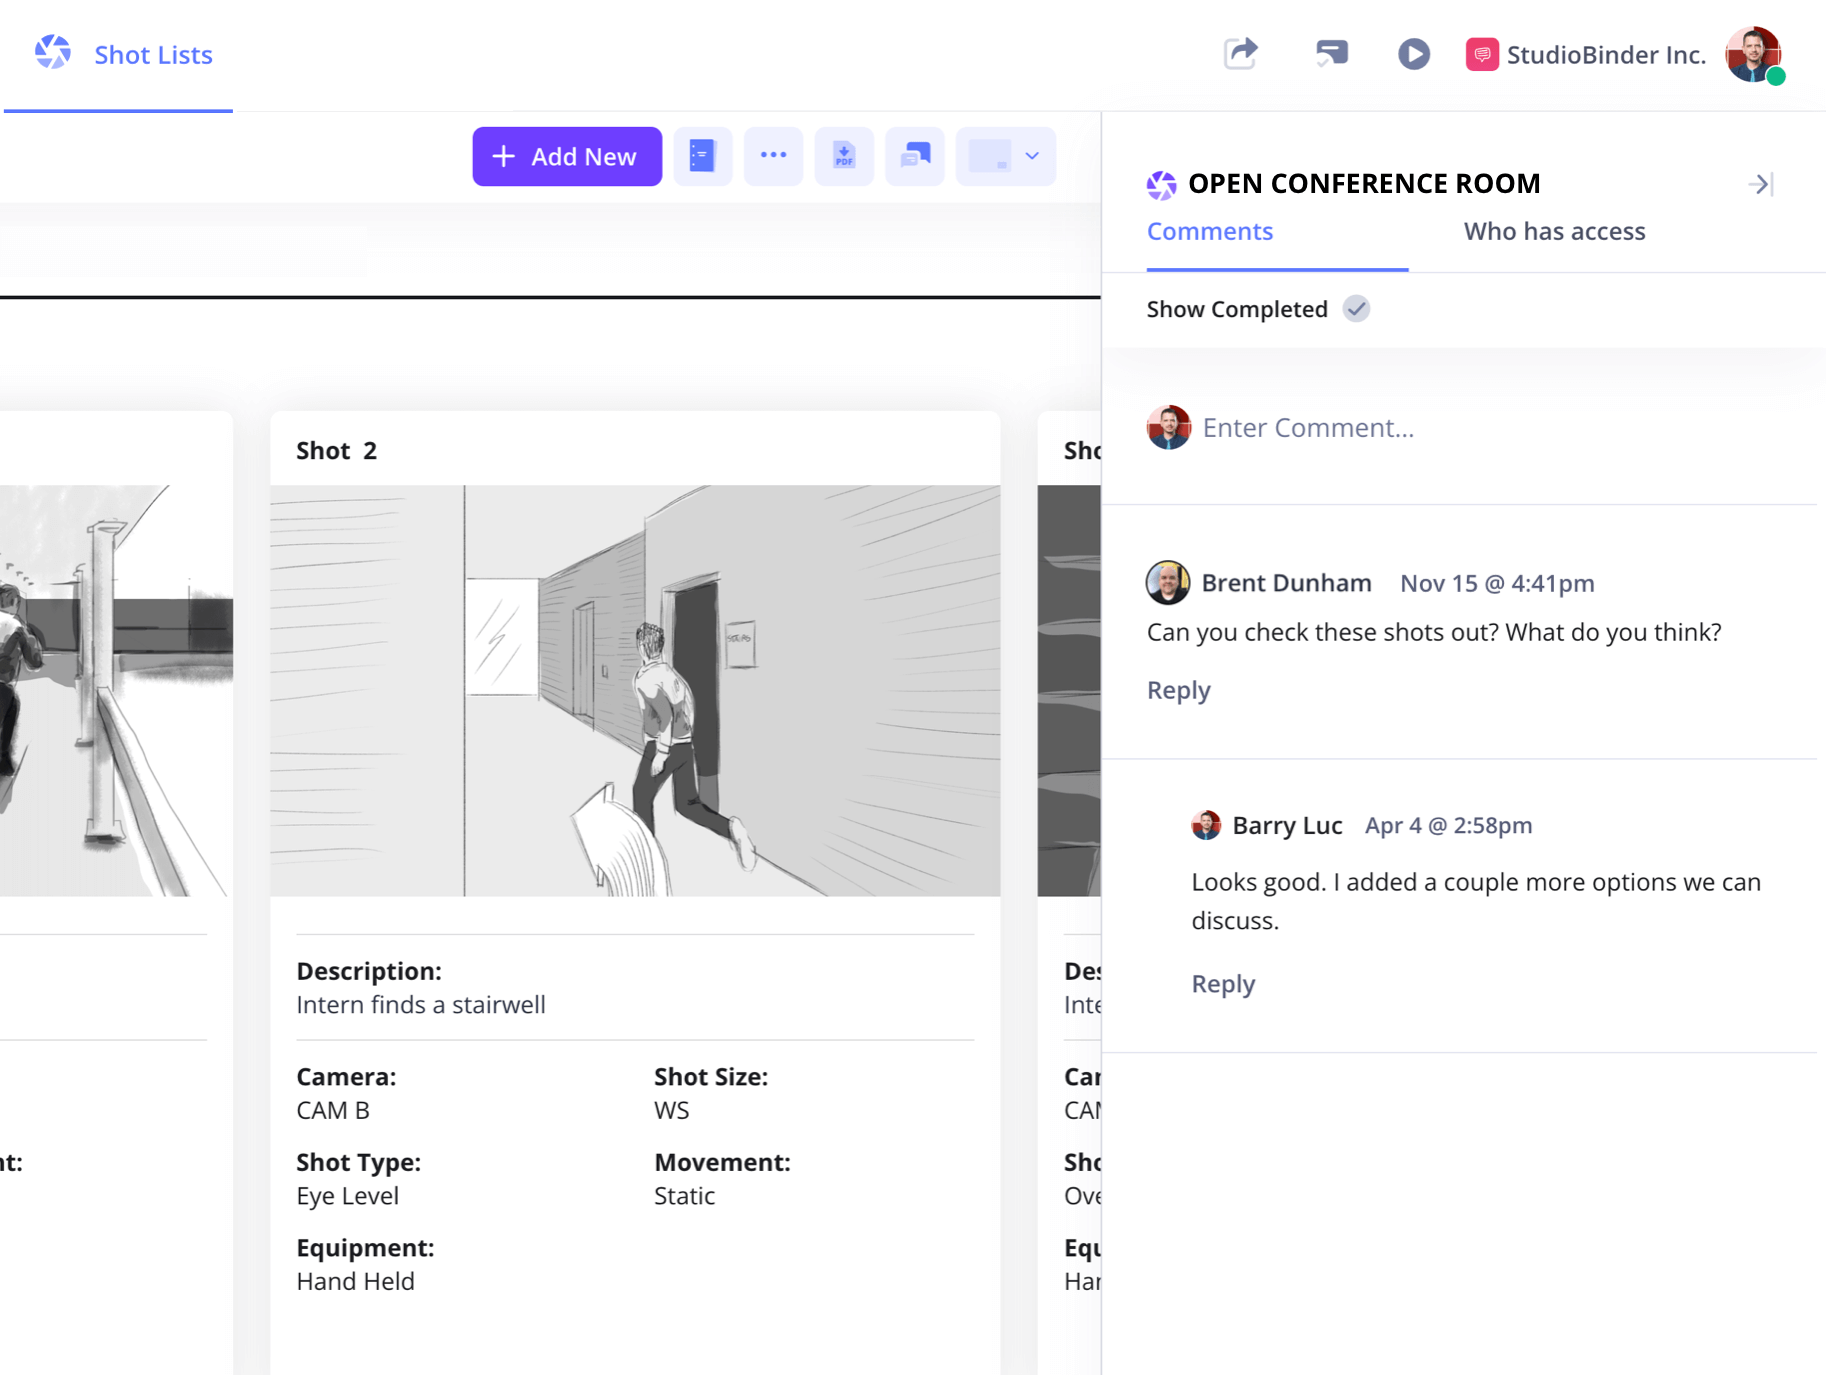
Involve key collaborators such as producers, cinematographers, clients, and creative directors in the shot listing process, regardless of the size of the video production. Their expertise and feedback can offer great insights into the technical and creative sides, helping your artistic vision mesh well with practical execution.

How to do this in StudioBinder
- Share with a view-only link, and invite collaborators to work on this specific feature/page (not the entire project).
- Collaborate with clients and team members with the comment feature.
Step 5
5. Create a Floor Plan
Design a floor plan of your shooting locations. This plan should detail the position of the camera, actors, and key props. It helps in visualizing the spatial arrangement and planning camera angles efficiently. Share this plan with your crew to minimize confusion and optimize setup time on set.
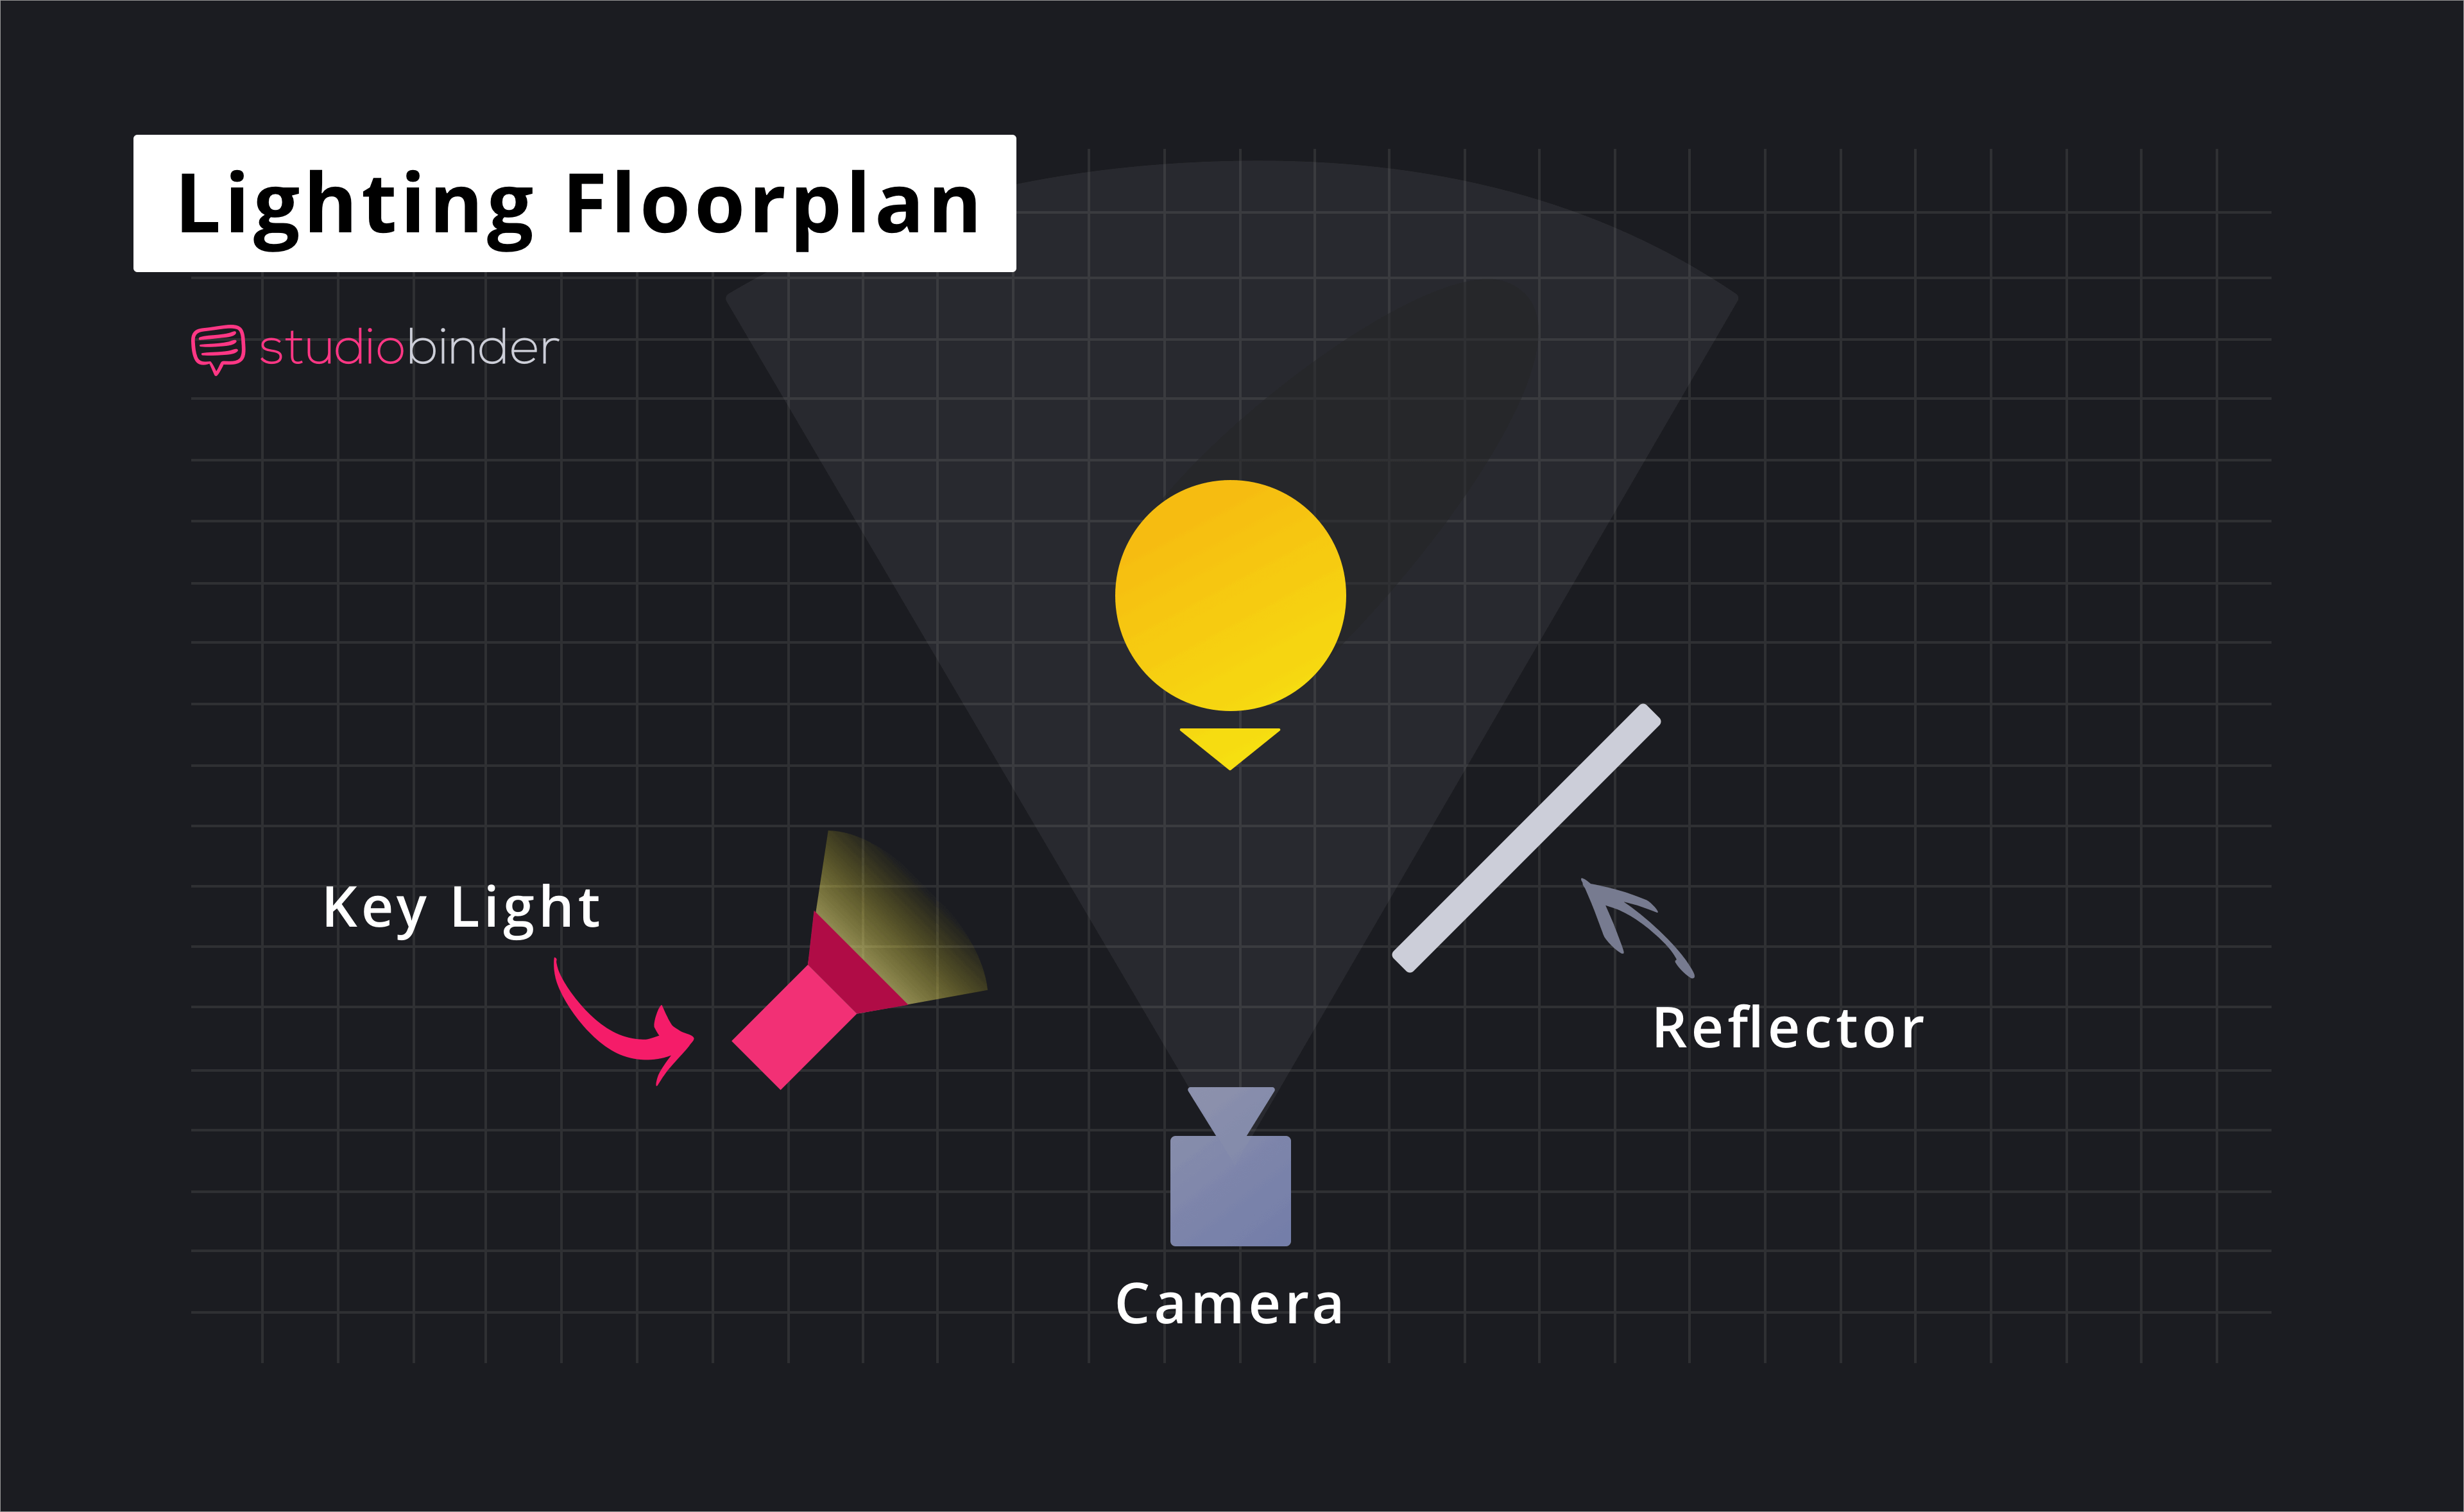

How to do this in StudioBinder
- Upload floor plans directly to your shot list.
- Use a webcam to scan and adjust the image within the app.
Step 6
6. Group Shots into Setups
Organize your shots into setups to maximize efficiency. Grouping shots by location, lighting, or camera setup minimizes the need for frequent changes, saving time and resources. Collaborate with your DP and AD to consider logistical aspects like the shooting schedule and lighting conditions.


How to do this in StudioBinder
- Organize your shot list in a way that is most efficient for shooting by simply dragging and placing shots.
Step 7
7. Print It
Once your shot list is finalized, export it as a PDF and print multiple copies. Distribute these to the crew to ensure everyone is on the same page. Having a physical copy acts as a fail-safe against potential digital mishaps and keeps the team organized.
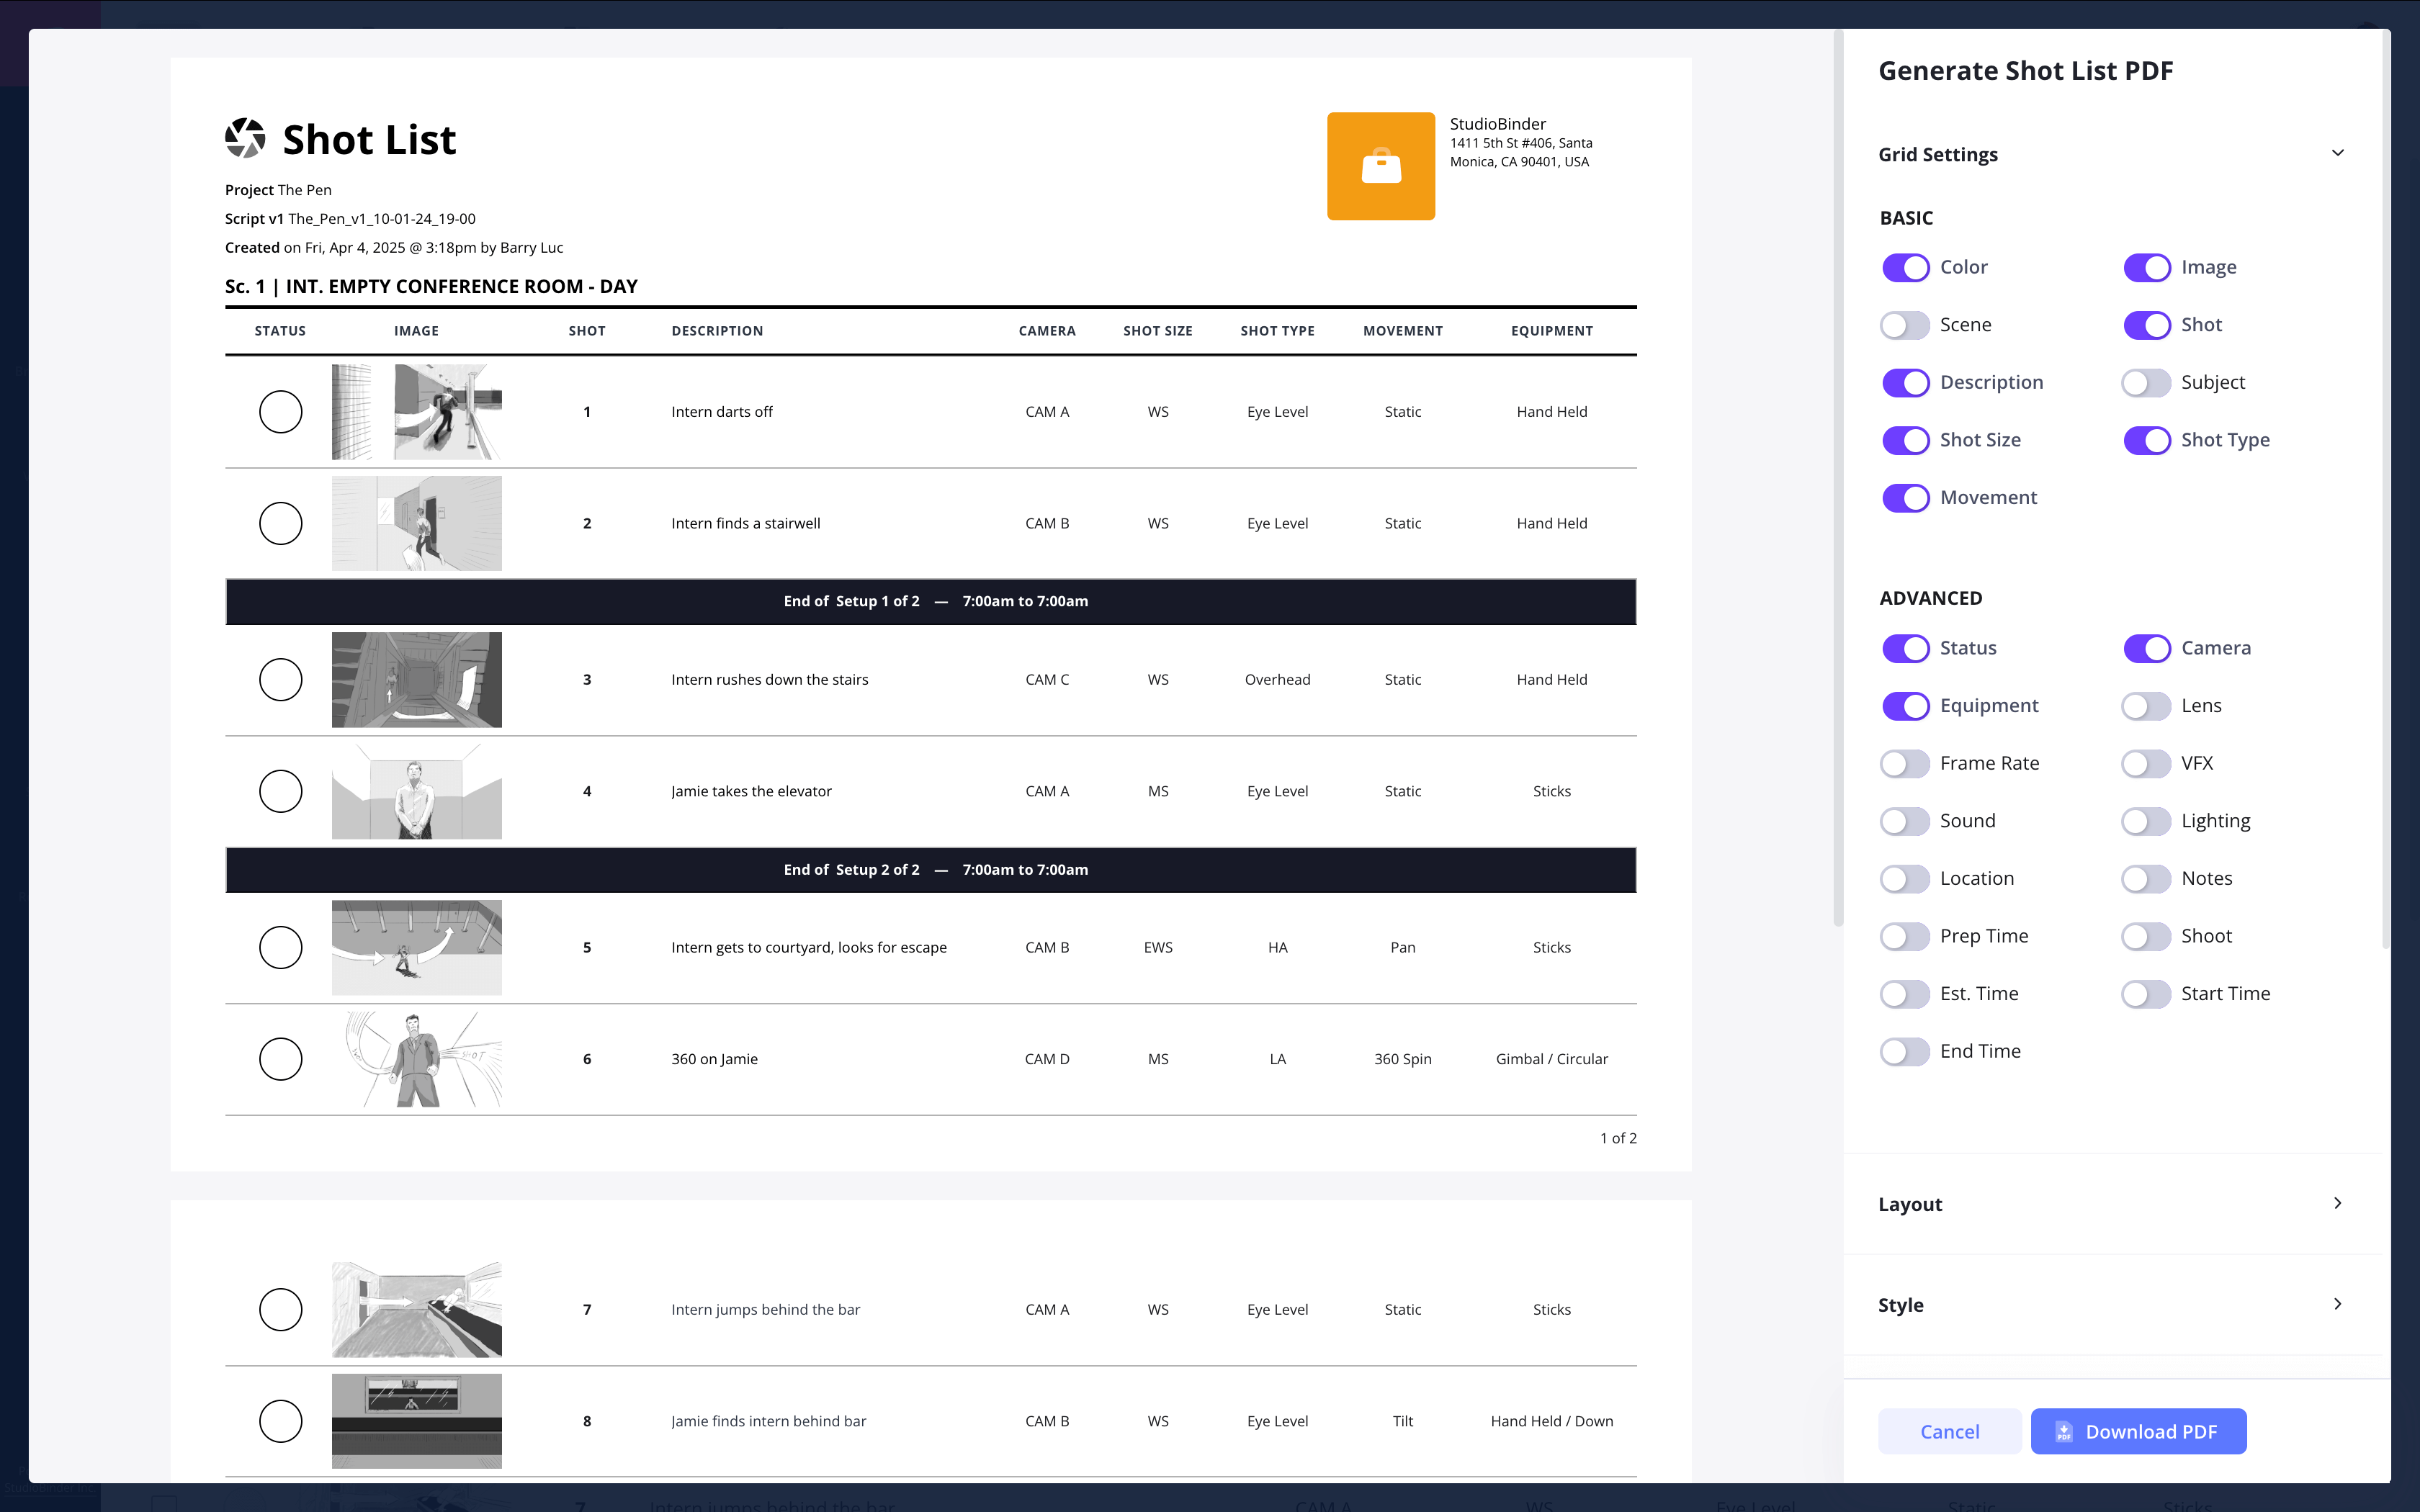

How to do this in StudioBinder
- Generate customizable storyboard PDFs for a professional presentation with added security.
Step 8
8. Track Progress on Set
On the day of the shoot, use your shot list to track completed shots. Mark them off as you go to maintain an overview of progress. This helps identify any missed shots, which can be scheduled for future pickups if necessary. A script supervisor can assist in managing this process, ensuring comprehensive coverage.


How to do this in StudioBinder
- Check off each shot as you capture within the StudioBinder shot listing app.
Conclusion
Video shot list complete
A solid shot list is key for a successful video shoot. It helps capture scenes accurately, keeps everyone on the same page, and creates a smooth visual story.
This shot list template is just one of several options you can choose from. Take a look at our Shot List Templates page to explore the full collection.
