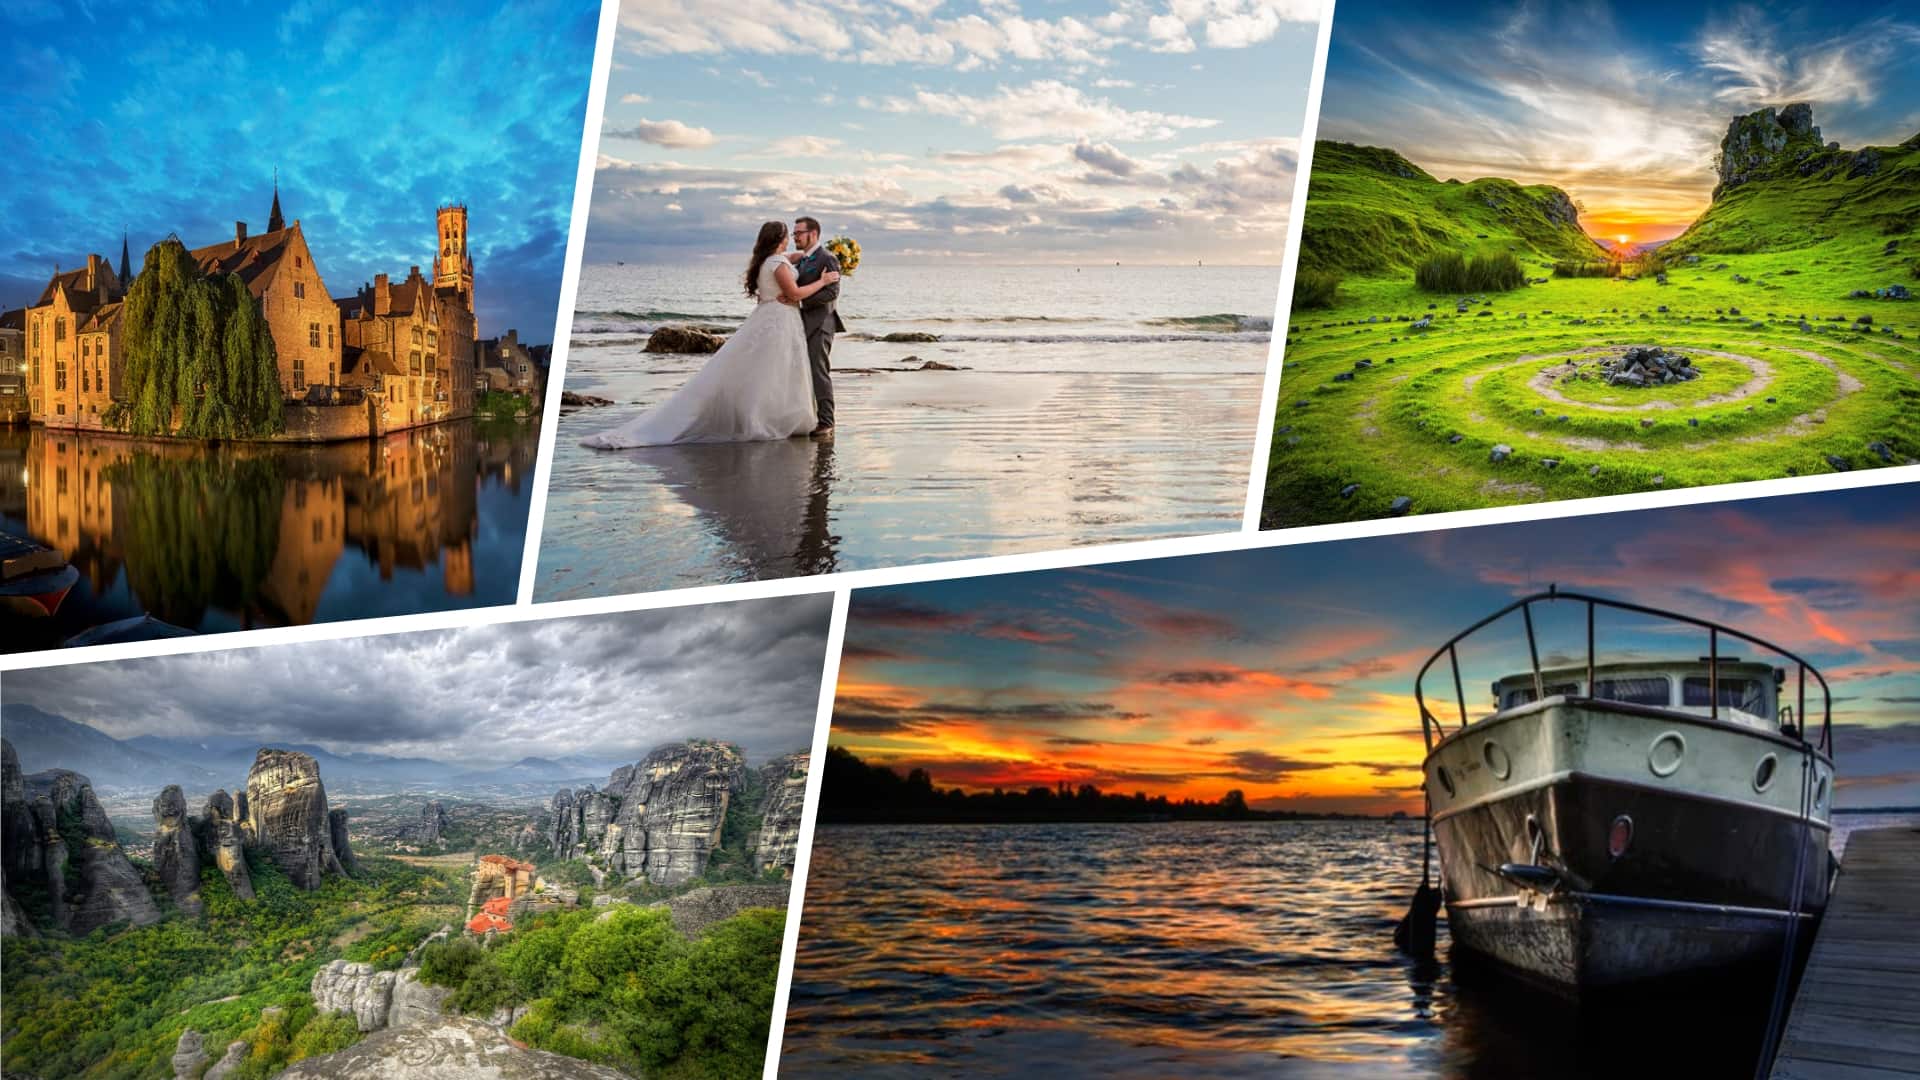
Have you ever had only a few seconds to capture the perfect image because the sunlight was fading of the sunset or maybe the clouds were moving from that perfect position? And you look down at your camera only to be disappointed with a completely underexposed image. But when you look up, that moment is gone. Fortunately, there’s a way to capture these moments to ensure you get the shot. It’s called bracketing photography. In this article, we’ll break down how to do bracketing in photography so that you can get the perfect shot.
Bracketing photography definition
Exposure bracketing explained
Bracketing is a tool that can be helpful in so many ways, but there is a time and place for it. To understand when it should be used, you must first understand what bracketing is and how it works. Let’s break down the bracketing photography definition.
BRACKETING PHOTOGRAPHY DEFINITION
What is bracketing?
Bracketing is the process of shooting the same image, shot, or scene multiple times using different camera settings resulting in different exposures.
Cinematographers and photographers either bracket the camera’s aperture, ISO, or shutter speed for varying exposures. Bracketing in DSLR cameras has become easier and more accessible to all photographers due to new in-camera technology.
Types of Bracketing Photography:
- Flash bracketing
- Focus bracketing
- Exposure bracketing
- White balance bracketing
How to Do Bracketing in Photography
Types of Bracketing
Bracketing can come in a few different forms, but its guiding idea remains the same. You take a series of the same photo with different settings, and then blend them in post to utilize the best of all the options. Let’s take a look at some of the types of bracketing.
Exposure bracketing
This is usually what people are referring to when they say bracketing. For the most part, exposure bracketing uses a differing shutter speed.
Exposure bracketing is fantastic for situations with a large dynamic range– some objects are in dark shadows, others are in direct sunlight.
Exposure bracketing • Camera bracketing explained
Of course, exposure also refers to ISO and aperture, so both of those elements can be shifted in this type of bracketing.
Depth of field bracketing
Depth of field bracketing is a bit more tricky. Here, you take multiple photos with different DOFs (achieved through different apertures).
The difficulty comes in post– blending different depth of fields can be harder than blending exposures. Still, it’s possible, and it can give you a lot of control over what’s in soft focus and what’s sharp.
Focus Bracketing
With focus bracketing, you have control over what’s in and out of focus, but it’s done by taking a series of photos where your focus is pulled to a different distance from the lens.
Focus bracketing at work • Camera bracketing explained
This is especially useful when you want a photo that appears to have a shallow depth of field, but your subjects are at different distances from the camera.
White balance bracketing
You’re probably catching on at this point: with white balance bracketing, you’re bracketing white balance. Simple enough, but why would you ever need to do this?
This bracketing is primarily used when you have multiple types of light sources in your frame. Say, for example, you have an interior shot lit by incandescent lights, but there’s also a window and you want to capture the sun-lit exterior as well. You’re dealing with different color temperatures, so you’ll need to white balance bracket.
In that situation, you’d probably also want an exposure bracket, since the sun is much stronger than artificial lights.
Why not choose all three? • Bracketing in DSLR
Flash bracketing
To flash or not to flash, that is the eternal question. With flash bracketing, you can do both. Take a photo with a flash, then take one without it, and use the best of both.
Flash bracketing • How to do bracketing in photography
Alternatively, you can bracket flashes of varying strengths.
Exposure is essential in image making. Every photographer and cinematographer should internalize how to use the Exposure Triangle. You can't just point-and-shoot a camera and expect a perfect picture — this is where your skills come in.
Before get into the "do's and don'ts" of bracketing photography, download our FREE Ebook on The Ultimate Guide to Exposure.
Then you can approach any lighting scenario with the tools necessary to capture the perfect picture every time.
Free downloadable bonus
FREE Download
Ultimate Guide to Exposure
The Exposure Triangle is something every photographer and cinematographer needs to master. Download our FREE e-book to get in-depth explanations and tutorials on topics like aperture, ISO, shutter speed, and how to balance these settings to nail perfect exposure every time.
Exposure bracketing photography
When to use photo bracketing
No matter how experienced you are in photography, you will inevitably make a mistake in how you expose an image. There are numerous factors that can lead to underexposed images and overexposed images. And when you’re shooting something extremely important that cannot be recaptured, photo bracketing is a low-risk, high-reward tool to use.
For example, landscape photography that relies on just moments of the perfect sunlight at golden hour can make for a high stakes shoot. Bracketing the camera’s aperture, ISO, or shutter speed can help you play it safe and capture the image correctly when time or light is not on your side.
This video breaks down the concept of photo bracketing and when photographers choose to use it.
Bracketing Photography Explained
Bracketing photography can also be used to merge photos of the same image with different exposures. This is known as exposure bracketing photography. Sometimes this is the only way to capture the image you have in mind. Some scenes that you shoot will inevitably have highlights that are blown out if exposed for the shadows and vice versa.
With photo bracketing, you can merge images in which the shadows and highlights from two different photos merge to form one image that you envisioned. Sometimes, this is the only way to capture proper exposure.
Related Posts
Bracketing photography don’ts
When not to use photo bracketing
Because bracketing photography involves taking multiple shots with one press of the shutter, it should be used with caution when shooting fast moving subjects such as in sporting events or even wildlife. It is important to understand fundamental bracketing technique before shooting.
If you plan on merging your images to create a perfectly exposed image, merging images with moving subjects will result in an image that looks more like a double exposure.
Shooting moving images can also result in missing the shot of the perfect action. In sports photography, for instance, where the ideal action shot lasts only a matter of milliseconds, bracketing photos can cause you to under or overexpose the perfect shot.
More logistically, bracketing also takes more time when shooting as you have to change the settings for three separate images when shooting one shot. It also fills up memory cards at a faster rate because of the additional information being stored per shot. So if you’re tight on either time or data storage, be sure to use bracketing photography with caution.
Bracketing photography technique
How to use bracketing
Although it might sound complicated, bracketing can be fairly simple thanks to in-camera functions and settings of today’s DSLR cameras.
1. Find AEB function on your camera
Bracketing in DSLR cameras is made easy through new tech functions. Most cameras have a function called AEB or “Automatic Exposure Bracketing.” In this camera bracketing mode you can take multiple photos with only one click of the shutter. This auto bracketing function makes the process much easier.
2. Determine the settings
Each photo will have different settings in which you can change the aperture, ISO, or shutter speed. Typically, the aperture is adjusted during bracketing to change the exposure image to image.
3. Shoot with a tripod
Next, a key bracketing technique is to use a tripod. This ensures that your shots are identical frame to frame. This will help when merging photos in either Lightroom or Photoshop.
Speaking of which, if you plan to merge the photos rather than choose one photo from your bracketed images, here’s a great video tutorial on how to merge bracketed photos using Lightroom.
Sunset Photography • Camera Bracketing Explained
Although exposure bracketing is the most common type of bracketing technique in photography, it is not the only thing that can be bracketed. Bracketing photos with different focal points is known as focus bracketing or focus stacking.
Understanding your camera's settings and functions will help you as a photographer capture any shot that you envision. But it is important to note that while bracketing is an incredibly useful tool, it is not meant to be used all the time. Experiment with bracketing in low-stakes settings to practice how to use it and to get a better understanding of when it should be used.
Related Posts
UP NEXT
The Fundamentals of Aperture
Before you start bracketing your photos, it is essential for every photographer and cinematographer to understand the ins and outs of aperture. Knowing how aperture functions will get you closer to capturing the perfect shot.
Up Next: All About Aperture →
Share your vision with elegant shot lists and storyboards.
Create robust and customizable shot lists. Upload images to make storyboards and slideshows.

