Everyone’s eyes process color differently. You may color grade in post-production, thinking you’re getting your image exactly right. But for other people, it just looks… off. To get the best results, you need to rely on the vectorscope, which is present in many video editing software programs, including Adobe Premiere Pro. But what is a vectorscope? The short answer is that it’s the best way to get quantitative data about your images so that you can more accurately assess the colors within a film. The long answer, well… just keep reading to find out.
WAVEFORM MONITOR AND VECTORSCOPE
Let’s start with a vectorscope definition
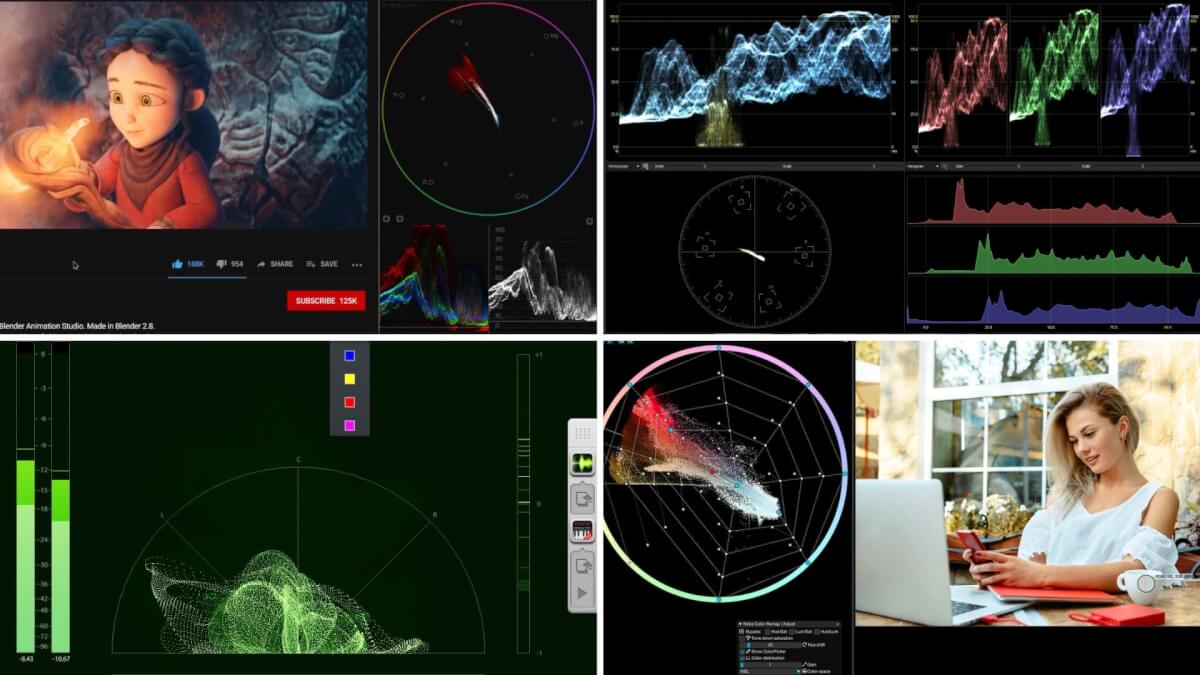
A vectorscope works in tandem with the waveform monitor. This is a special variation of an oscilloscope used in film and TV productions. It’s used to measure the voltage or level of a video signal over time. A waveform monitor is often used to calibrate multiple video cameras at the same time to ensure different cameras capture the exact same image under the same conditions.
You don't need to be a working Colorist to understand this tool. Even a basic understanding will help you get your images right.
VECTORSCOPE DEFINITION
What is a vectorscope?
A vectorscope is a video scope that provides greater data about the color properties of a video image. A vectorscope contains markings that indicate the degree of hue and saturation in an image. The further the markings are from the center, the more saturation you have in your image.
As such, filmmakers can use a vectorscope to ensure greater conformity in a film from one shot to the next. If a camera captures an image with too much saturation, then a vectorscope can aid in reducing said saturation.
Video editing software with vectorscope
- Adobe Premiere Pro
- Final Cut Pro
- After Effects
VECTORSCOPE TUTORIAL
How to read a vectorscope
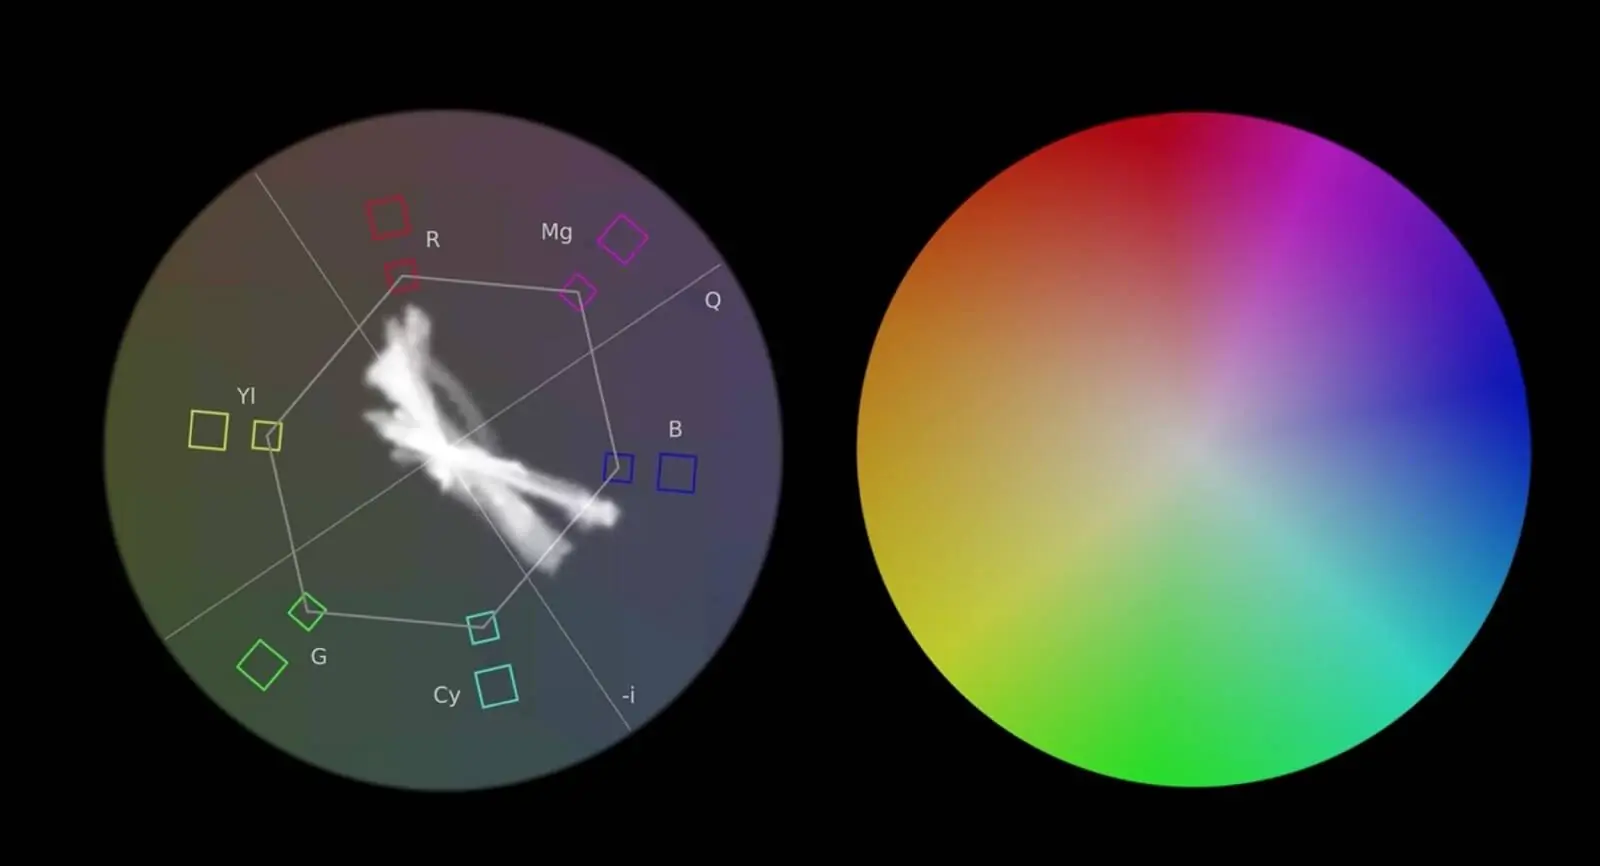
After you pull up the vectorscope in the video editing software of your choosing, you may wonder just what the heck you’re looking at. But it helps to view your vectorscope in relationship to the color wheel.

How to Open Vectorscope in Premiere
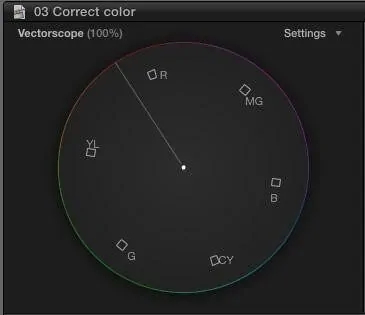
In Adobe Premiere Pro, the colors on the vectorscope are nicely labeled. There are two primary color concepts to be familiar with to adequately read the scope: hue and saturation.
The direction the marker points toward indicates the hue. Therefore, if it’s pointing toward the boxes labeled “R,” then the hue is predominantly red. However, the length of the marker correlates to saturation. The further away it is from the center of the wheel, the more saturated the image is.
It’s important to note the two boxes toward each main color. The box closest to the center is the 75% indicator. For most broadcasts, you don’t want the marker to extend beyond this first box.
Markers that extend beyond this box are known as “illegal” or “non-broadcast safe” colors. There may be instances where you need to go beyond the first box for stylistic reasons. But by and large, you want to avoid that.
What is a Vectorscope? • LensProToGo
Without proper calibration, you end up with images that look too red or too blue. It doesn’t look natural. But while it’s easy enough to fix this with landscape shots, you need to use some other features within the vectorscope when you want to color grade people’s skin tones.
Related Posts
VECTORSCOPE PREMIERE PRO
How to use a vectorscope for skin tones
One of the best features of the vectorscope is the skin tone line. You’ll see this going across the diameter of the scope, starting from about the 11 o’clock mark. It’s between the red and yellow boxes.

Vectorscope App
This line is designed to represent blood flow going through human skin. You want to pay attention to this line to ensure people’s skin actually looks human on camera. And this goes regardless of an individual’s ethnicity.
In the event you need to change people’s skin tone in vectorscope, you want to first lay down a garbage matte. To find this, you generally need to go to the “Video Effects” tab and then go to “Keying.”
Apply this matte to the video footage you want to adjust. Once it’s applied, it pulls all of the points so that it only covers people’s skin.
DaVinci Resolve Vectorscope • Harv Video
Once you do this, you can turn your attention back to the vectorscope. You can see how close people’s skin tones actually get to the designated line. In the event it’s off, then you can move the points over to the line so that you alter people’s skin but not everything else.
Two Important Rules to Remember
Adjusting skin tone should be the very last thing you do during any color correction. Prior to that, you want to take care of white balancing and anything else that has to deal with an image’s saturation.
And lastly, you don’t want to ignore what your eyes tell you during the color correction process. A vectorscope helps you fix errors, but it’s a guide more than anything. If you change something in the vectorscope and it ends up making things look worse, then feel free to go back to how it was before.
UP NEXT
Color Correction vs. Color Grading
The vectorscope is just one tool you have in your arsenal to color correct an image. Depending on the program you’re using, you have many other options for making video look just right. Everyone could use a color grading and correction primer once in a while. Read our next blog to ensure your colors always look top-notch.
Up Next: Color Correction vs. Color Grading →
Showcase your vision with elegant shot lists and storyboards.
Create robust and customizable shot lists. Upload images to make storyboards and slideshows.
