A color checker is an incredibly useful tool photographers can use to calibrate true colors. But what is a color checker? We’re going to answer that question by looking at color checker examples, then we’ll show you how to use a color checker in a few simple steps. By the end, you’ll know how to utilize true color better than ever before.
what is color calibration?
The importance of color calibration
Color calibration is simple to comprehend but difficult to master. What is color calibration? Well, it’s as simple as the name implies: color calibration is the method of calibrating colors. There are two major ways to calibrate colors: objectively and subjectively.
The goal of objective color calibration is to make photographs match true or universal color. This video from Jeff Rojas looks at how photographers achieve objective color calibration.
How to Use a Color Checker by Jeff Rojas
The goal of subjective color calibration is to make photographs match the color you want. Subjective color calibration is easy – you simply adjust the color values of the image until it looks like you want it to.
But how do photographers and artists make photographs match true or universal color? Good question. One way is through the use of a color checker; so without further ado, let’s define color checker.
COLOR CHECKER DEFINITION
What is a color checker?
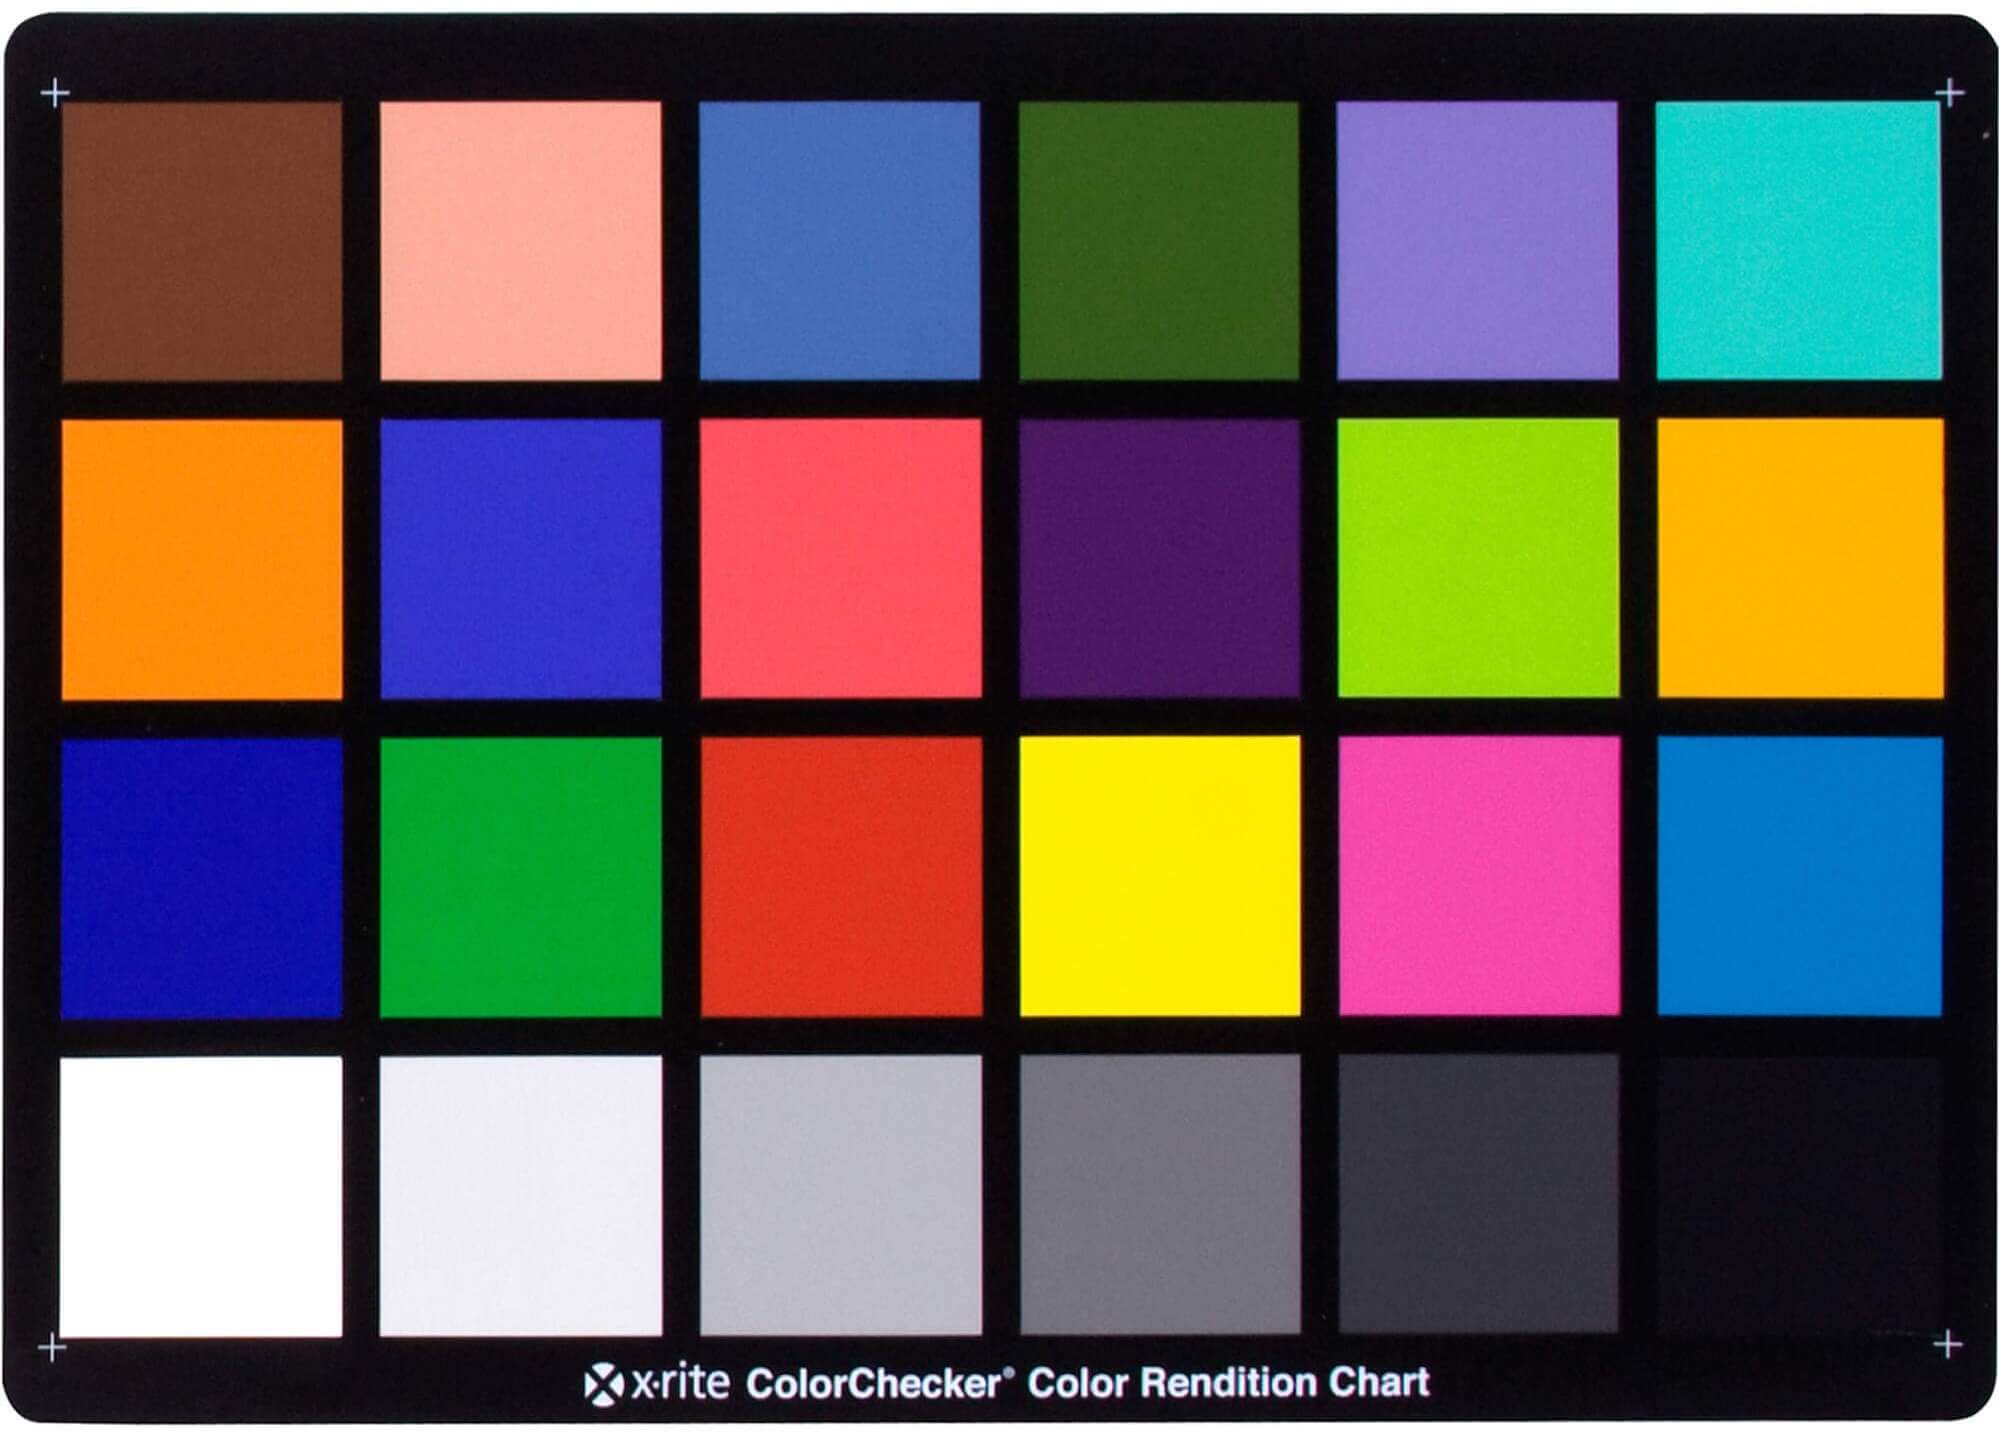
A color checker is a reference device that’s used by photographical artists to create “true-to-life” color reproduction. Color checkers solve the problem of “untrue-to-life” color reproduction that occurs because of cameras, lenses, and lighting.
what is color checker?
How to use a color checker
A color checker may sound like a simple device to use, but it actually requires some tinkering and an advanced knowledge of photography.
In this section, we’re going to break down step-by-step how to use a color checker with examples from professionals in the field.
1. Set your camera to raw
Before you use your color checker, make sure your camera is set to RAW footage. Shooting in RAW allows you to capture images exactly as they appear to the sensor.
2. Note your light sources
Light completely changes how color appears to the camera. Let’s say you’re using a three-point lighting set-up with key light, fill light, and backlight; don’t just make note of the fact that you’re doing so, but also record the color temperature of each light source.
This next video from Calibrite breaks down how to get perfect color in any light condition with a color checker.
Perfect Color With the ColorChecker Passport Photo 2 by Calibrite
We’ll get to more on the various color checker settings in a bit, but first let’s review white balance.
3. Adjust your white balance
White balance is an essential part of color grading and color correction; in simplest terms, it’s what the camera or computer decides is the neutral default for white. So, how do you adjust white balance?
Simply take a photo of a grey card in the foreground of the subject and use the white balance tool in Photoshop or Lightroom. This will cause a color shift and change all colors within the color space. The first part of this next video from Adorama explains how to properly calibrate white balance.
White Balance Explained by David Bergman of Adorama
Make note of that white balance process because you’re going to do something similar with your color checker in just a bit.
4. Break out the color checker
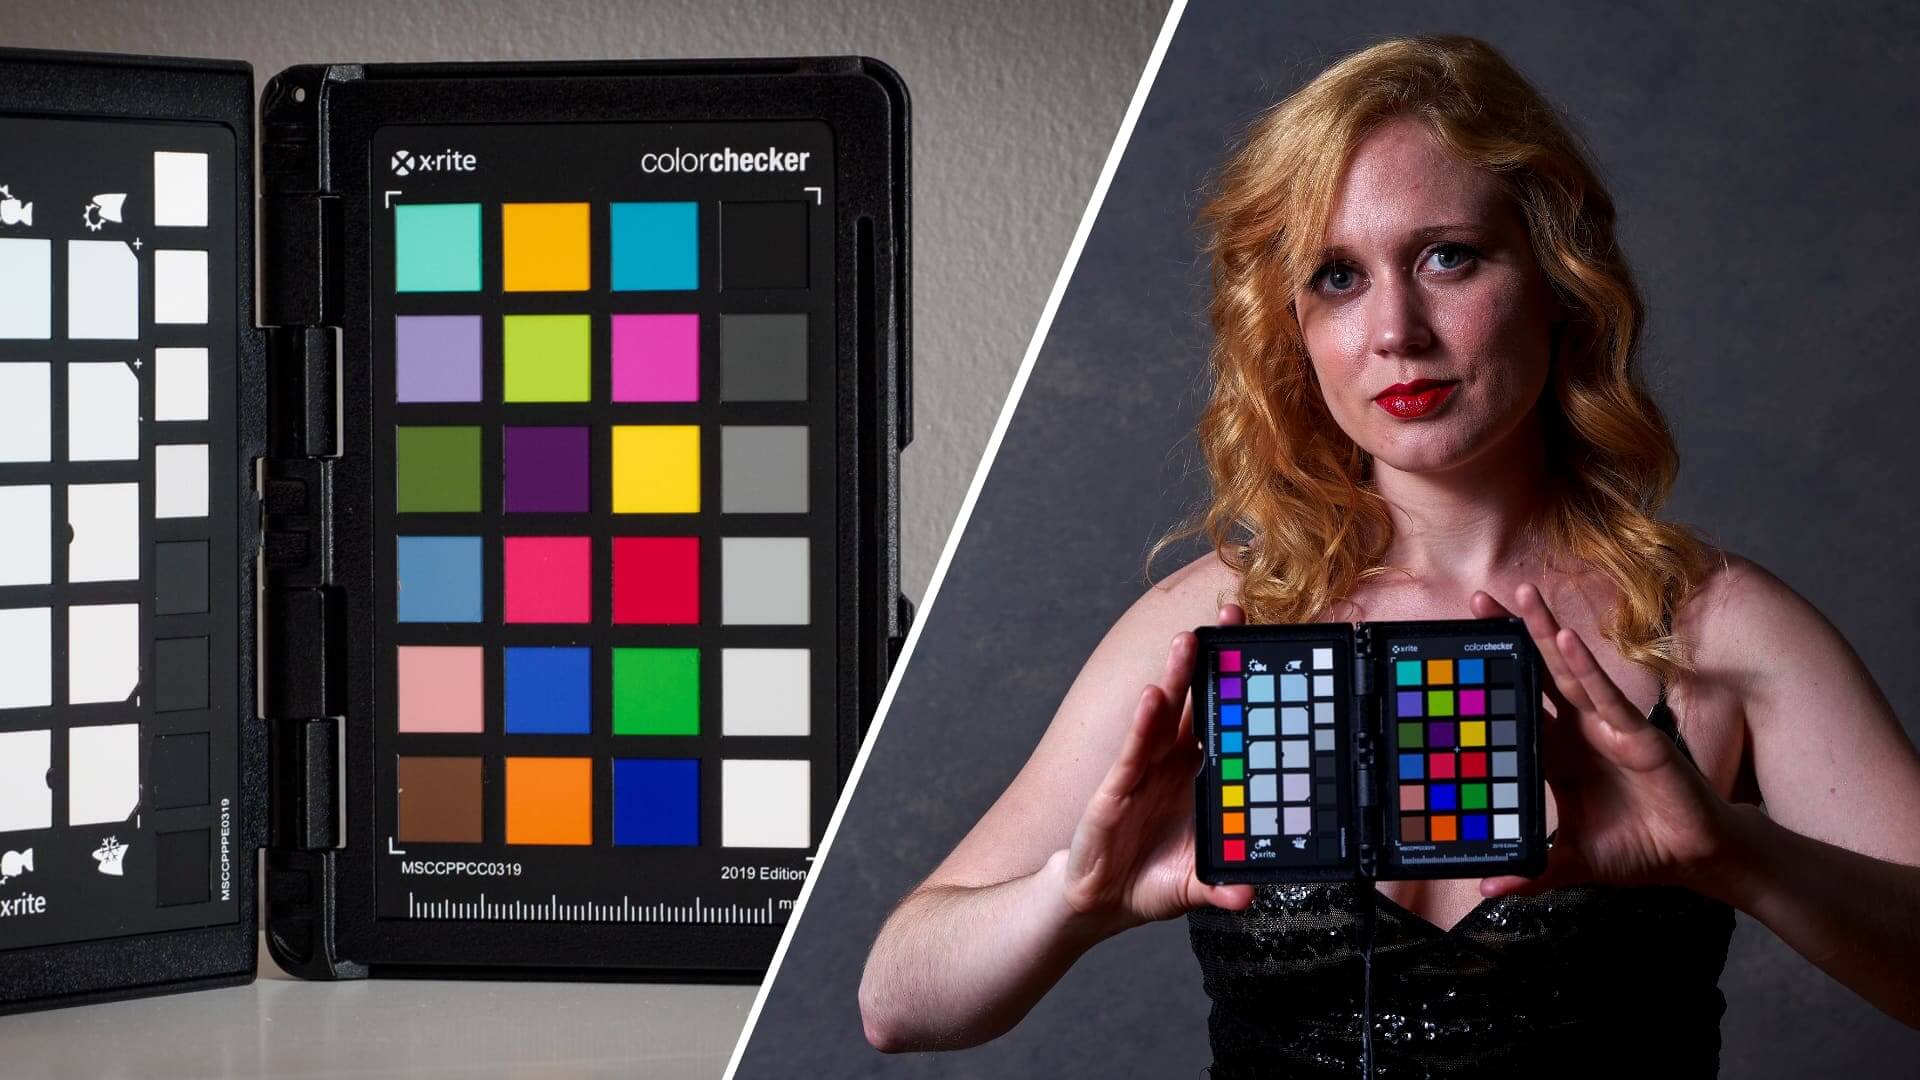
Take a picture of your subject with the color checker in the foreground, just like you did with the grey card.

Color Checker
Note* — make sure you don’t touch the colors!!! The oil from your hands will make the tool useless over time.
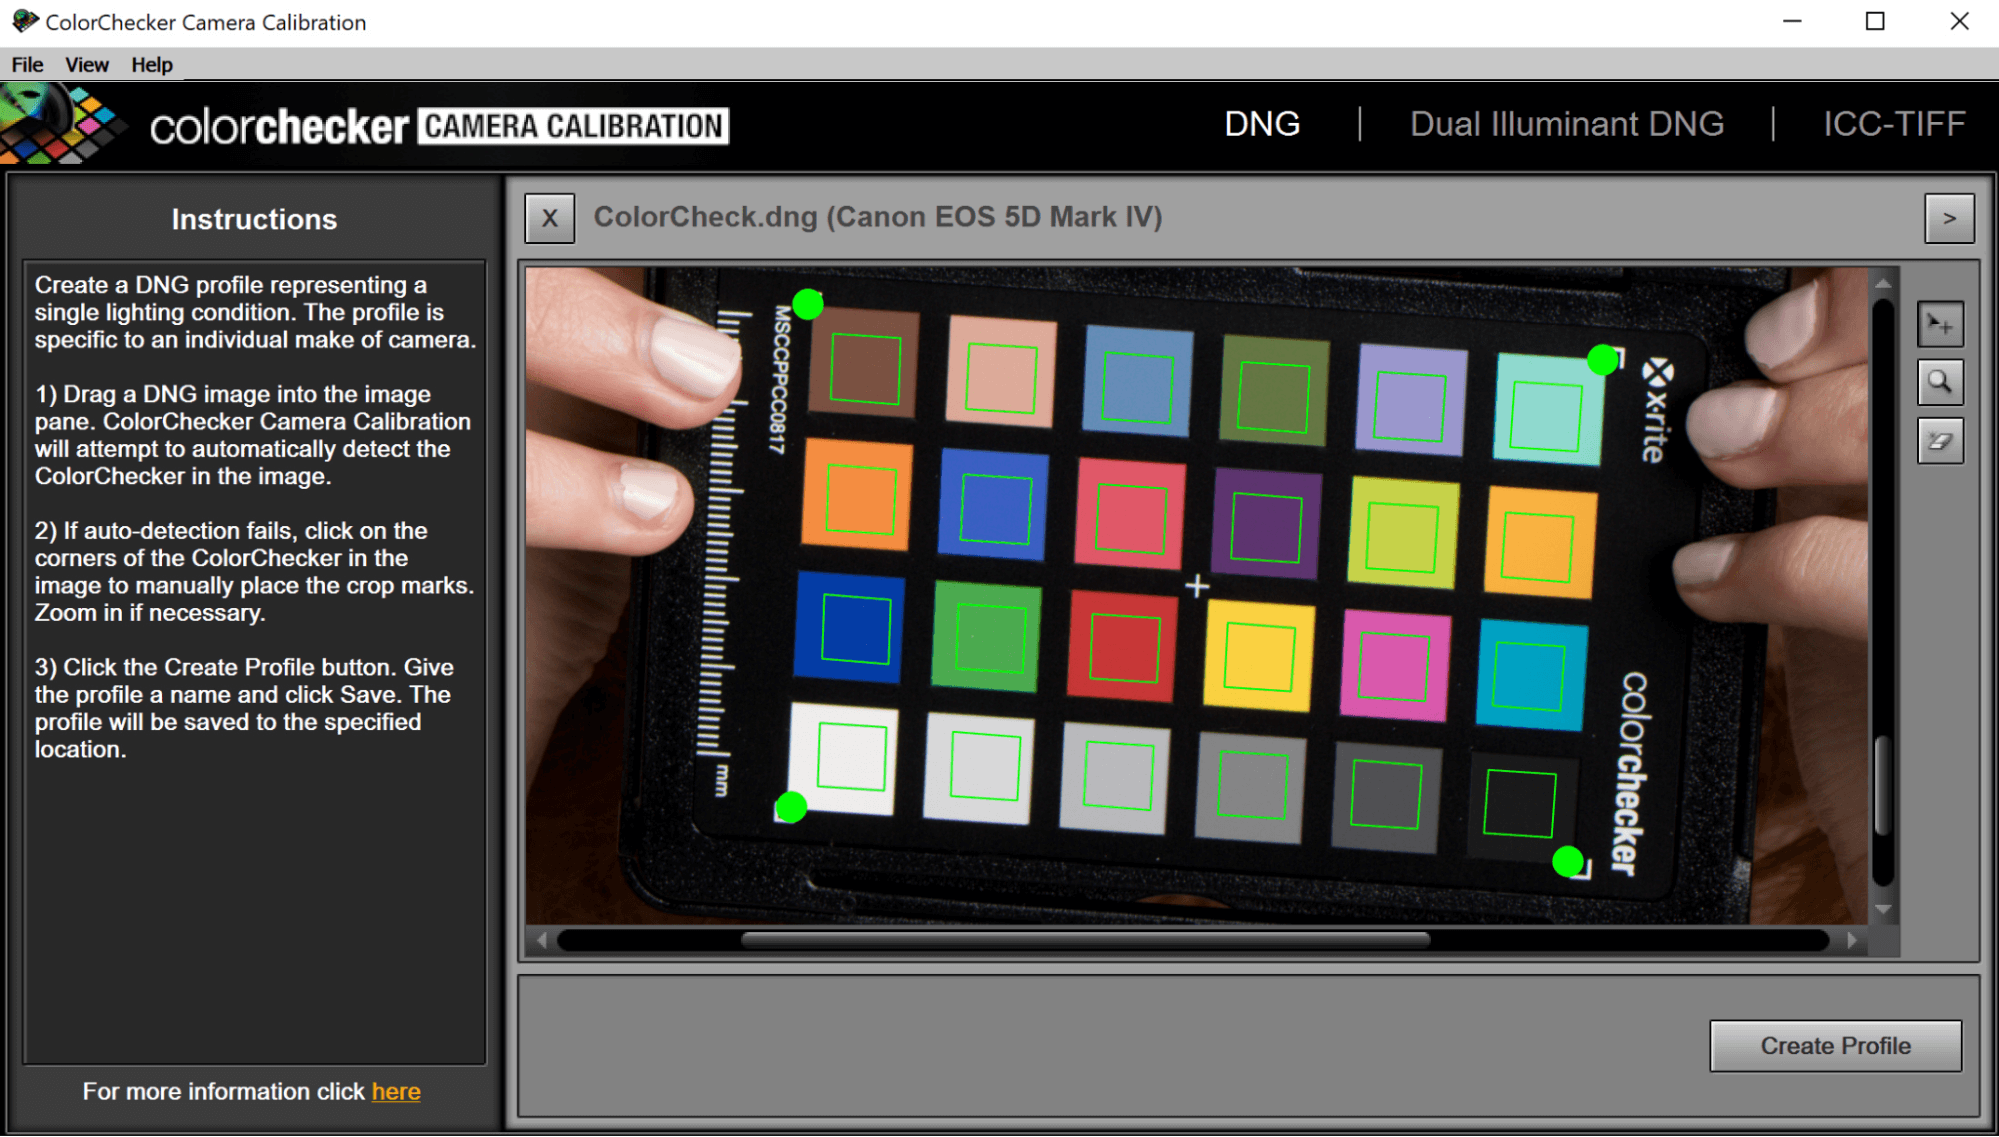
5. Open the ColorChecker Camera Calibration app
The camera calibration app will automatically detect true colors from the color checker upon import.

Color Checker
Note* — The ColorChecker app from X-Rite only accepts DNG RAW files. If you’re having trouble importing files, it may be because they were captured in another format.
6. Save the color profile
In the camera calibration app, save your image as a color profile in order to apply it in Photoshop and Lightroom.
7. Adjust the camera calibration
In Photoshop/Lightroom, go to the “camera profile” tab and change the default to your new color profile. Voila! You should notice an immediate color shift.
HUGE NOTE* — you need to redo the process of adjusting the white balance and creating a new color profile every time you change your lighting conditions.
UP NEXT
How to Use False Color
Chances are that if you’re interested in color checkers, you’re probably a colorist — or at least interested in color. As such, I think you’d enjoy our next article on how to use false color, with exposure examples. By the end, you’ll know what false color looks like and how to achieve it in your own works.
Up Next: False Color Exposure Techniques →
Showcase your vision with elegant shot lists and storyboards.
Create robust and customizable shot lists. Upload images to make storyboards and slideshows.
