Whip pans, swish pans, whip shot — whatever you call them, they are a great tool for creating seamless cuts and cool effects in your videos, but understanding how to build an effective whip pan is equally important.
Looking for examples of each swish pan effect along with a step-by-step guide for achieving a seamless whip shot cut? We’ve got you covered.
Watch: The Best Whip Pan Shots in Film
Whip Pan Video Shots
Whip Pan Essentials
Whip pans are used many different ways, and for many different reasons. They are great for any genre of filmmaking as long as you have a plan.
Paul Thomas Anderson, Edgar Wright, Damien Chazelle, Wes Anderson, Sam Raimi, Peter Jackson, Quentin Tarantino, Tina Fey — all of these filmmakers have relied on the effectiveness of a good ol’ whip pan.
Let’s look at the whip pan definition.
Whip Pan Definition
What is a whip pan (swish pan)?
A whip pan or swish pan is an intentional camera rotation on the x-axis that is so fast that it creates an often disorienting blur effect. A whip pan or whip shot can be done on a tripod, dolly, gimbal, or even handheld.
This same technique can be used when rotating the camera on the y-axis, but would then be referred to as a whip tilt.
What does a whip pan (swish pan) do?
- Moves fast enough to blur imagery
- Can transition through time and space
- Can simulate fast moving objects or people
A panning camera can be achieved with just about any camera rig. Whether it is handheld, using a dolly or crane, or even a drone. Here's a video breakdown of the various types of camera rigs, how they work, and how they add to the "feel" and look of a shot.
Ultimate Guide to Camera Gear • Subscribe on YouTube
The whip pan is just one of many types of camera movements in film. Here's a complete breakdown of each type along with their storytelling values and how they have contributed to some iconic moments in cinema history.
The Ultimate Guide to Camera Movement • Subscribe on YouTube
The various uses of a whip pan shot rely on the same overall effects of blurred movement and directionality, but understanding the desired result will better help you build the right whip pan for your video.
Let’s look at some common whip pan effects and uses.
Swish Pan Video Effects
Ballistic movement effect
Whip pans can be used to simulate an object traveling through space.
Combine this with props, debris, and stage blood to create the effect that someone or something was just struck by a moving object.
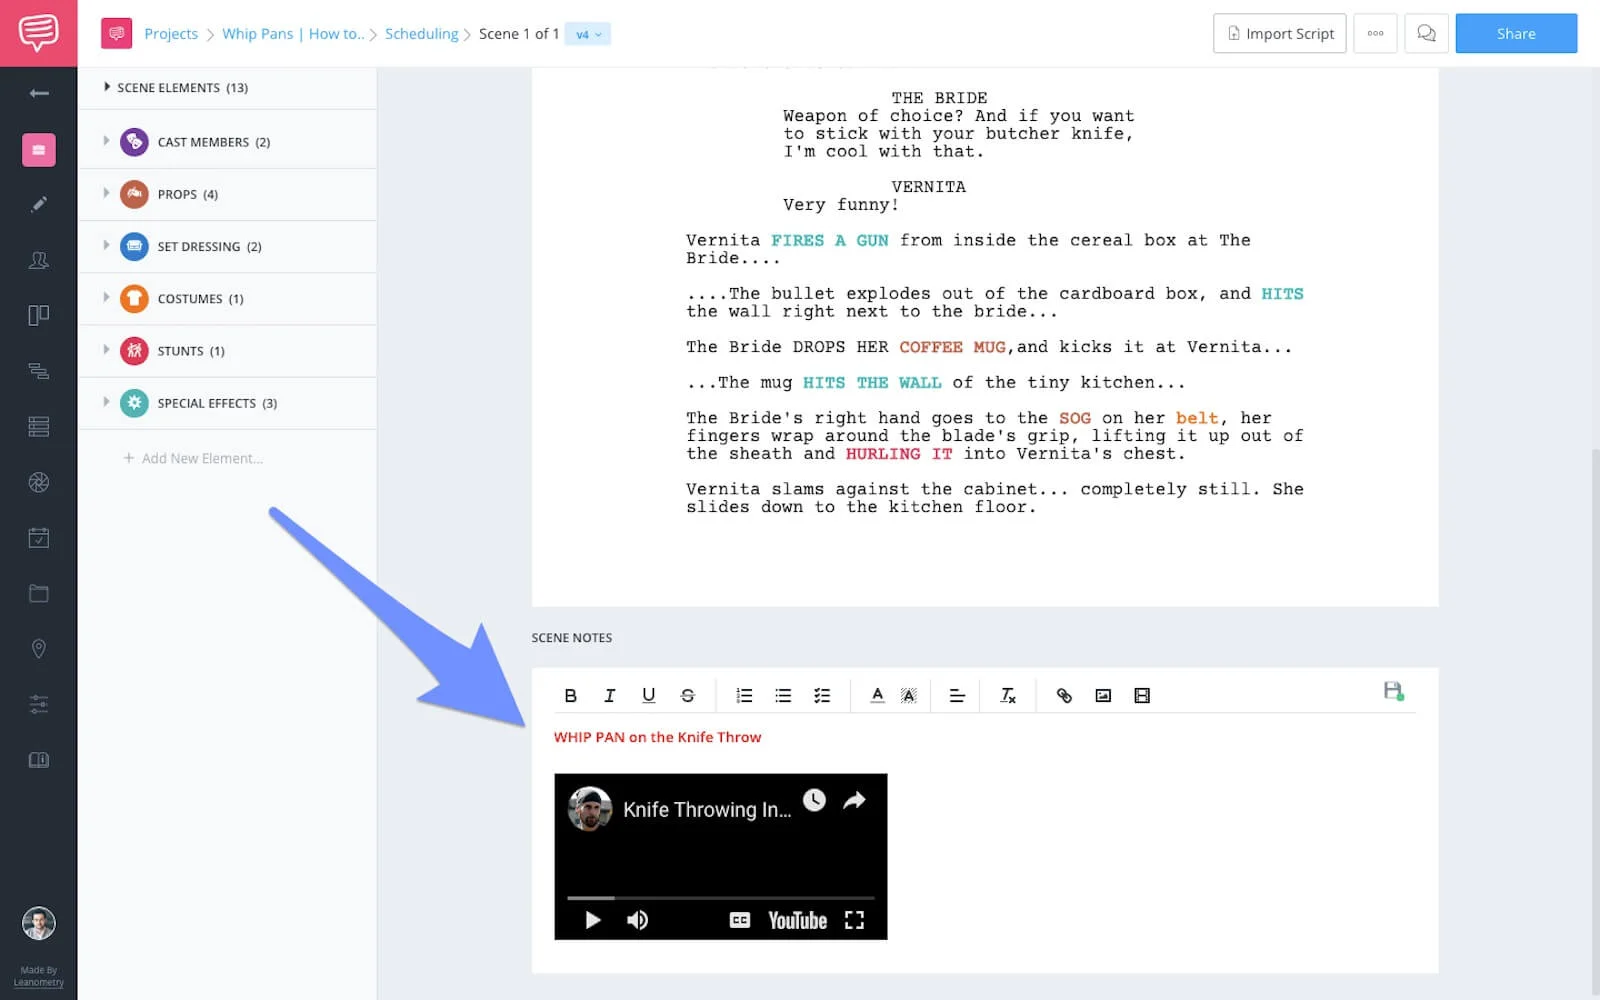
Here is a whip pan example from Kill Bill used for ballistic movement:Whip Pan | Kill Bill
How do you achieve this whip pan effect?
First, identify the moment for your whip pan during your script breakdown. Make sure to add scene notes and embeds for clarity.
How do you achieve this effect on set?
Show your character throwing something off-screen…
Set up your shot as:
One fluid whip pan shot (A-to-B)
or...
Two separate whip pans (A-to-Mid → Mid-to-B)
You must whip pan in the same direction as the moving object, and land on your actor/set design with the prop already affixed to the body/surface.
Whip Shot Video Effects
Back and forth effect
You can also use the whip pan to go back and forth from the same area for a few different reasons, but it will most likely be to allow for a setup and gag to payoff, or as a form of communication by the actors.
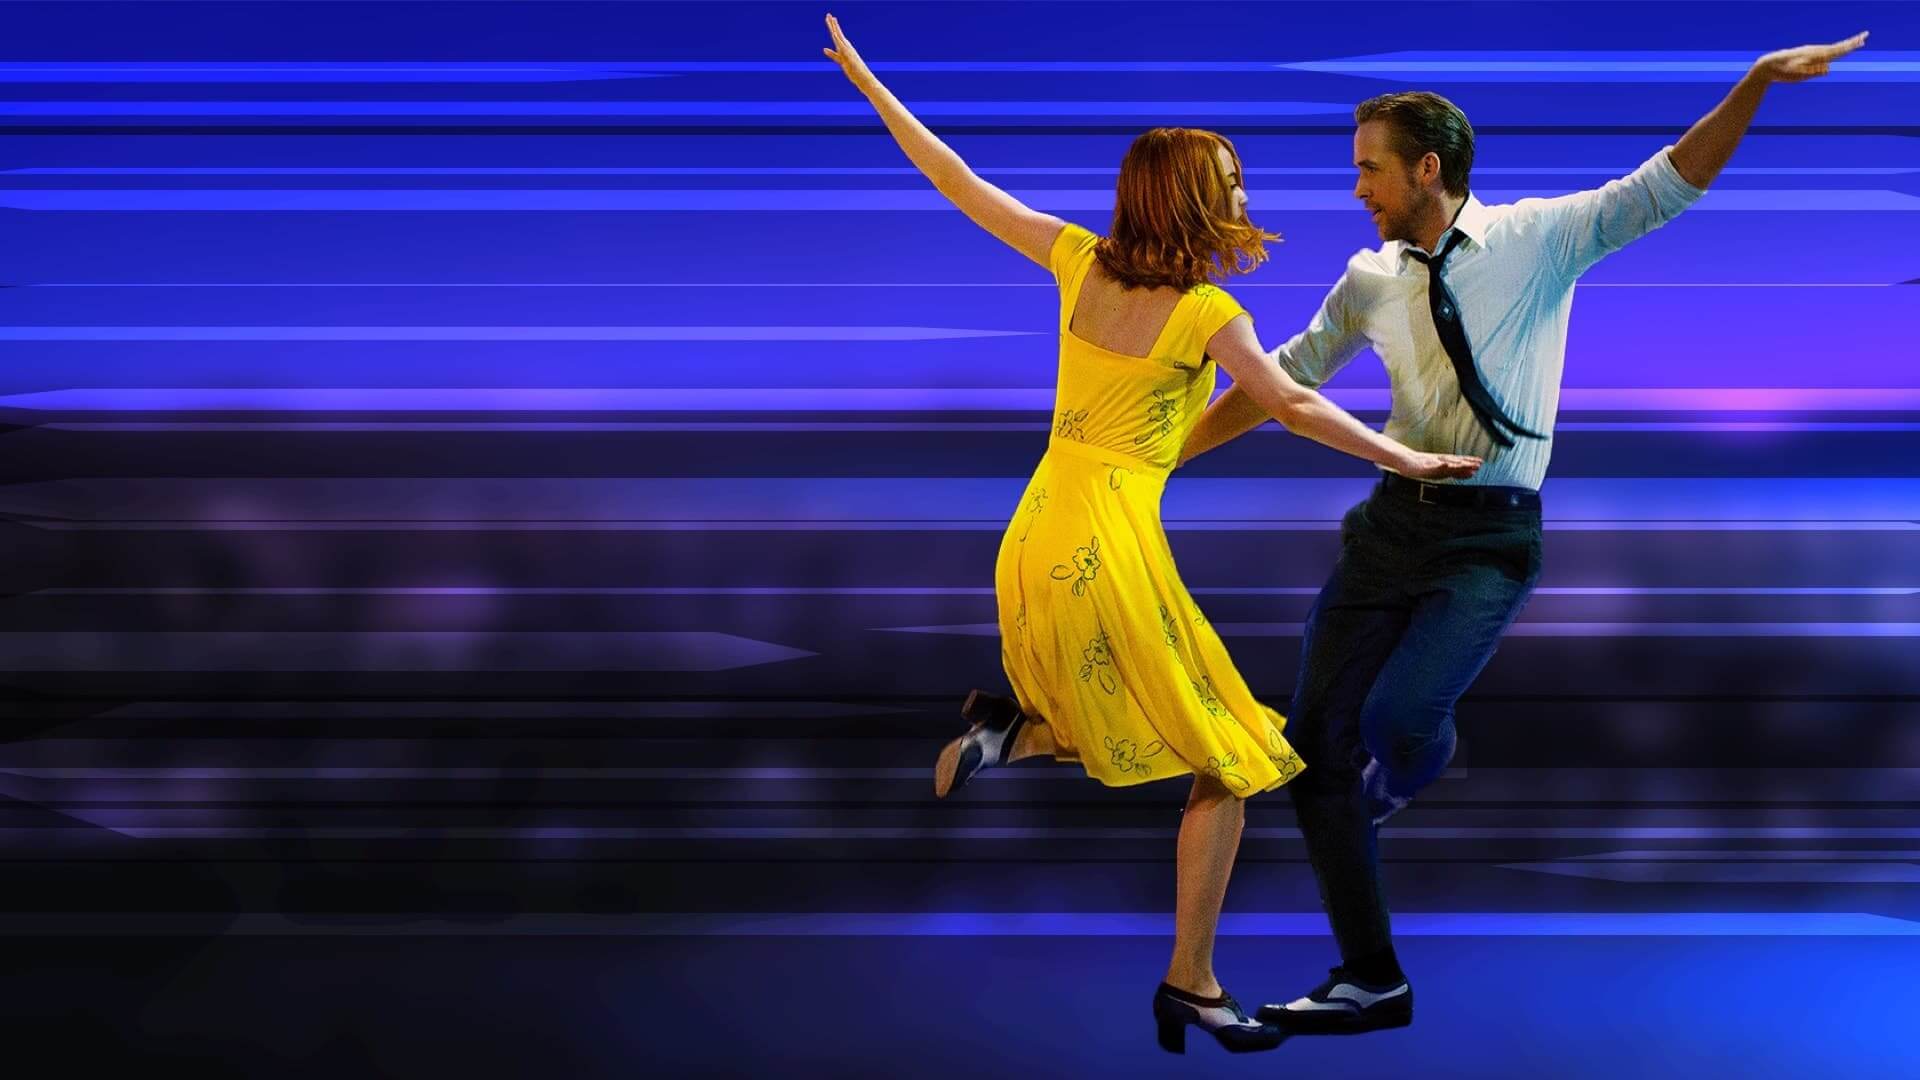
Let’s show you a whip pan examples from La La Land & Whiplash:Damien Chazelle Whip Pans
You can see how the whip pan in La La Land is used by director Damien Chazelle to simulate a non-verbal communication between his two stars.
Chazelle used whip pans before La La Land in his prior film, Whiplash.
The whip pan is a perfect technique to show an actor see something, give us a slight delay, and then return for their reaction to the off screen imagery. It breaks the moment into little bite size morsels, and stretches the laughs.
Whip Pan Video Effects
Generate energy effect
A whip pan can be simply used to generate extra energy in your scene, and serve the very simple purpose of build momentum for your story.
Here is how Paul Thomas Anderson uses swish pans:
PT Anderson • Whip Pans
How do you shot list a whip pan like PT Anderson?
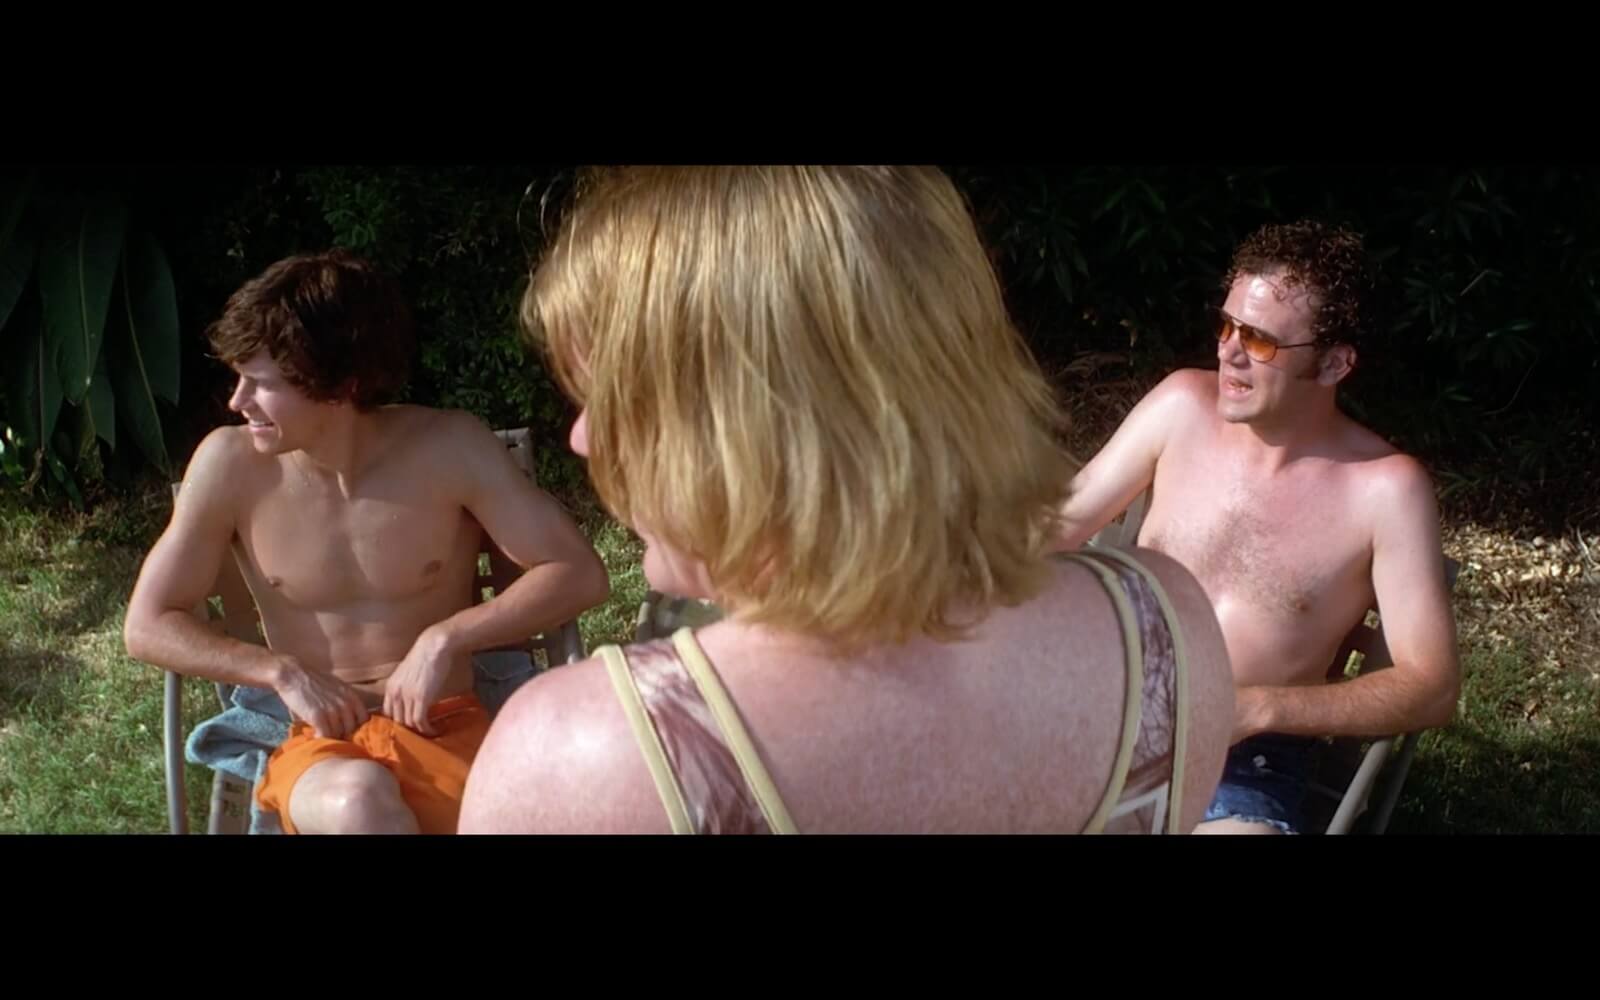
Both pans rotate in the same direction, but one of the really great things Anderson does is he uses the motion of the actors to motivate the pan.
Their heads turn, and the camera follows.

Motivated Whip Pan • Boogie Nights
What is even more interesting is how these cut together, and when the filmmakers chose to cut from the A-pan to the B-pan.
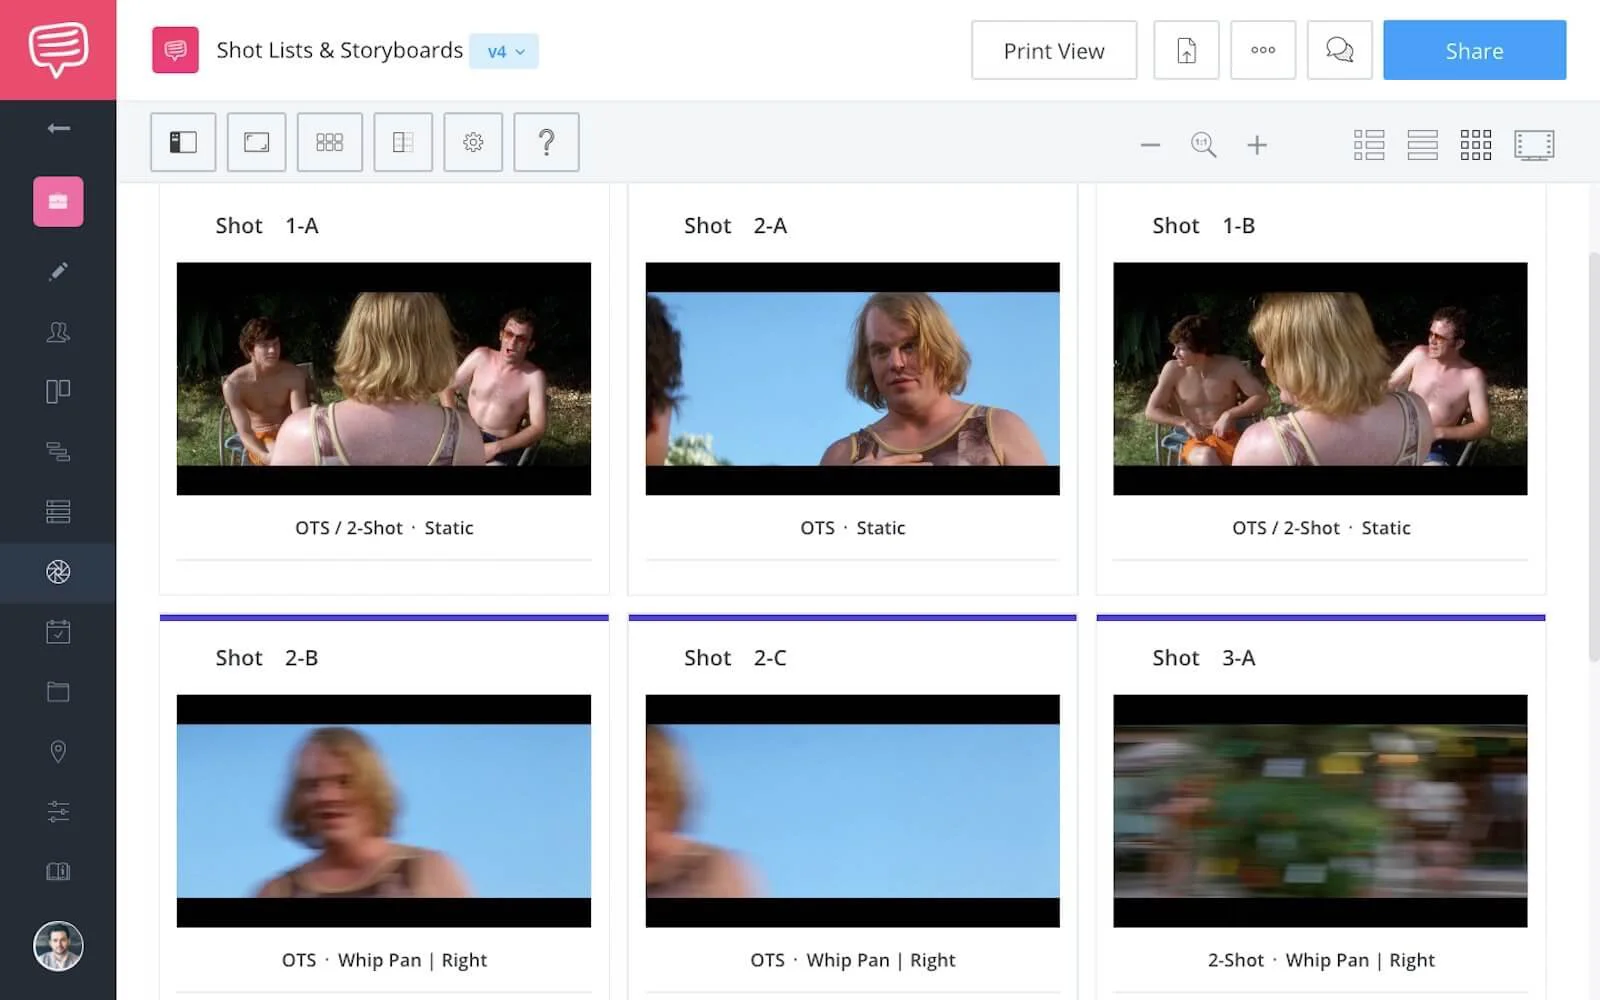
Another thing that you can do when building your shot list, is to label each portion of your pan with a number/letter combination (i.e. 2-A).
See a whip pan example of the cut and shot labels in the list below:
One of the more difficult things Anderson does with some of his whip pans is that his team will often change shot size from one subject to another.
Why is this so impressive?
This is because a whip pan will be much easier if you can leave your focus distance consistently set from point A to point B.
For Anderson to achieve this move, his team either must make a very precise focus pull, or they use such a wide lens with a very large depth of field so that the vast majority of the frame is acceptably sharp.
It’s likely they had to split the difference between these two techniques.
WHIP SHOT VIDEO EFFECTS
Hyper Speed effect
Any time you have a vehicle or person that travels at super speeds, you can use a whip pan to simulate the ultra fast movement that takes place.
When would you use this?
This can be especially useful in action sequences when something zips by, or when one of your characters has super human speed.
Here is an example from The Flash on CW.The Flash | Whip Pan
There are times where a director like J.J. Abrams or Rian Johnson will use the whip pan and combine these uses for that extra effect.
See an example of this in Star Wars below:
Star Wars | Whip Pans
As you can see, a whip pan can spice up a scene with some extra energy, but it is perfect for vehicles and spaceships traveling across the screen.
Swish Pan Video Effects
Doppelgänger effect
Because a swish pan can be rather disorienting, you can use them to do a lot of things that would otherwise break the conventional rules of cinema.
This includes resetting orientation, which makes it easier to break the 180 degree line during your scene, but you can do something else quite fun…
You can easily simulate a clone or doppelgänger.
How do you go about creating this effect?
To do this, simply whip away from your actor (A point) and land back on your actor (B point) after you’ve had the opportunity to reposition them.
You will need to combine two separate whip pans for this, rather than creating a seamless single whip pan shot that is uninterrupted.
WHIP PAN VIDEO TRANSITIONS
Scene transitions with whip pan cuts
Whip pans can also be used to transition from scene to scene, or use swish pans to travel through time and space at the filmmaker’s discretion.
Why is this important?
It not only shows off the power of a whip pan, but also points out how they can be used in the middle of a scene rather than simply as a transition.
What is interesting about a lot of whip pan transition and whip cuts is that modern filmmakers have taken to creating and enhancing whip pans in After Effects or building whip cuts in Adobe Premiere.
Here is an example of the whip pan in influencer videos:
StudioBinder | Matt Komo
These After Effects whip pans are really useful for travel videography, music videos, and social event videography like concerts.
You can also pair these After Effects whip pans with GoPro action cameras and drones for some really cool whip pan cuts and transitions.
Let’s look at a few examples in the next sections.
SWISH PAN VIDEO TRANSITIONS
Jump through time and space
A whip pan can be so disorienting that you can use them to transport the audience through time and space. One of the best examples of this use of the swish pan can be seen in the NBC comedy, 30 Rock.
How do they do this?
They use whip pans to jump into the past, or to the future. They can jump across the world, or just across the hall. Even into hypothetical situations.
Check out an example of this below:
30 Rock | Whip Pan Transition
The sound design doesn’t hurt, does it?
If you watch very carefully, you may notice that the whip pans in 30 Rock predominantly move in the same direction (A-to-B then A-to-B) rather than taking us somewhere, and then returning back (A-to-B then B-to-A).
It is also quite possible that the whip pans are done completely on their own, and then layered in whenever they need to jump to a joke.
SWISH PAN VIDEO TRANSITIONS
Whip pan after effects in social videos
One of the more popular uses of the whip pan as a cut or transition is in travel vlogs and social media videos. These video and the filmmakers have used the whip cut as mortar for videos with little narrative application.
Some of this is created in-camera with the use of a whip cut, but in other cases this effect can be created in NLEs like Avid, Adobe Premiere or Final Cut Pro — also whip cuts in motion design software like After Effects.
Here is a helpful video that explains how to achieve whip pans in Adobe Premiere, and gives you some tips on adding blur and planning your pan:
Whip Pans in Premiere
The technique is very pleasing to the eye, and when you layer in high quality visuals with some significant sound design you get a nice effect.
Let’s look at some more helpful tips for planning your whip pan.
How to Shoot a Whip Pan Shot (Swish Pan)
Follow these steps for whip pans
There are many ways to do a whip pan, but there are some basic principles you can follow that will give you the best chance for success.
1. Whip pan (swish pan) direction
One of the main aspects of combining two whip pan is to maintain a consistent direction of rotation between the two pans.
If the first half of your shot pans right…
The second half should also pan right.
2. Whip pan (swish pan) speed
If the first half of your whip pan moves significantly faster than the second half of your whip pan, you will have a harder time creating a seamless cut.
Maintain the same speed with both of your swish pans.
3. Visual consistency
While direction and speed are the most important factors, if you have two shots that need to match for the viewer to believe the technique on screen, you will want to match the lighting and color from shot to shot.
If you are transitioning to a new scene or location… maybe not so much.
4. Get more than one whip pan
Very rarely will you get the perfect whip pan on the first take, but even if you do happen to get lucky — run it back a few times. Get some for safety.
The odds will lean in your favor when you have multiple takes.
5. Cut together your whip pans
You will now cut together whip pans in your edit, but you should keep in mind your ability to speed ramp, punch in or out, and very simply use the tools inside your NLE to enhance the whip pan move on screen.
Biggest tip is to take advantage of sound design.
UP NEXT
Explore different camera movements
We've covered the whip pan but there are many other camera movements to discuss. As you amass your camera movement repertoire, you will be able to amplify your visual storytelling exponentially. You're already on your way but the only question is which camera movement will you dive into next?
Showcase your vision with elegant shot lists and storyboards.
Create robust and customizable shot lists. Upload images to make storyboards and slideshows.


