Montages are crucial to the filmmaking language. A great montage can last in your audience’s head long after they’ve left a theater or turned off their television. But creating a great montage requires planning– how are your shots going to interact? In this post, we’ll look at how to storyboard montage sequences to know how they will look before even arriving on set.
Creating a story board
What is a montage storyboard?
Before we get into the logistics of storyboarding your montage, let’s define two key terms: storyboard and montage.
A storyboard is a visual blueprint of shots for a film (or commercial or TV show). It’s a series of drawings, or other visual renderings, of what will happen in each shot and how said shot will be framed.
For more information, you can check out our posts on How to Make a Storyboard, Storyboard Rules, and Best Storyboard Examples.
In the meantime, check out our video on the subject:
How do I make a storyboard? • Subscribe on YouTube
As you can see, a storyboard often looks like a comic without dialogue, and can include storyboard arrows to indicate camera movement.
A montage, meanwhile, refers to a sequence of images cut together. This seems like it encapsulates most of modern filmmaking, right?
That’s because montage was created and defined by early filmmakers in the Soviet Union like Sergei Eisenstein and Lev Kuleshov (known for the Kuleshov Effect). They pioneered filmmaking techniques that were so influential, they now are the dominant form of editing.
So what they referred to as montage, we may now refer to as editing.
For our purposes, however, we’ll have a slightly more narrow view of montage and one which is more commonly used today: shots that are put together that aren’t necessarily in the same scene, and which may compress time or join multiple storylines together.
Think, for example, of the training montage:
The training montage • Subscribe on YouTube
So now we’ve defined storyboard and montage – let’s put them together to understand how to storyboard montages.
Related Posts
Creating a story board
How to Storyboard Montages
Storyboarding a montage isn’t wildly different from storyboarding any other scene: you’ll want to sketch out each shot. But there are some additional considerations that may come into play.
First and foremost, as Eisenstein and Kuleshov emphasized, a montage is all about juxtaposition.
How are the images you’ve put next to each other interacting?
Take this example of the Kuleshov Effect:

The Kuleshov Effect
These images illustrate the power of juxtaposition inherent to editing (let’s be honest, though, if it’s Alfred Hitchcock, he’s always going to be a dirty old man). By storyboarding your montage, the meaning created out of the edit doesn’t need to be discovered in post-production, it can be planned all along.
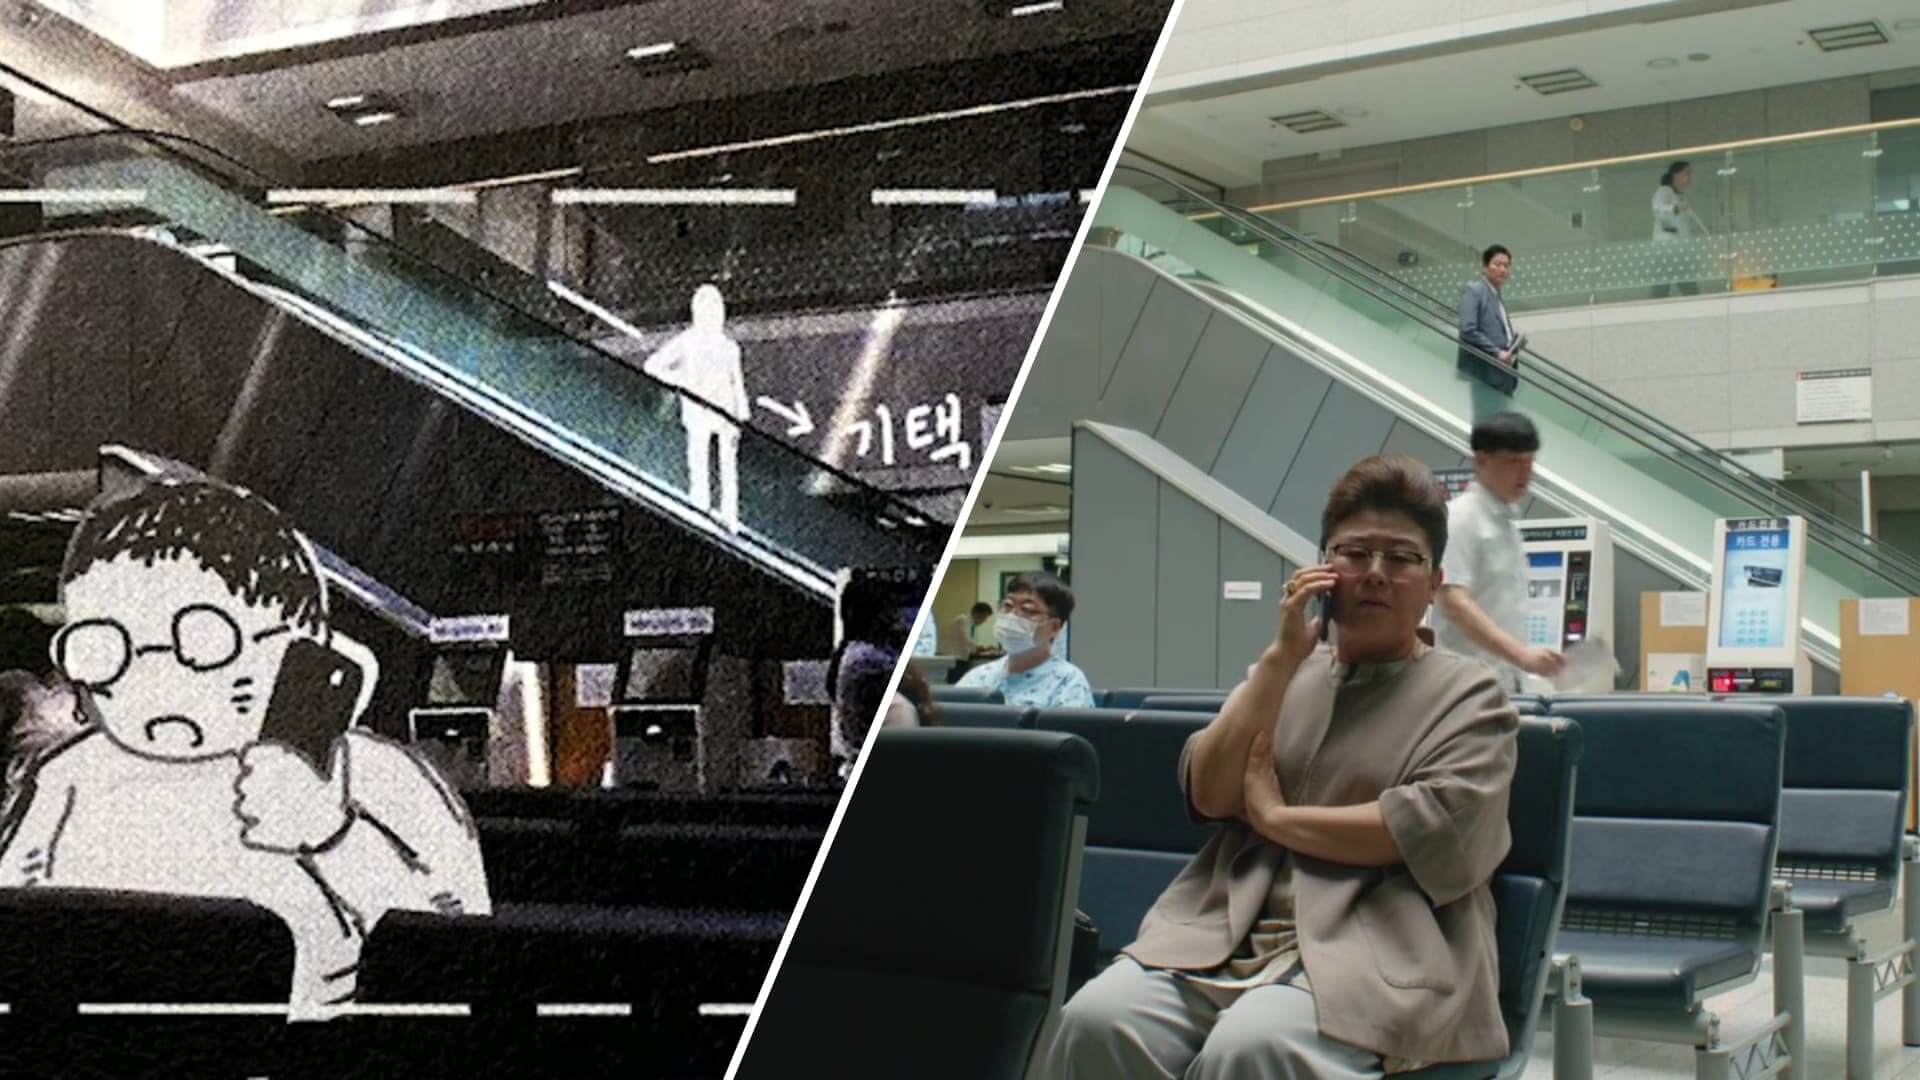
Take a look at this storyboard montage in Parasite:
A storyboard montage
Notice how large of a role camera movement plays at the beginning of the montage. The camera is tracking in alternating directions: in one shot, it moves to the right, in the next, it moves to the left, and so on.
This adds a rhythm to the sequence and was clearly preplanned, as evidenced by the storyboard. If Bong Joon-ho showed up to the set and freestyled the montage, it’s unlikely these smooth transitions would have been achieved.
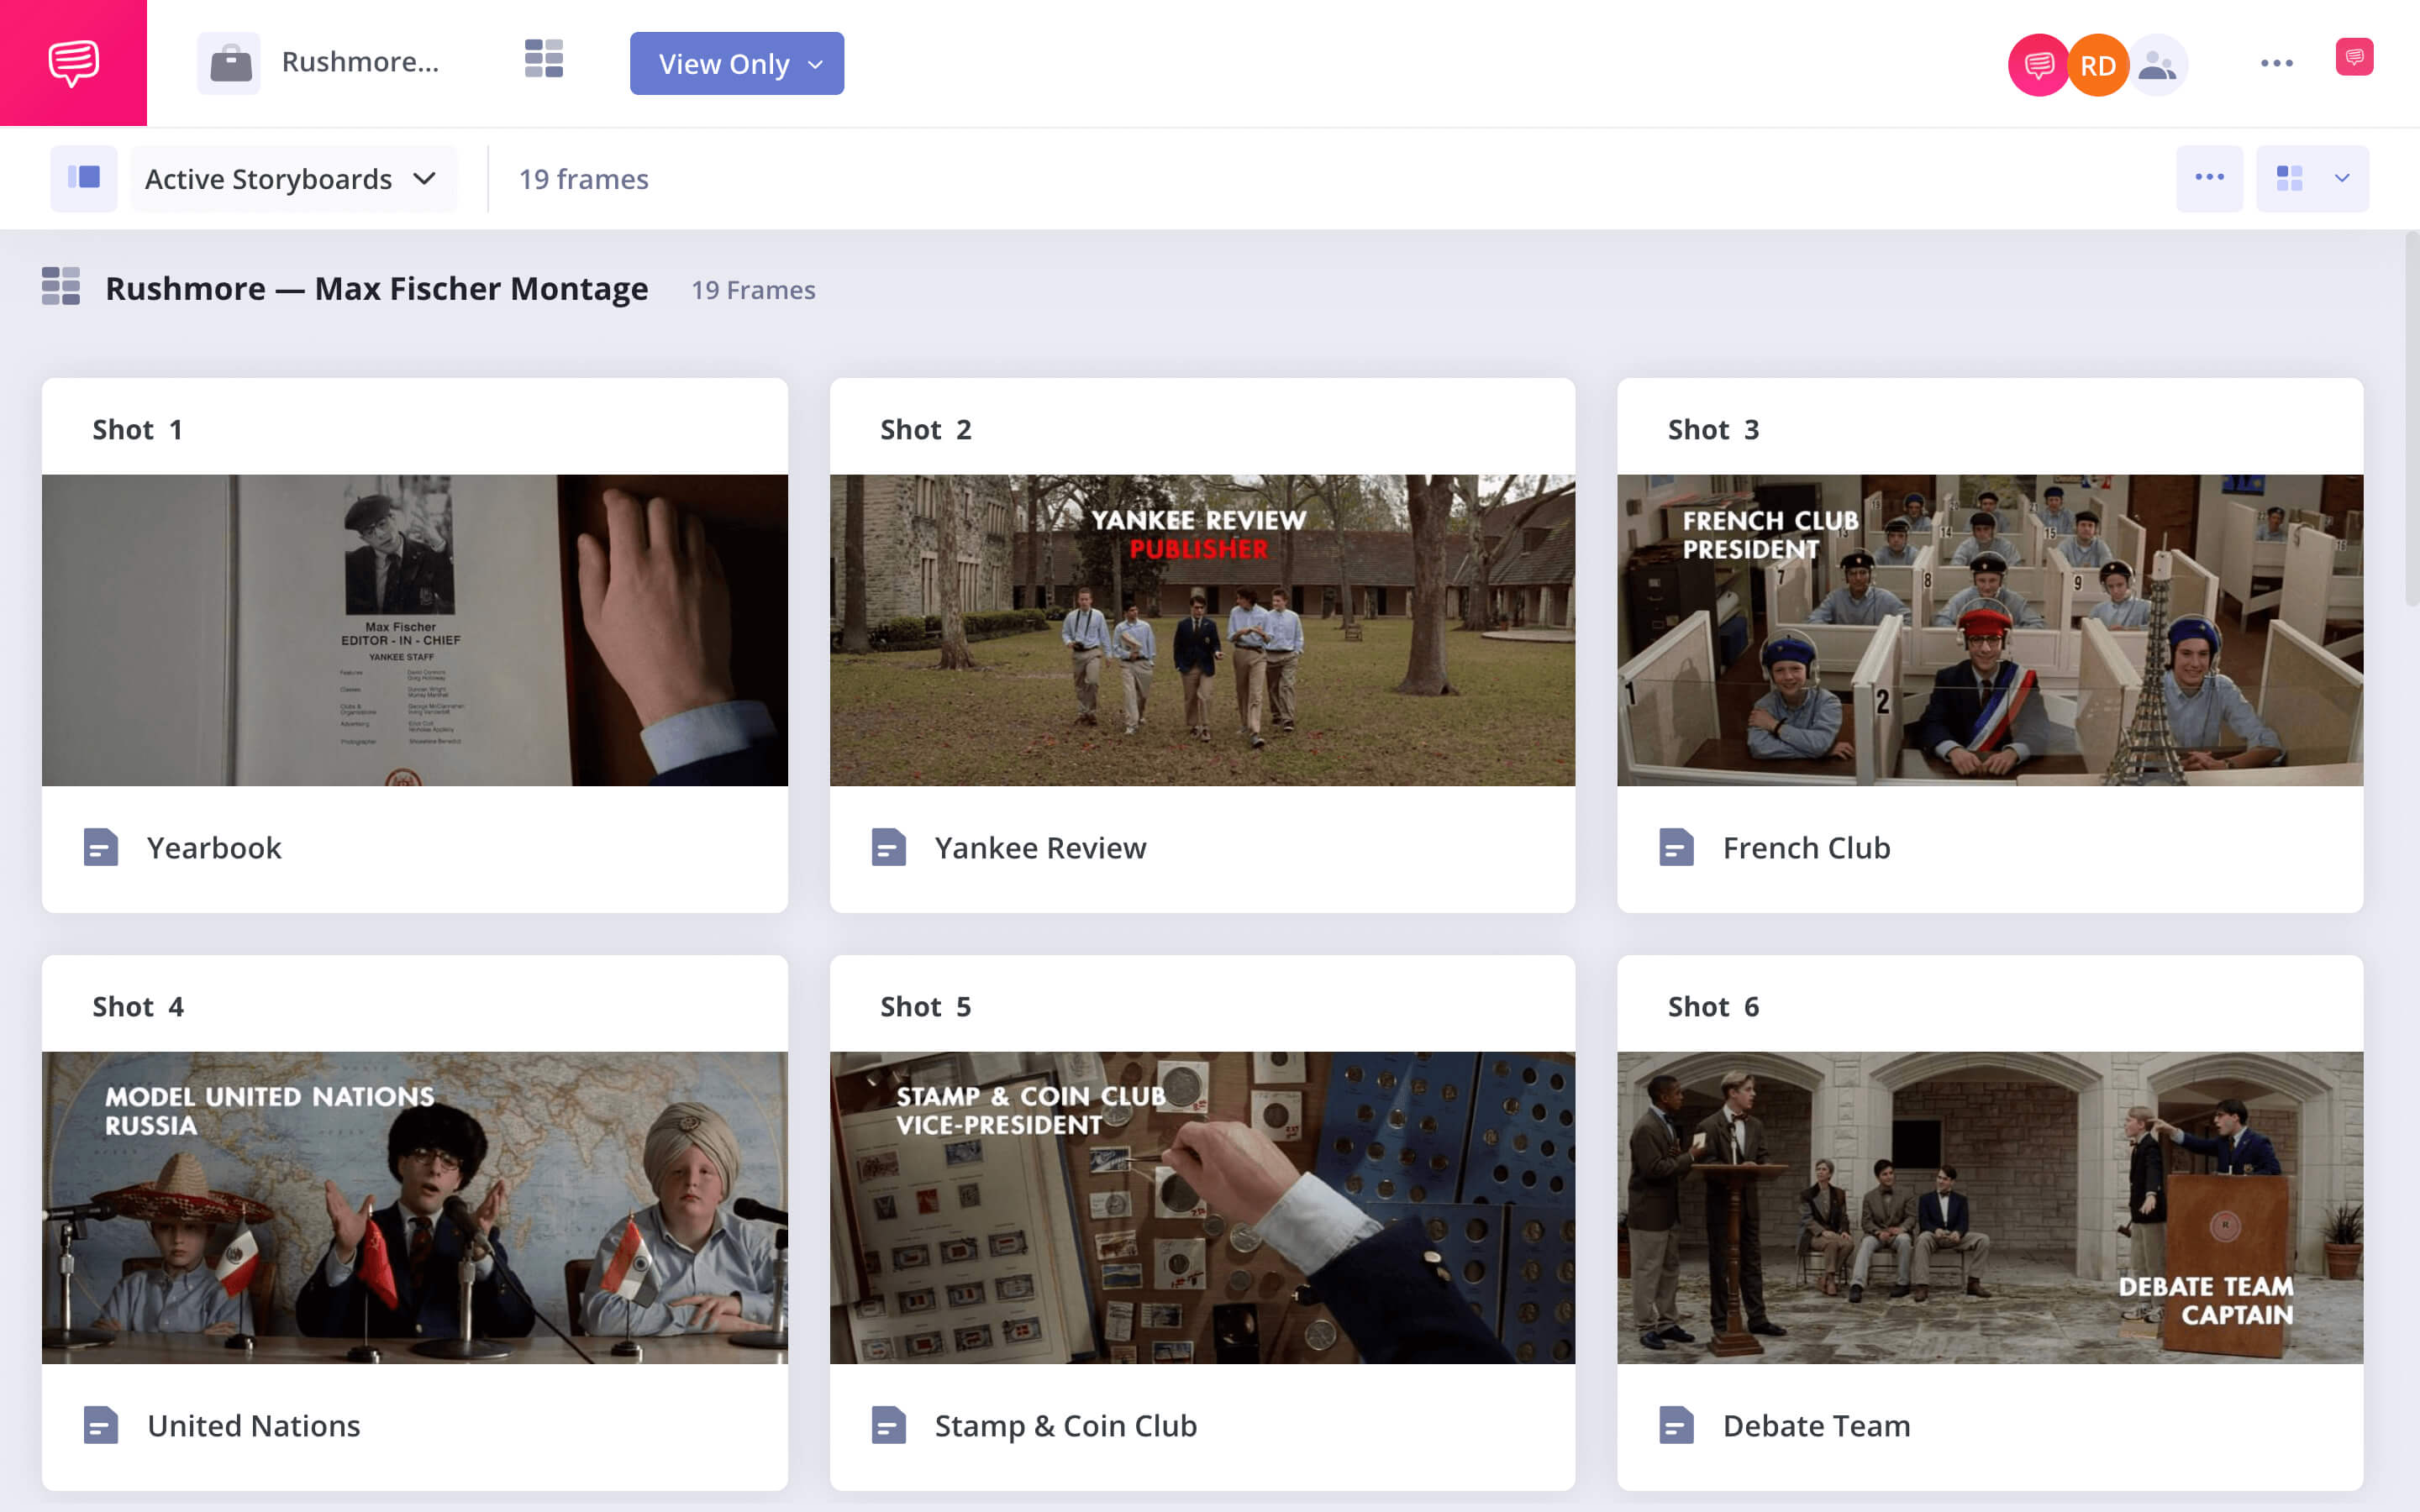
Here's an iconic montage from Rushmore, one of Wes Anderson's best movies. We put this together using StudioBinder's storyboard creator. Click the image link below to explore the entire storyboard — all 19 shots of Max Fischer glory!
Max Fischer Forever! • Open the storyboard
You can even take your storyboard planning a step further.
Related Posts
Creating a story board
Storyboard montage animatics
As Parasite illustrated, an important aspect of a montage is the rhythm. In other words, the timing of your shots, and how their movements interact, should be a primary consideration.
This is one drawback of the traditional storyboard. While it can indicate motion, it can’t really indicate timing. You can write down roughly how long you want a given shot in your storyboard montage to be, but that still doesn’t give you a real sense of the rhythm.
This is where animatics can come in. An animatic—no, not Animaniac—is essentially a storyboard that is actually cut together.
Take a look at this animatic for one of the greatest animated music videos of all time, “Feel Good Inc.”:
A storyboard animatic
It makes sense why a music video would use an animatic since the images and cuts are so dependent on the soundtrack. Animatics are also a common technique for animated films since animators really need to commit to how they’ll cover a scene before they start animating.
But an animatic can be especially useful for a montage. After all, an animatic is a montage itself: a series of images cut together. If you’re not sure a montage will work, making an animatic can allow you to test it without wasting time on set.
Take a look at this animatic storyboard montage:
Storyboard animatic example
This storyboard is a bit more involved since the storyboard artist is adding a few additional frames for each shot. But even if they didn’t, it still would be a great indicator as to how the montage will cut together.
In the end, learning how to storyboard montages isn’t very different from learning how to storyboard generally. But because montages are usually intricately put together, they can benefit a lot from planning. And there are few better ways to plan than with a storyboard.
Related Posts
Up Next
Shot List vs. Storyboard
Speaking of planning, a shot list can also be immensely useful on set. Now that you know how to storyboard montages, check out what makes shot lists and storyboards different. We’ll help you decide which approach is best for you.
Up Next: Shot List vs. Storyboard →
Showcase your vision with elegant shot lists and storyboards.
Create robust and customizable shot lists. Upload images to make storyboards and slideshows.

