Cameras are getting smaller, rigs are getting more accessible, and camera movement is becoming more prevalent than ever throughout all levels of filmmaking. With that comes the task of incorporating camera moves and camera movement into a storyboard. In this article, we’ll take a look at how to storyboard camera moves to communicate your cinematic vision effectively and clearly.
How to Storyboard Camera Movement
Storyboard camera moves by hand
Incorporating camera moves and camera movement into a storyboard requires both a descriptive and visual component. Here are some pro-tips on the most common movements and how those get communicated in a storyboard.
1. Clarify the camera movement in the shot description
In a storyboard, each shot will have a small section for brief text description. In this description, clarify what camera movement will be used in the shot.
The most fundamental camera moves are the zoom shot, camera pan, tilt shot, dolly shot, tracking shot, or pedestal. Of course, these are only a few types of camera movement. There may be other advanced camera moves, like the dolly zoom, that you may want to list.
For a refresher on different types of camera movements and their terms, check out our video breakdown below.
Every Camera Movement Technique Explained • Subscribe on YouTube
No matter what camera move is in the shot, be sure to use the correct terminology to effectively communicate your vision.
Related Posts
2. Draw storyboard arrows
The second part of incorporating camera moves into your storyboard is drawing arrows. Arrows are a visual representation of the camera movement of a shot. They give the reader of the storyboard a visual idea of the storyboard camera movement direction.
This graphic lays out a few ways to draw storyboard arrows to portray some of the more fundamental camera movements such as the pan, zoom, and tilt.

Symbols and storyboard arrows for storyboarding camera moves
It’s important to note that not all storyboard artists use the exact same storyboard arrows. Use your judgment when drawing these arrows and draw them in a direction and position that is easily understandable.
It is also important that the storyboard arrows and the camera movement in the description are used together to clearly communicate camera movement.
Related Posts
Storyboard Camera Moves with Software
Storyboarding using StudioBinder
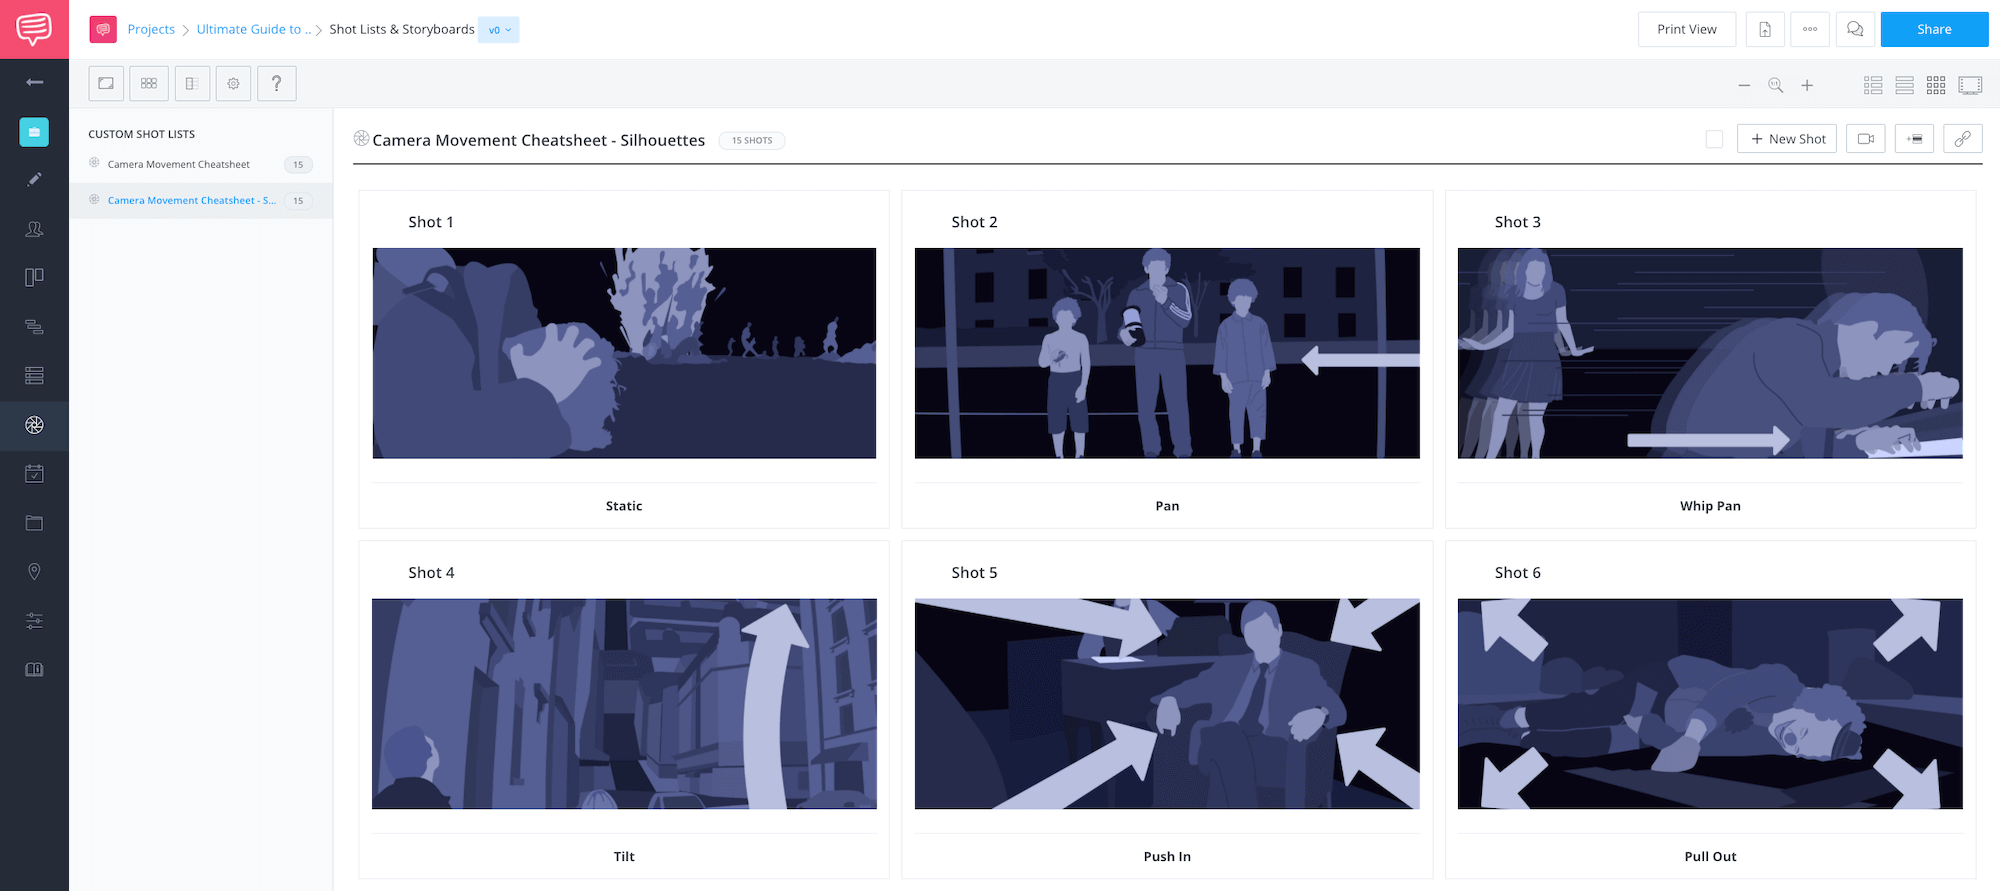
Many storyboard artists are of course moving toward using softwares to create and organize their storyboards. Make storyboarding more efficient by using StudioBinder’s free storyboarding software.
The app allows you to easily select from various options of storyboard camera movement for each shot or write in your own. Here's how it works.
Camera movement in storyboard • Subscribe on YouTube
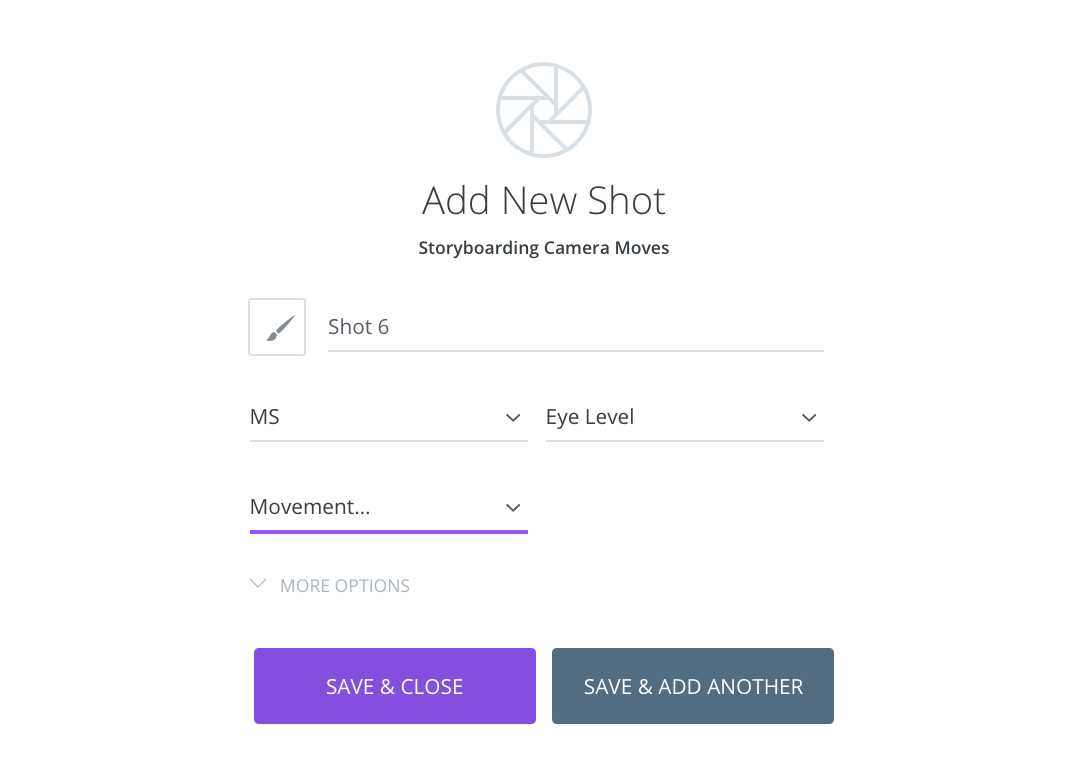
Once you’ve imported the storyboard illustrations, you’ll be able to select from a few camera shot specs, one of which is “Camera Movement.”

StudioBinder Storyboarding camera movements
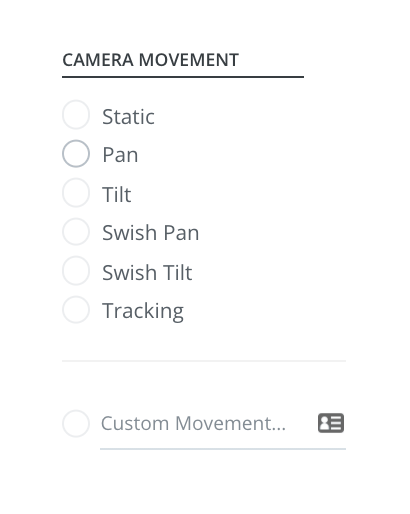
Once you select “Movement,” a drop down menu will appear. Here you can select static, pan, tilt, swish pan, swish tilt, or tracking. If none of these are the camera movement you will be using, you can simply write in the camera movement in the “Custom Movement” box.

StudioBinder • Storyboard camera movement
You can do this to specify camera movement in every shot of your storyboard. The result will be a comprehensive storyboard that clearly communicates what camera movements will be used and when.
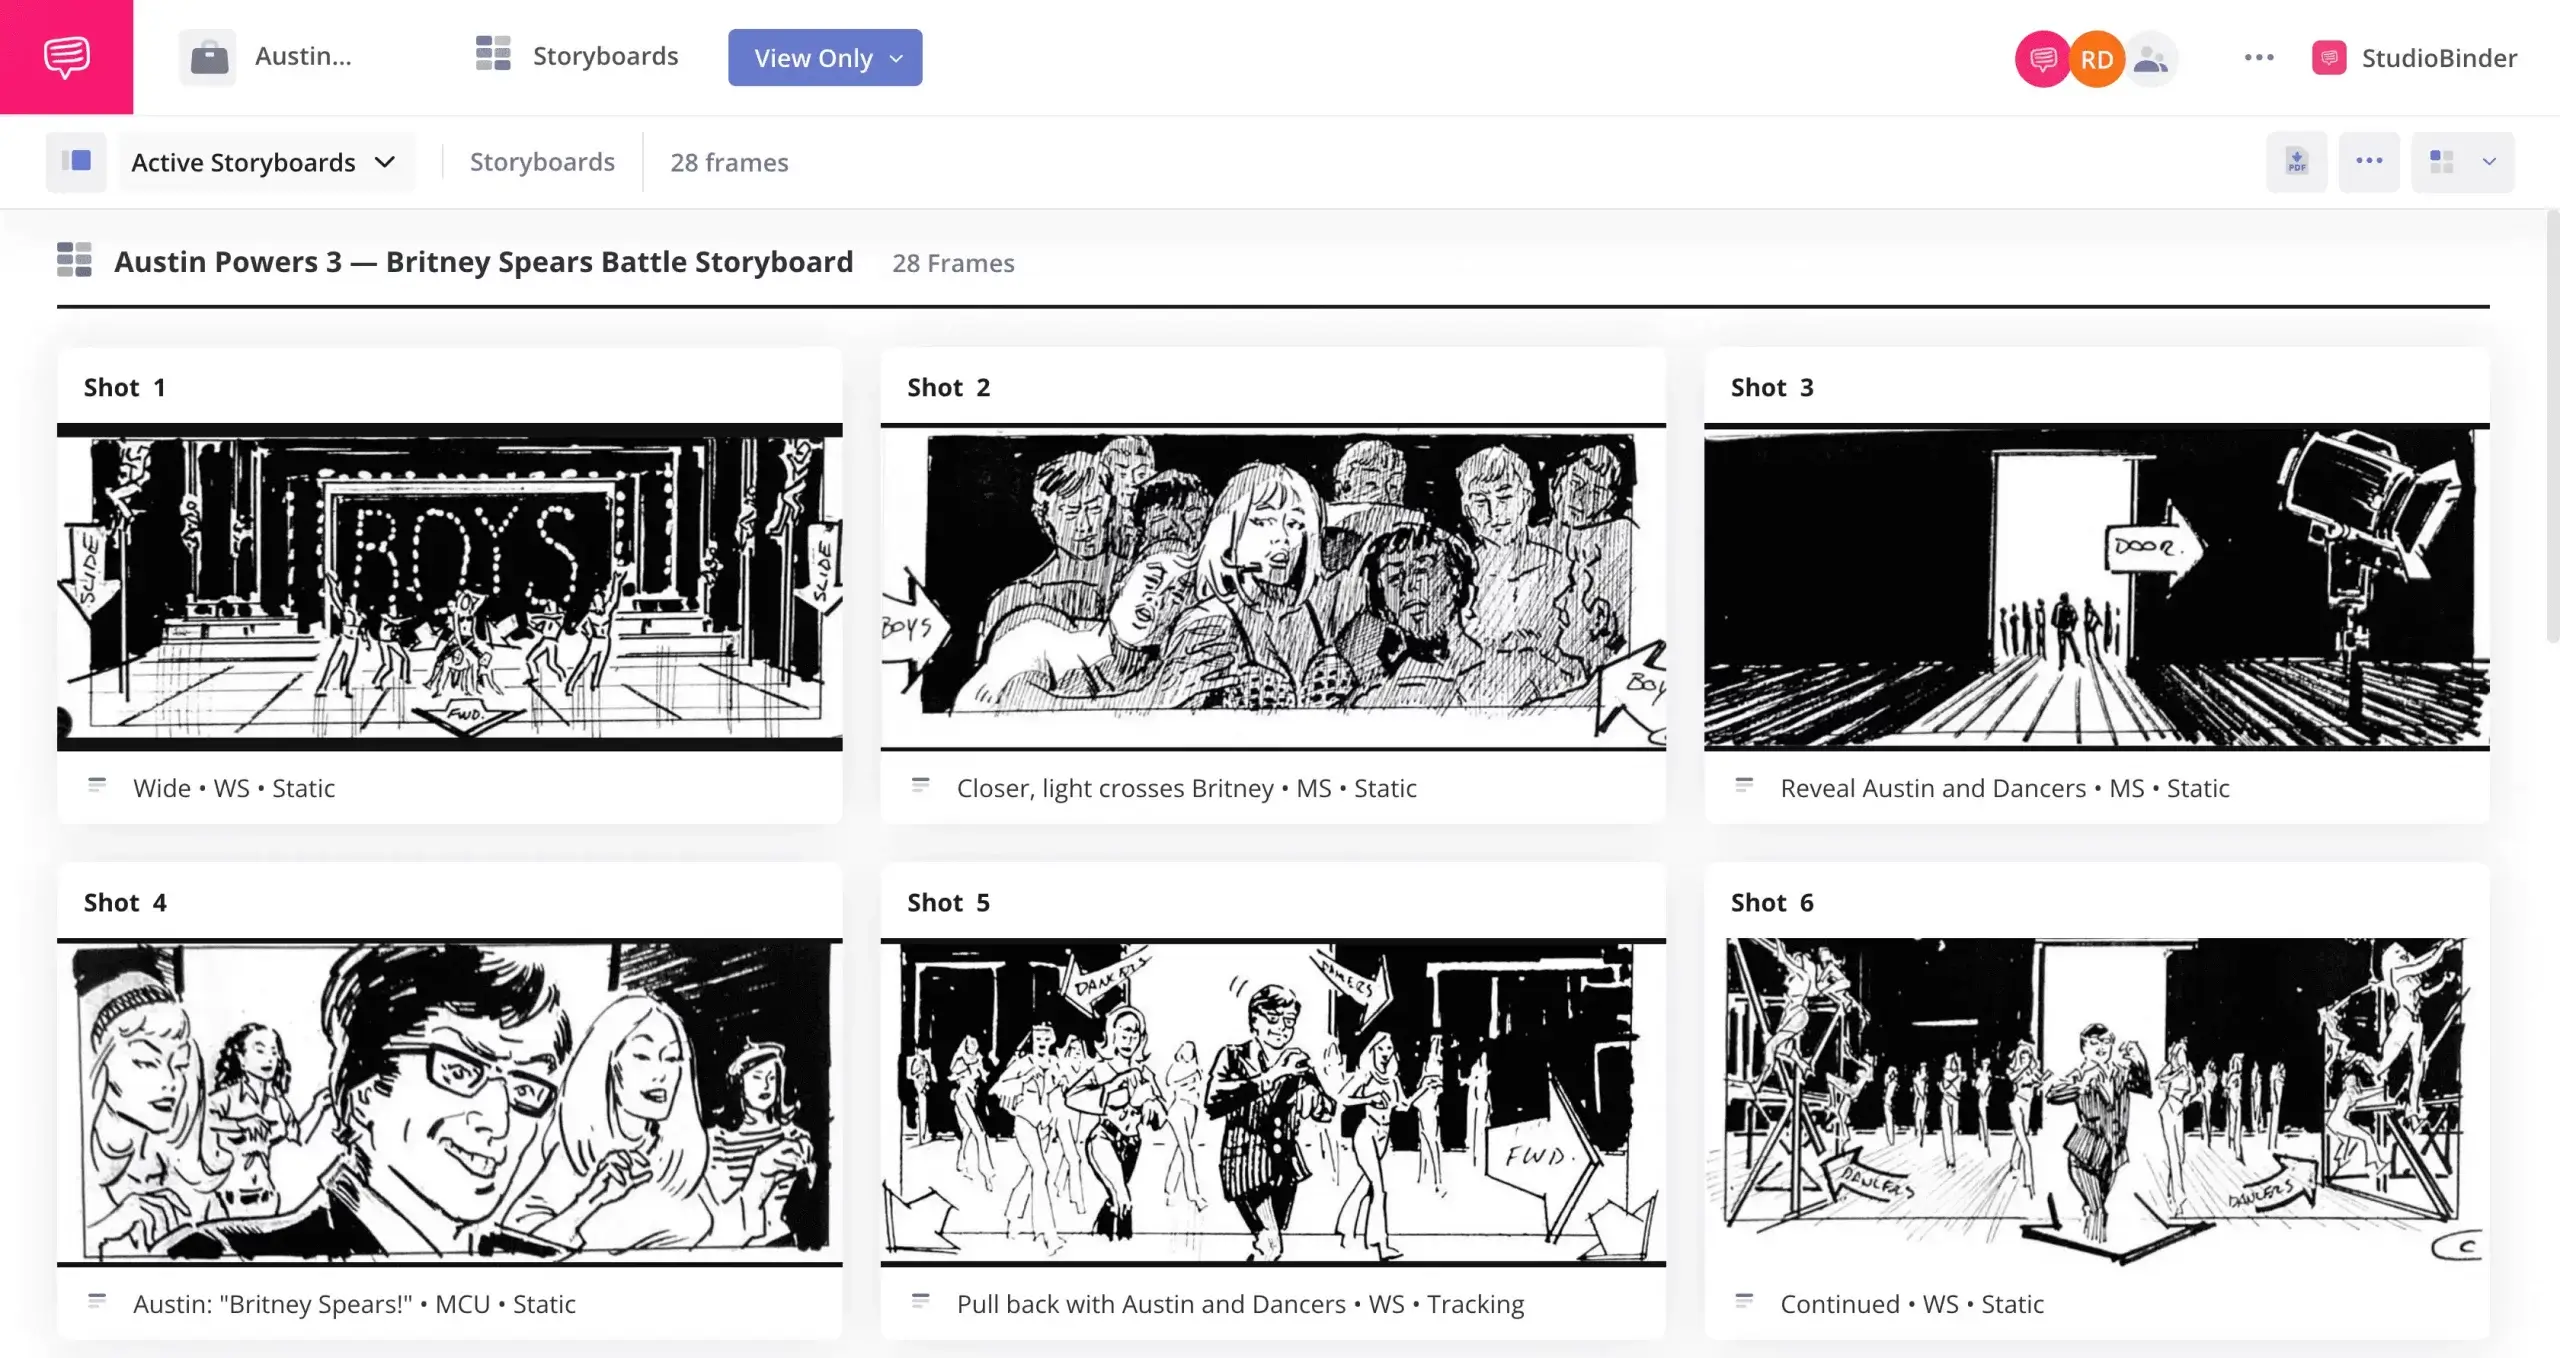
Let’s take a look at how to storyboard camera movements of the best storyboard examples from Austin Powers in Goldmember.
Austin Powers • Camera movement storyboard
Storyboards can be a blueprint for cinematographers to refer to and to communicate their ideas. Thanks to newer camera tech and various types of camera gear, camera movement is becoming more prevalent than ever.
Distinguishing camera moves within a storyboard is important. Hopefully these tips give you the tools to storyboard any camera move you envision.
Related Posts
Up Next
Types of Camera Movements in Film
Before you dive into storyboarding camera moves it’s important to know that you are using the correct terminology for each type of camera movement. In our next article, we lay out a comprehensive guide to different types of camera movements with examples and definitions.
Up Next: Camera Movements →
Share your vision with elegant shot lists and storyboards.
Create robust and customizable shot lists. Upload images to make storyboards and slideshows.
