Scripts are constantly evolving. That’s just what they do. New scenes are added and old scenes are deleted throughout pre-production and production.
How do these new changes affect your project?
In StudioBinder, making script changes is easy and your project is kept intact. We’re going to walk through the process of how to make script changes, syncing them to your project and how you can access previous versions.
How to Make Script Changes in StudioBinder
Numbering Scenes in a Script
1. The importance of scene numbers
Once you import your script into StudioBinder, it becomes a shooting script. All this means is that the scenes are numbered, which is how the project can be broken down, shot listed, and scheduled.
The script is also “locked” making the scene numbers permanent which allows the pre-production process to begin.
Scene numbers are essential to any project. They become the anchor to which every other step in the filmmaking process is tied. This is not just a StudioBinder feature--every independent or studio project is handled the same way.
Shooting Script Format
2. How to make script changes
Everything in StudioBinder functions on scenes numbers.
But what happens if you need to make changes to the script? Will you lose any of the work you’ve already put into pre-production?
No. Everything stays intact.
The first step is to either import a script or to unlock your current version.
New scenes added will simply add a letter next to the scene number. For example, if we add a scene between Scene 5 and Scene 6, the new scene will be numbered 5A. This will make sure any script breakdowns, shot lists and shooting schedules are unaffected.
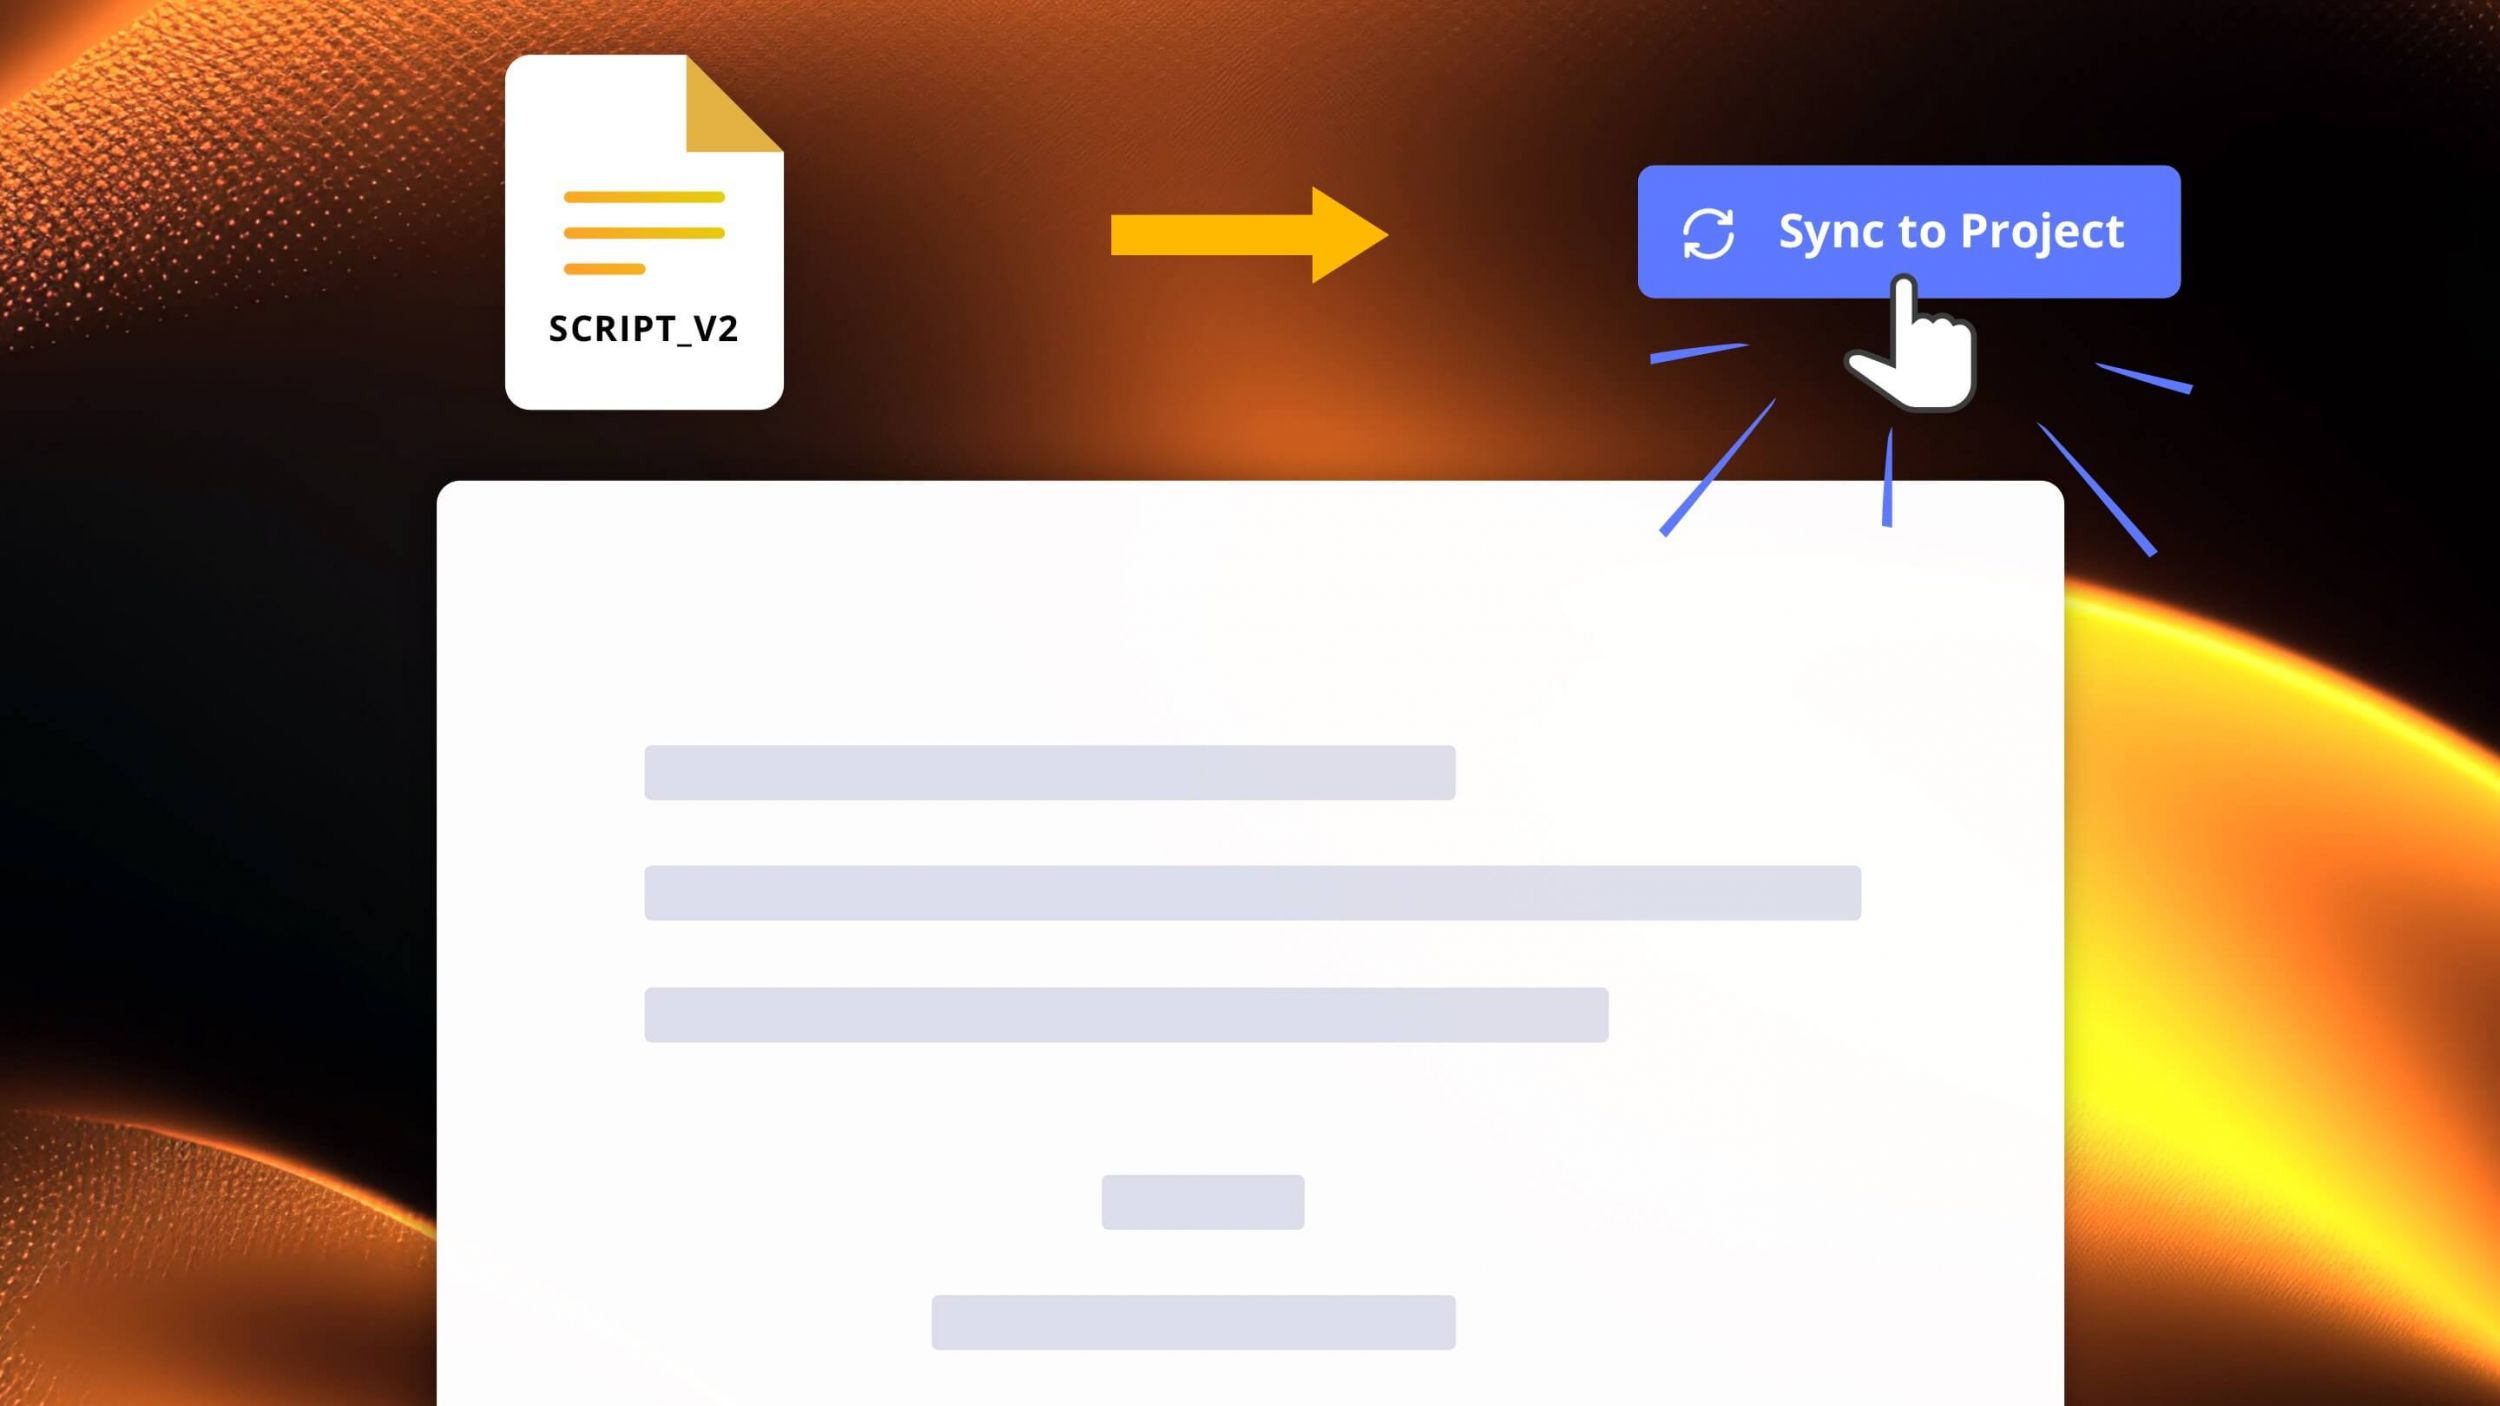
The final step necessary to make these new changes permanent is to re-sync your script.
Updating Your Script
3. How to sync script changes
Once you’ve made changes to your script, you’ll need to sync it to your project. This will apply all the changes you made and fully integrate them into your project.
The new scenes will be added and any deleted scenes will be removed. This brings your project “current” and you can continue your pre-production planning and scheduling.
You have an opportunity to see what changes will be made to your project before you complete the syncing process.
This syncing process also adds a new version of your script to the project. If you need to go back to any previous version, they are easily accessible.
If there’s a scenario in which you need to renumber your scenes, don’t worry. This is a separate process that we’ll cover in the next article.
Related Posts
Up Next
How to Renumber Scenes
Make changes to your script will alter the scene numbering system. Renumbering your scenes is easily done but you will lose any work you’ve done on shot lists, script breakdowns, and scheduling. Read on to make sure you understand what this means for your project.

