Scenes numbers are extremely important in any project. Keeping the original numbers intact will save any pre-production work you’ve already done. But there are times when renumbering scenes makes sense. How is this done and what are the negative aspects of this process?
The good news is that renumbering your scenes in super simple. The only thing you need to keep in mind is what happens to the rest of your project. This article will take you through the steps of renumbering scenes so you can push forward and put your project back on track.
Screenwriting Tutorial: Renumber Scenes
Keeping Projects Organized
1. Benefits of renumbering scenes
In a previous article, we covered why numbering scenes is so important. To recap, every stage of the filmmaking process relies on scene numbers. They become the spine of your project and without that, your project will crumble.
StudioBinder script writing software automatically adds scene numbers to any imported script automatically so the project can be synced across the platforms. And omitted scenes in the new draft won’t change or interrupt the numbering system so nothing gets shifted down.
In other words, StudioBinder eliminates the NEED to renumber the scenes but let’s discuss a scenario that might make this process necessary.
You’re happy with your script so you sync it to your StudioBinder project. This is exciting because then you start shot listing, breaking down the script, and scheduling your shoot.
But then…
Your Producer has notes. They’re either great notes that will make the script shine, or they’re terrible and you have to include them anyway.
By the end of the rewrite process, you’ve deleted 15 scenes and added 30 more. Now your scene numbers have gaps and the new scene numbers have letters too.
This can be confusing.
Your Collaborators and Team Members who weren’t involved in the rewrite might have questions.
“Why are Scenes 3 through 8 missing?”
“Is Scene 10A just an extension of Scene 10 or is it a brand new scene?”
Renumbering your scenes will close those gaps and clean up the numbering. The process is easy but there’s a price to pay…
Related Posts
Back to Square One
2. Negatives of renumbering scenes
Renumbering your scenes might make them cleaner but it will wipe out any pre-production work you’ve done up to that point.
We’re going to look at one scene from your project and explain the downside to renumbering.
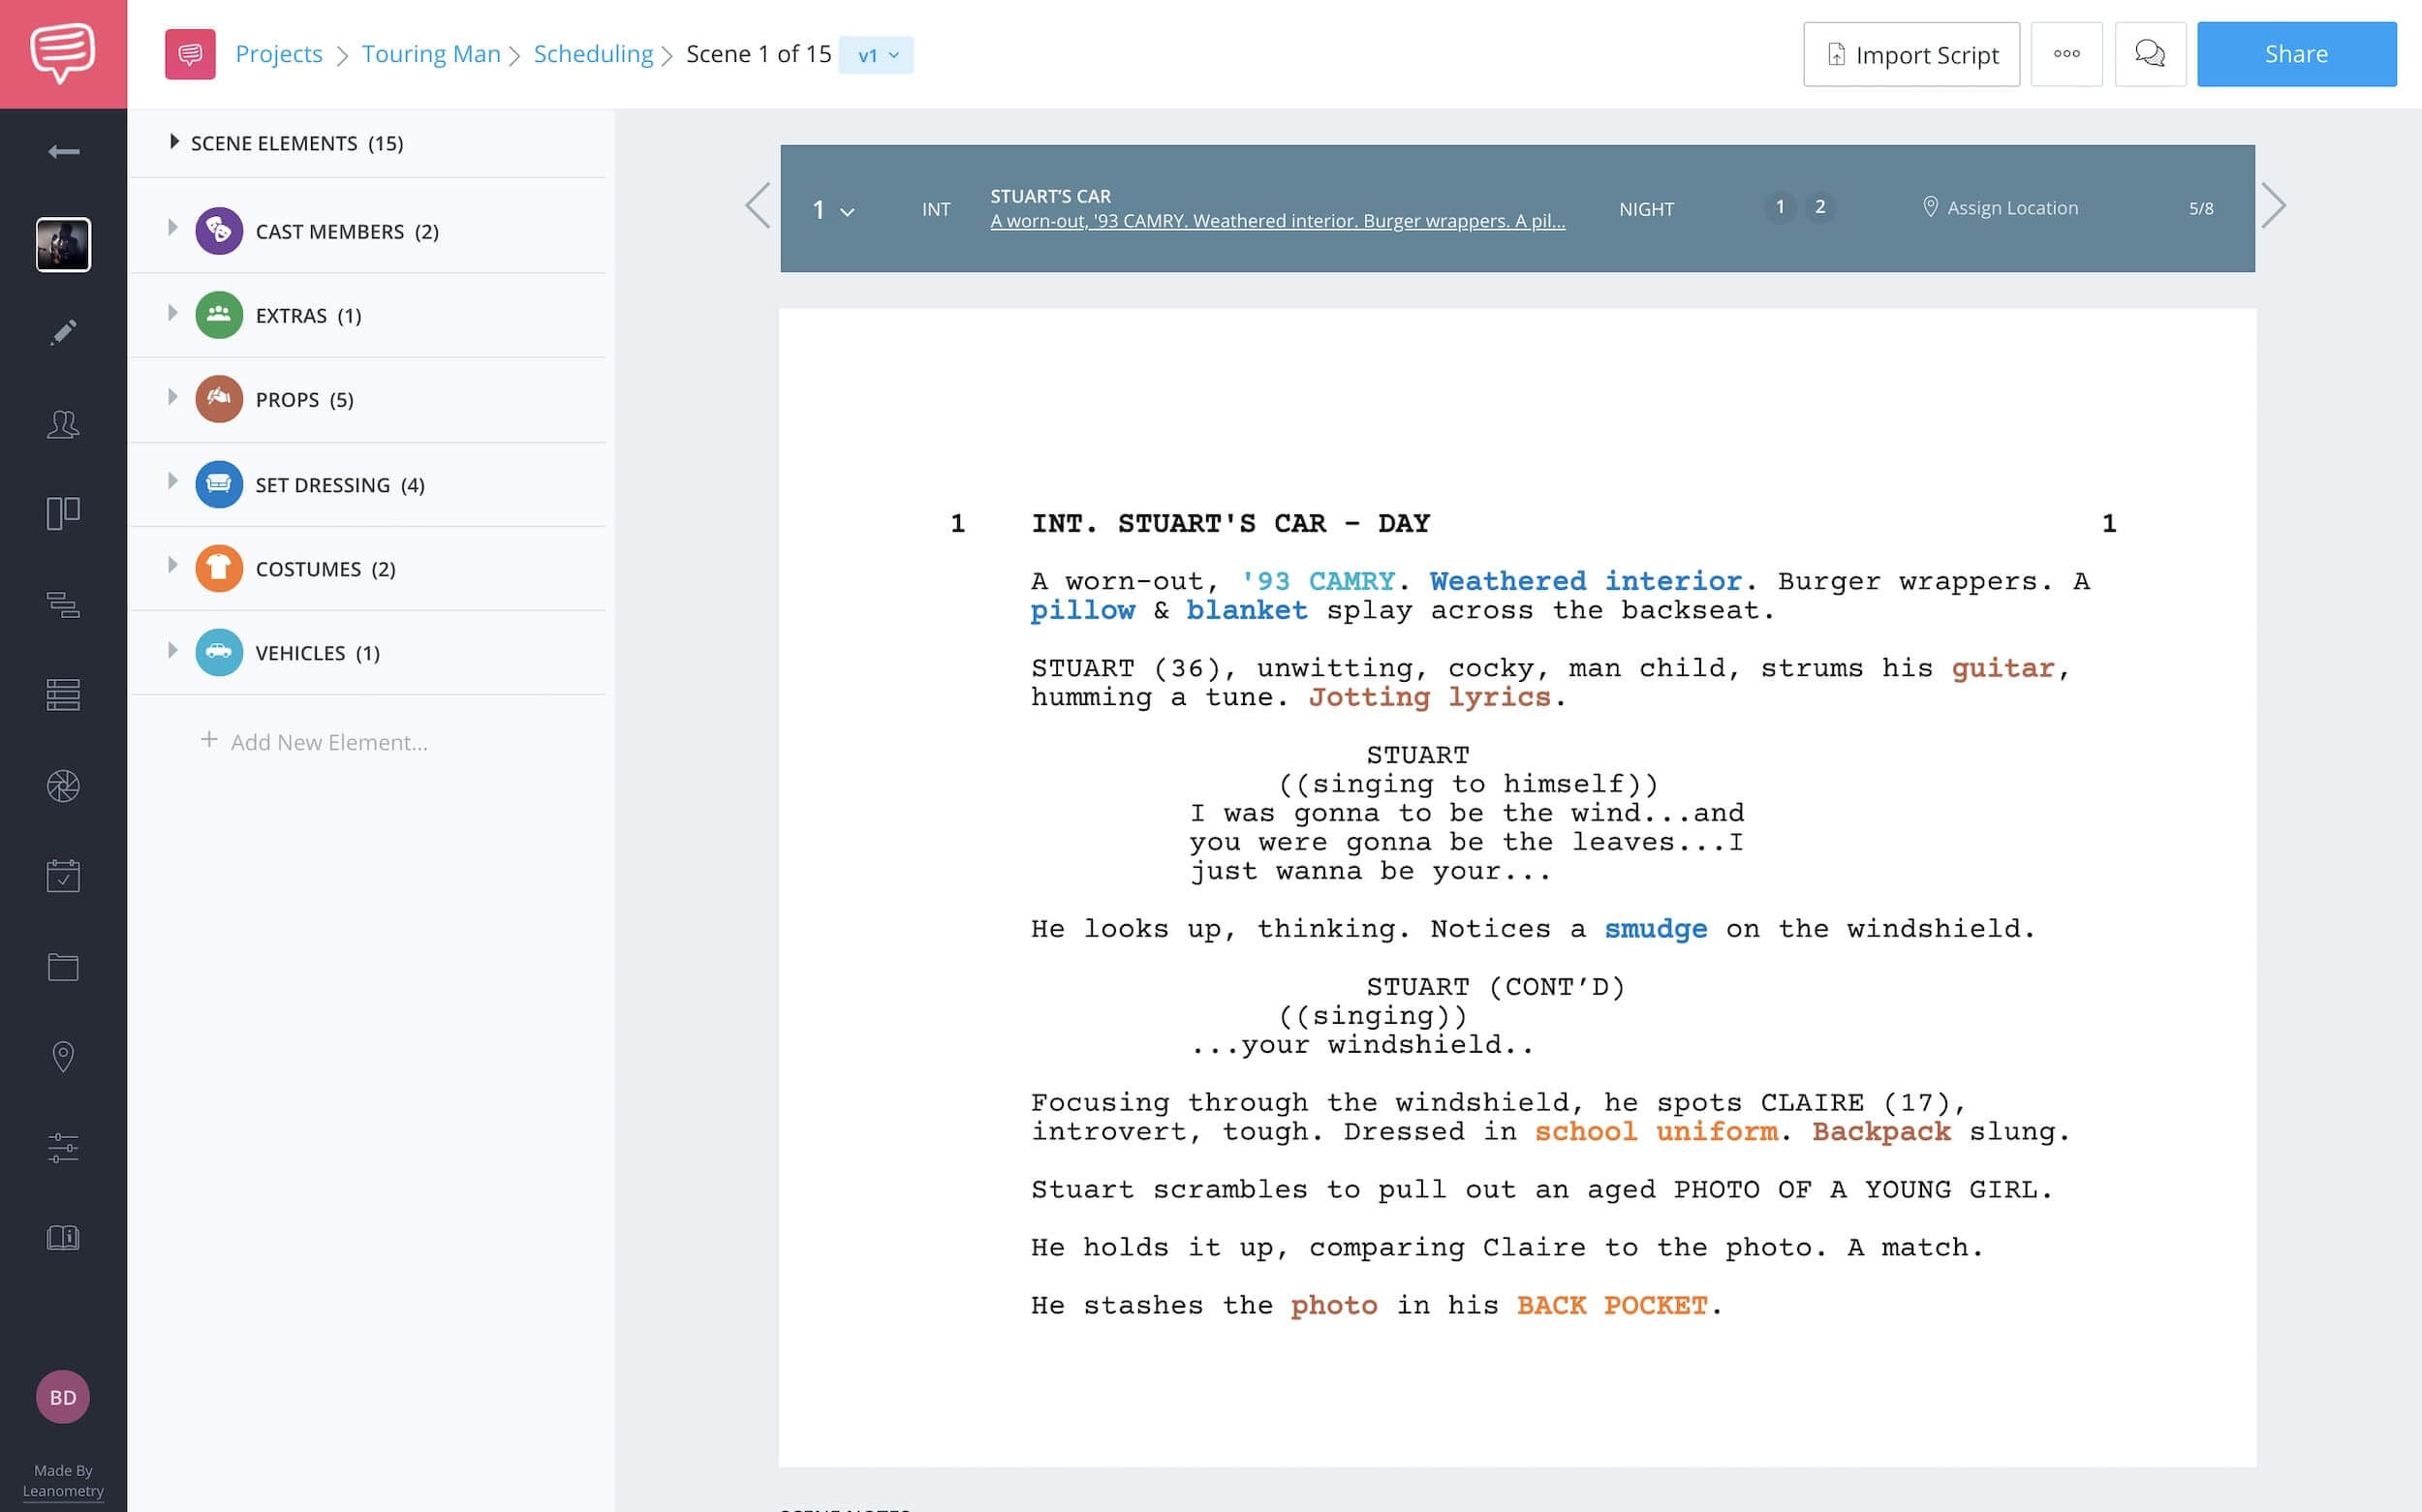
In Scene 4B, you’ve tagged elements, made notes for yourself and Team Members, and embedded reference clips.
Complete script breakdown
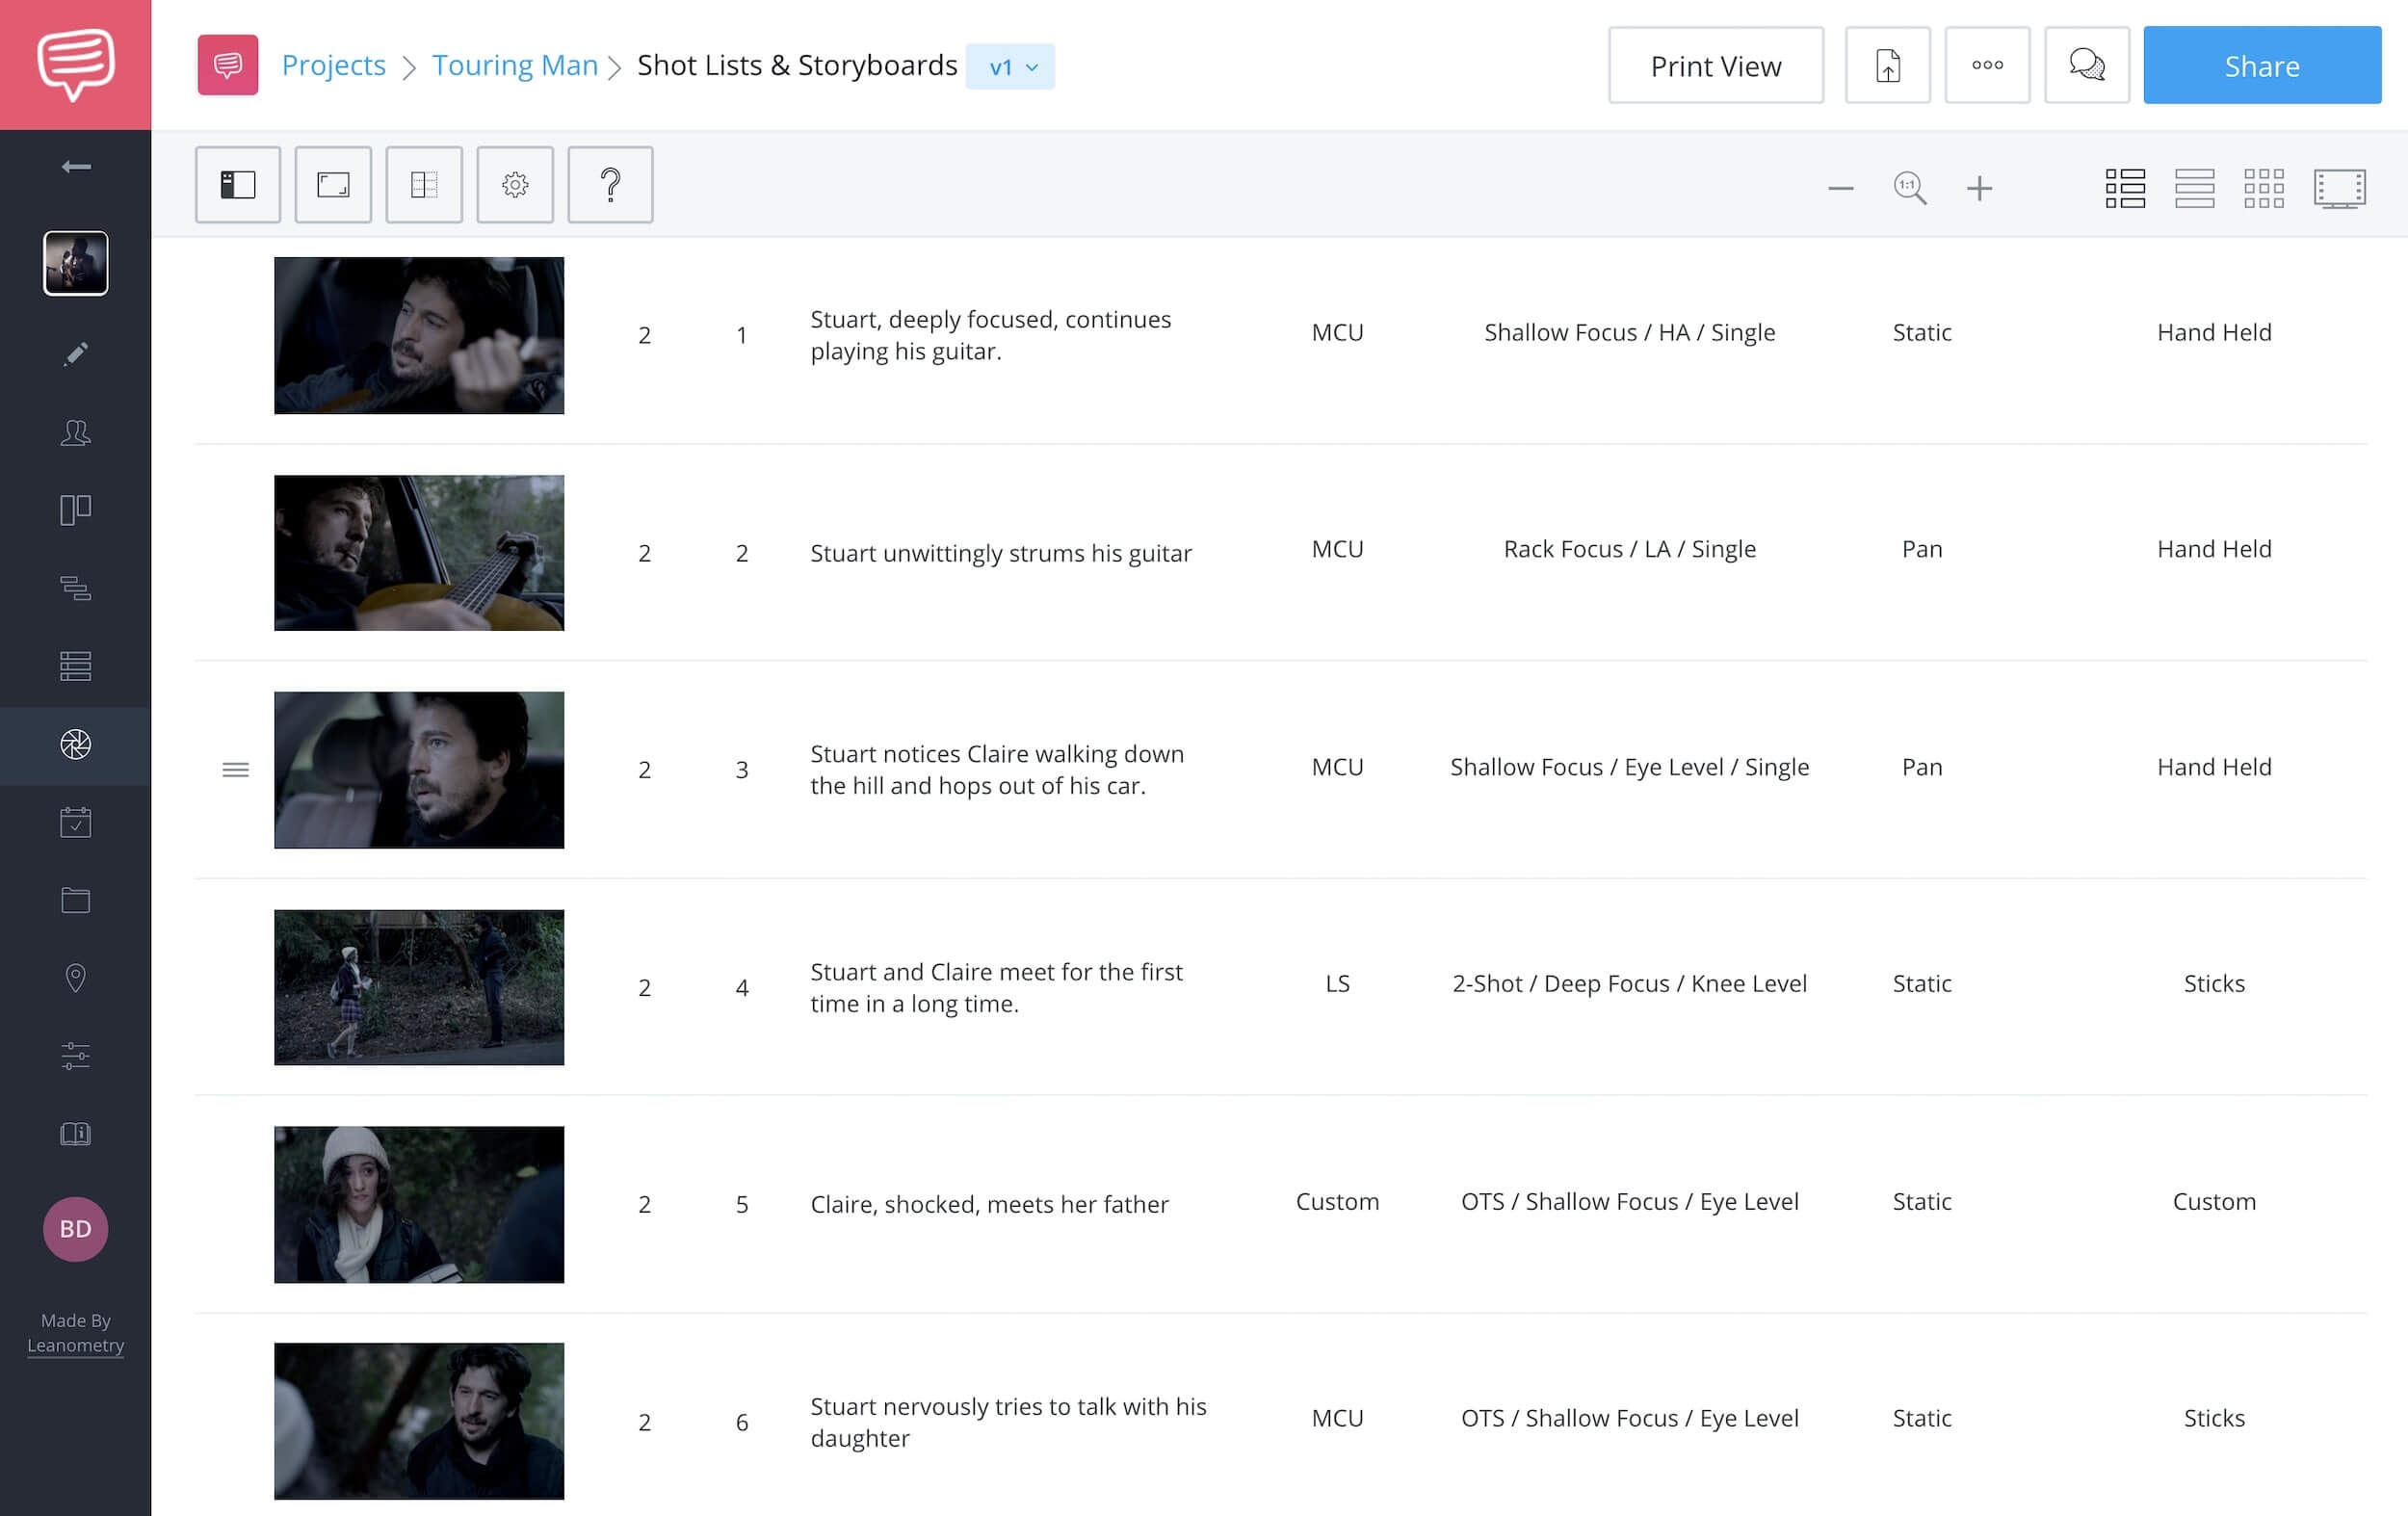
You’ve also built the perfect shot list for 4B. Each shot is meticulously described and ordered. You even took the time to add which lenses to use and what special equipment you’ll need.
And perhaps most importantly, you’ve scheduled Scene 4B to be shot on this day, in this location, with these actors. Oh, and the call sheets are fully populated.
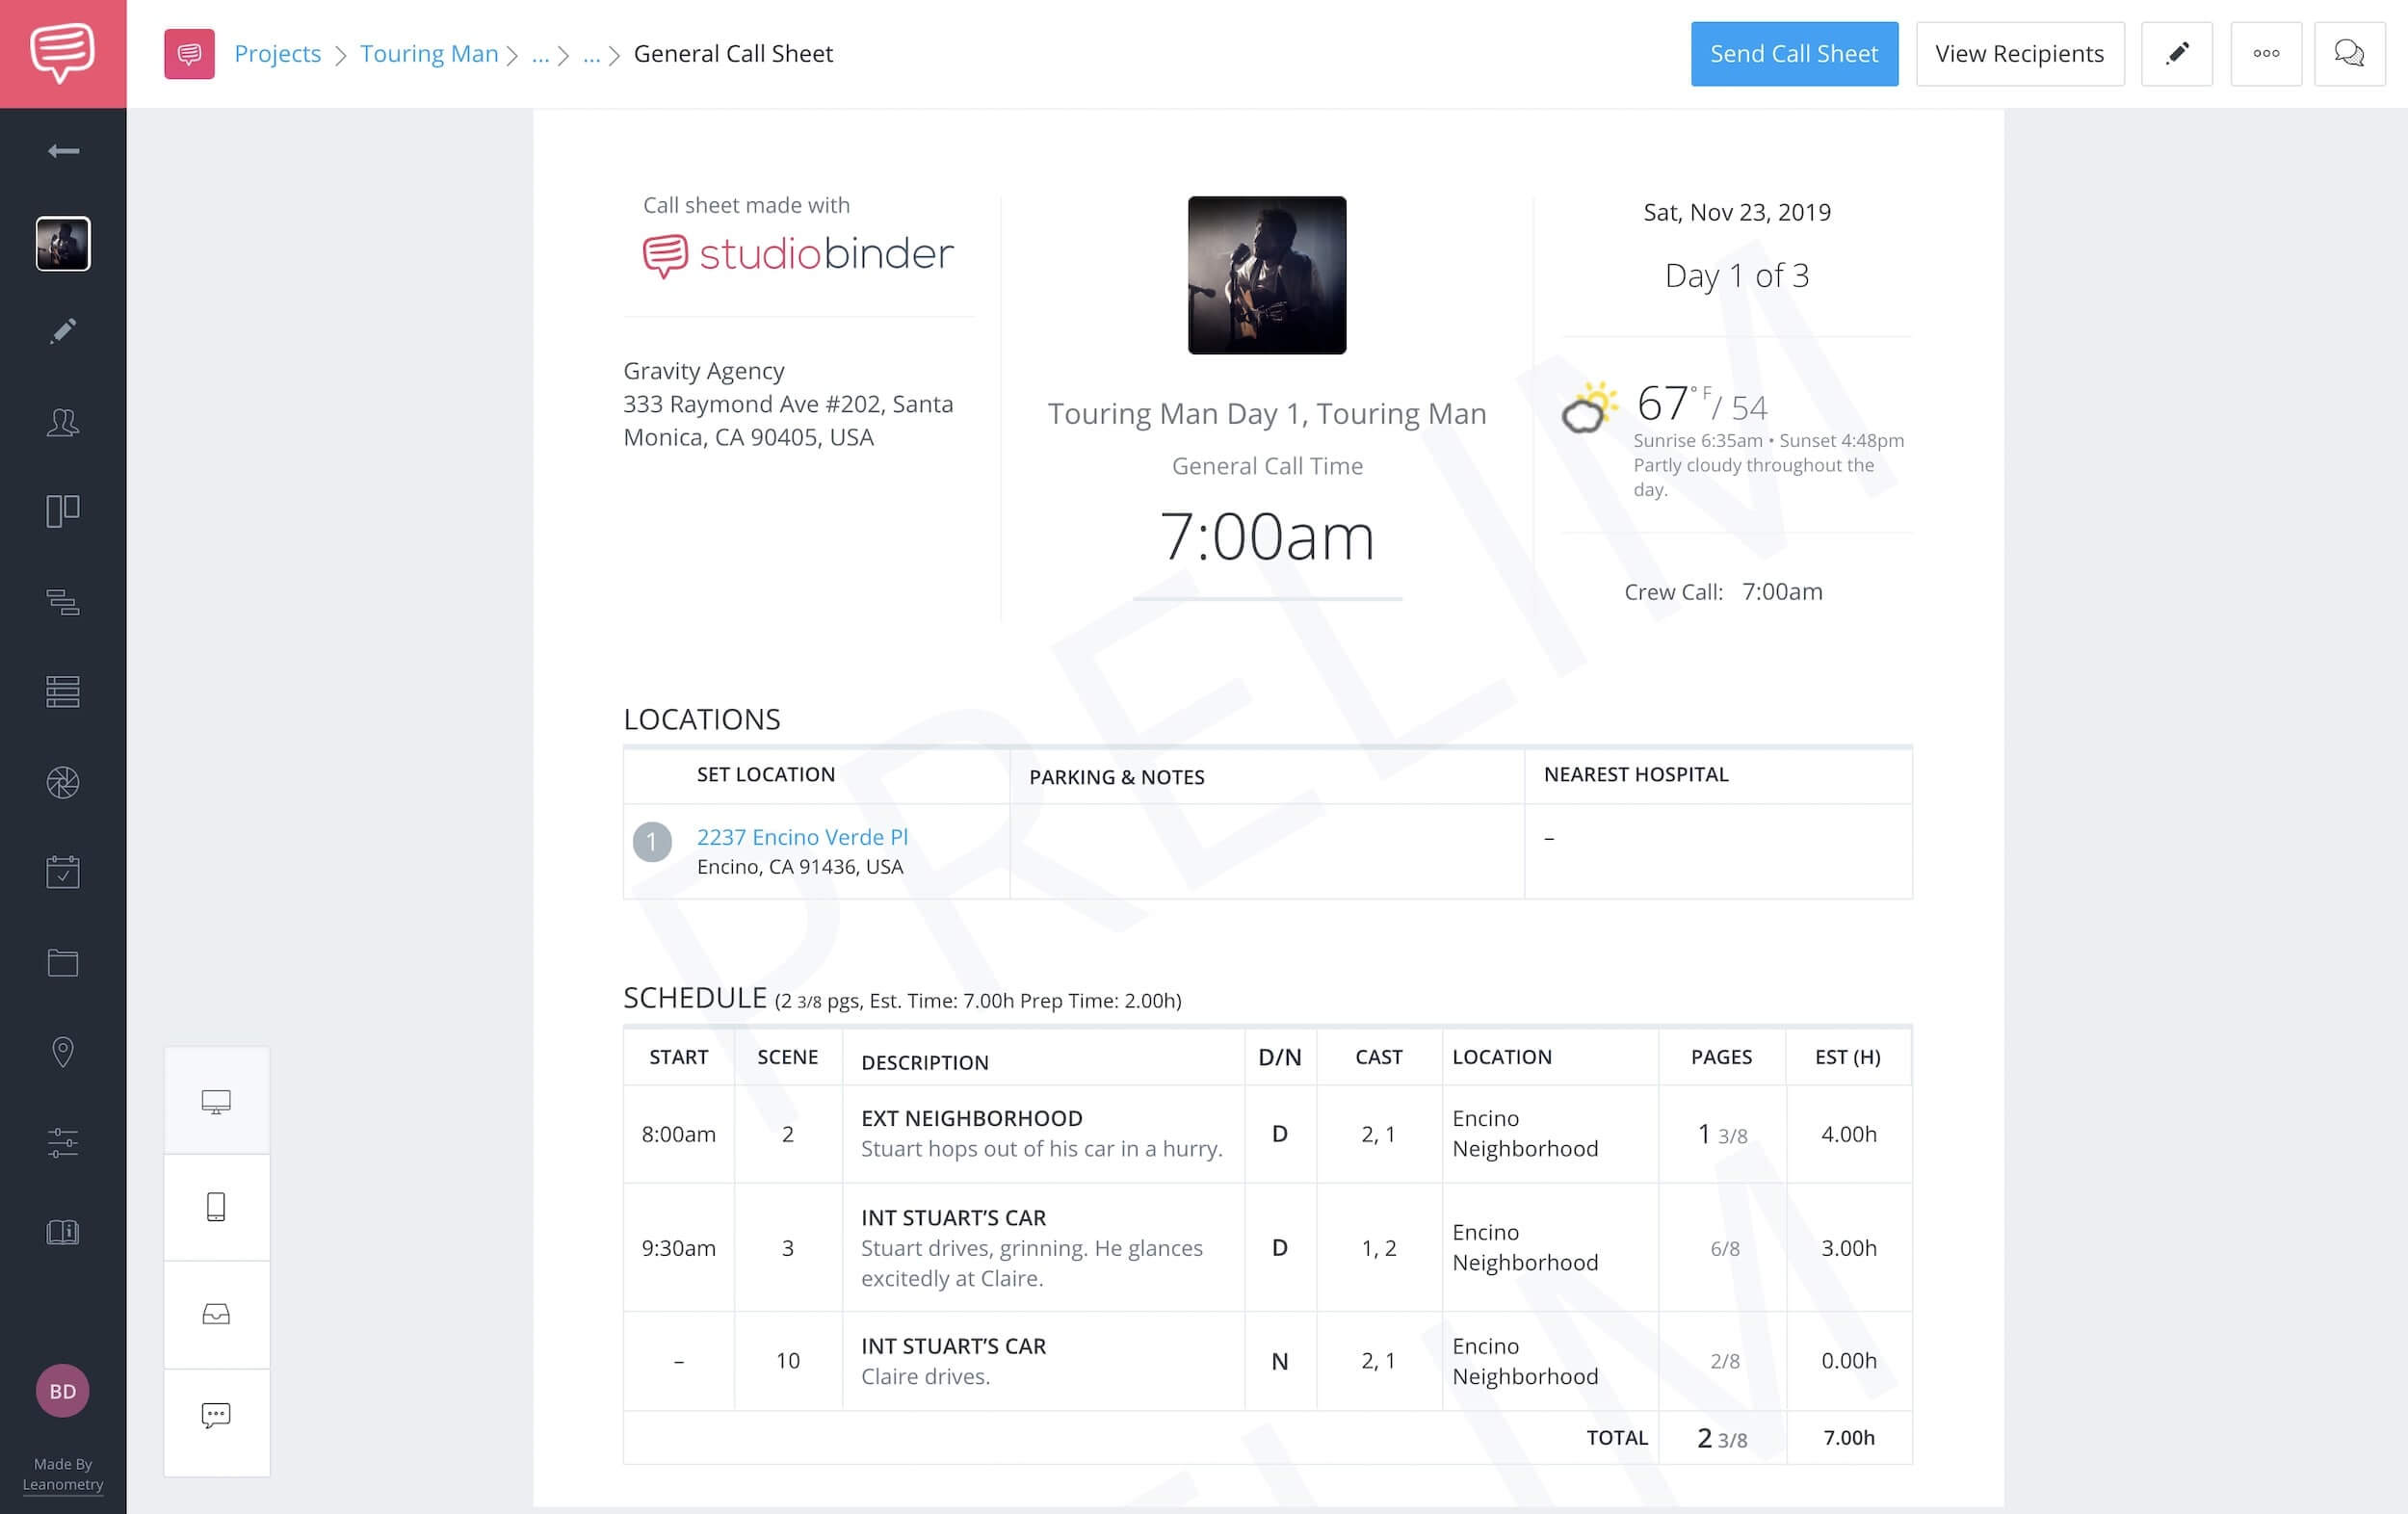
Complete call sheet
Renumbering the scene at this point will assign all that information to a different scene.
This applies for Scene 4B...and for your entire script.
Ouch.
If you MUST renumber your scenes, just remember the consequences.
In the next section, we’ll cover how you can pull the trigger.
Resetting Scene Numbers
3. How to renumber scenes
Now that you understand the benefits and consequences of renumbering scenes, the process couldn’t be easier.
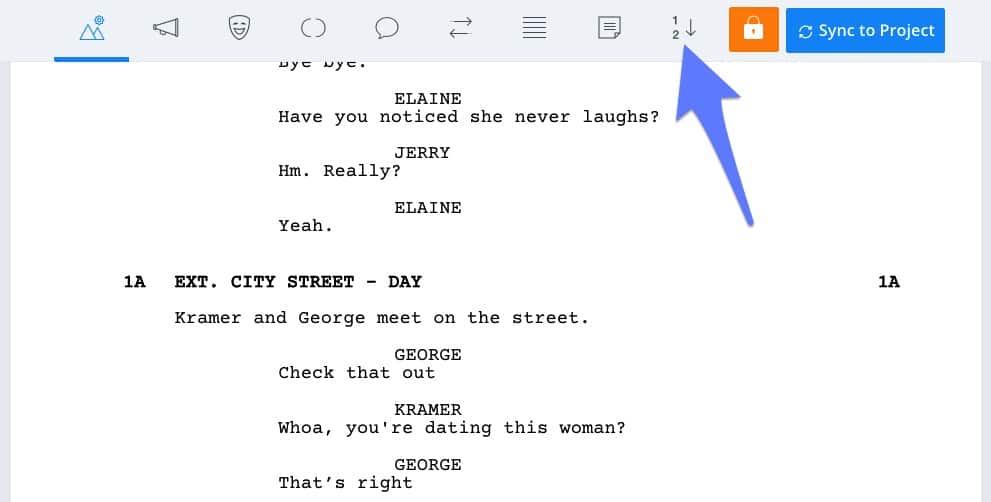
Navigate to the renumber button
Click the “renumber” button on the toolbar and then click to confirm.
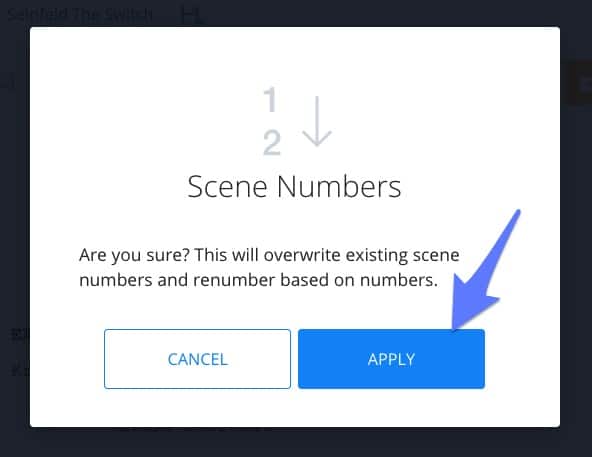
Confirm the renumbering
That’s it.
Your scene numbers are repopulated in sequential order. There are no longer any gaps or alphanumerics.
But these changes won’t apply to your project until you complete the final step: re-syncing the project.
Updating Your Project
4. Re-syncing your project
To apply any changes you make to a script, you must re-sync the project in StudioBinder. Whether you changed a character’s name, switched the color of a prop, or added entirely new scenes, re-syncing is necessary.
Once you’ve re-synced the project, the changes appear across every platform in StudioBinder.
When you’re ready to re-sync, the steps are super simple.
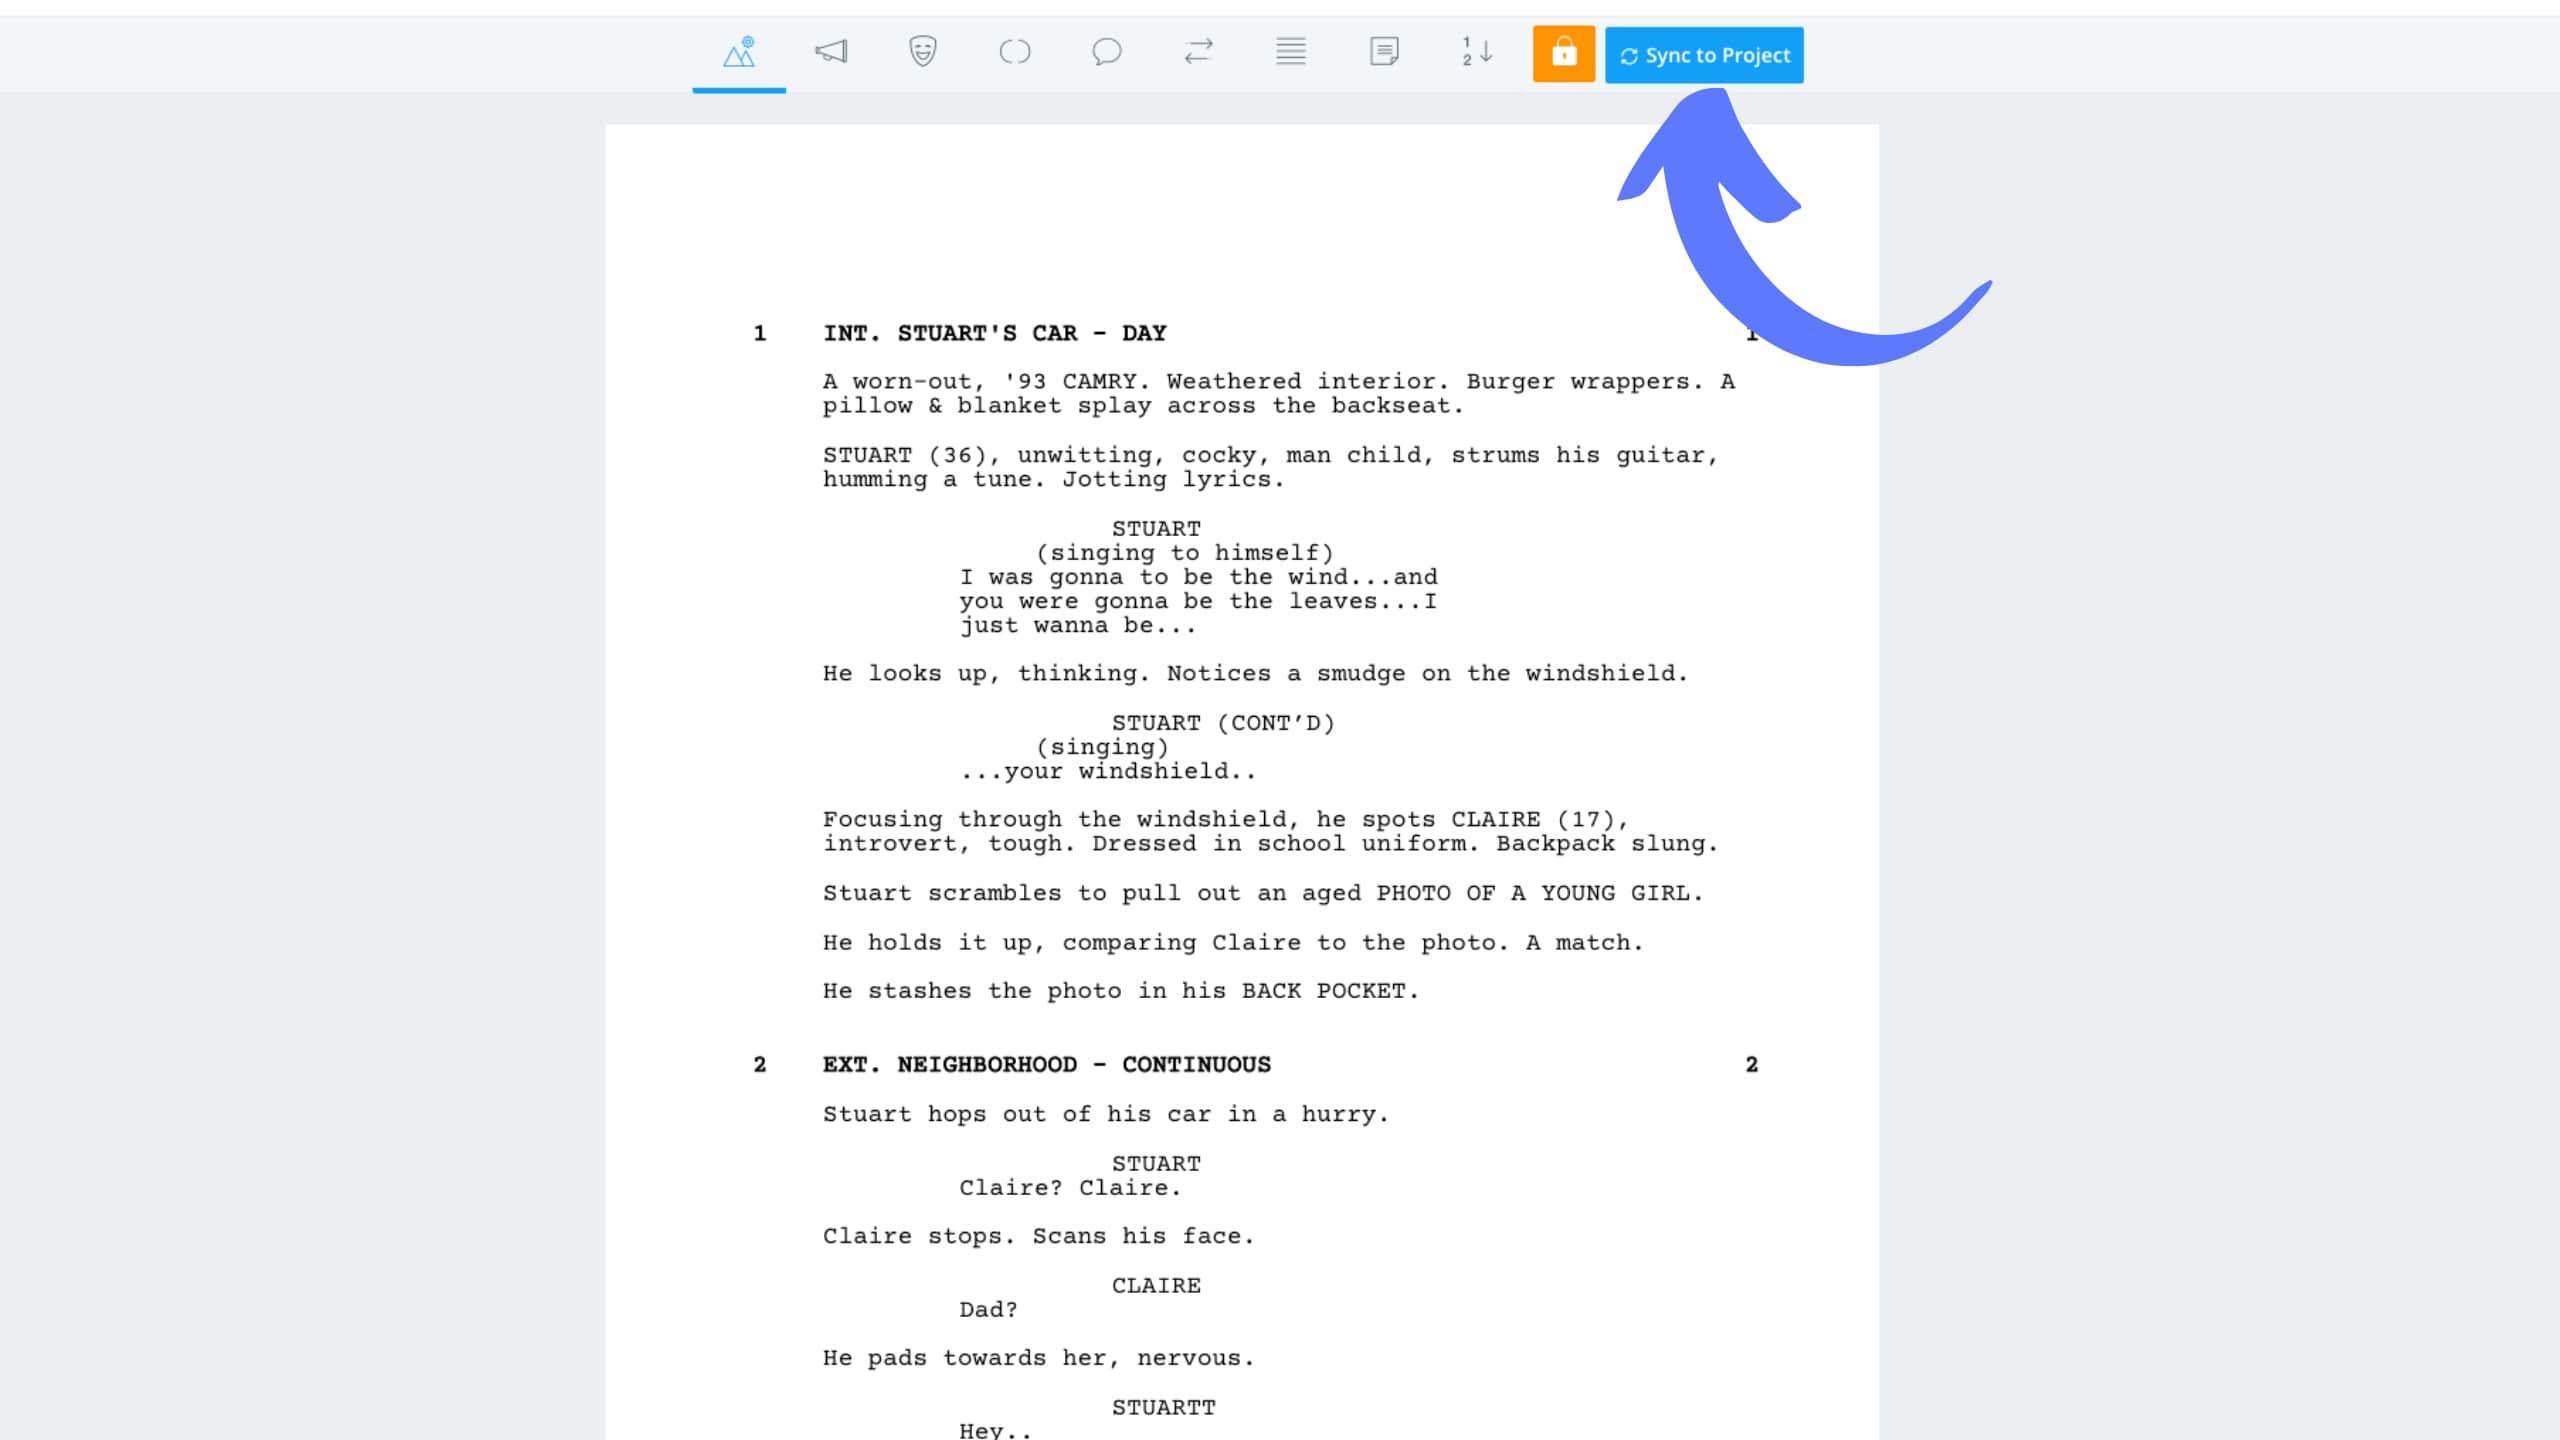
Syncing your new version
Click the “Sync to Project” button on the toolbar. A window will pop up showing you the previous version on the left and the new version on the right with changes highlighted.
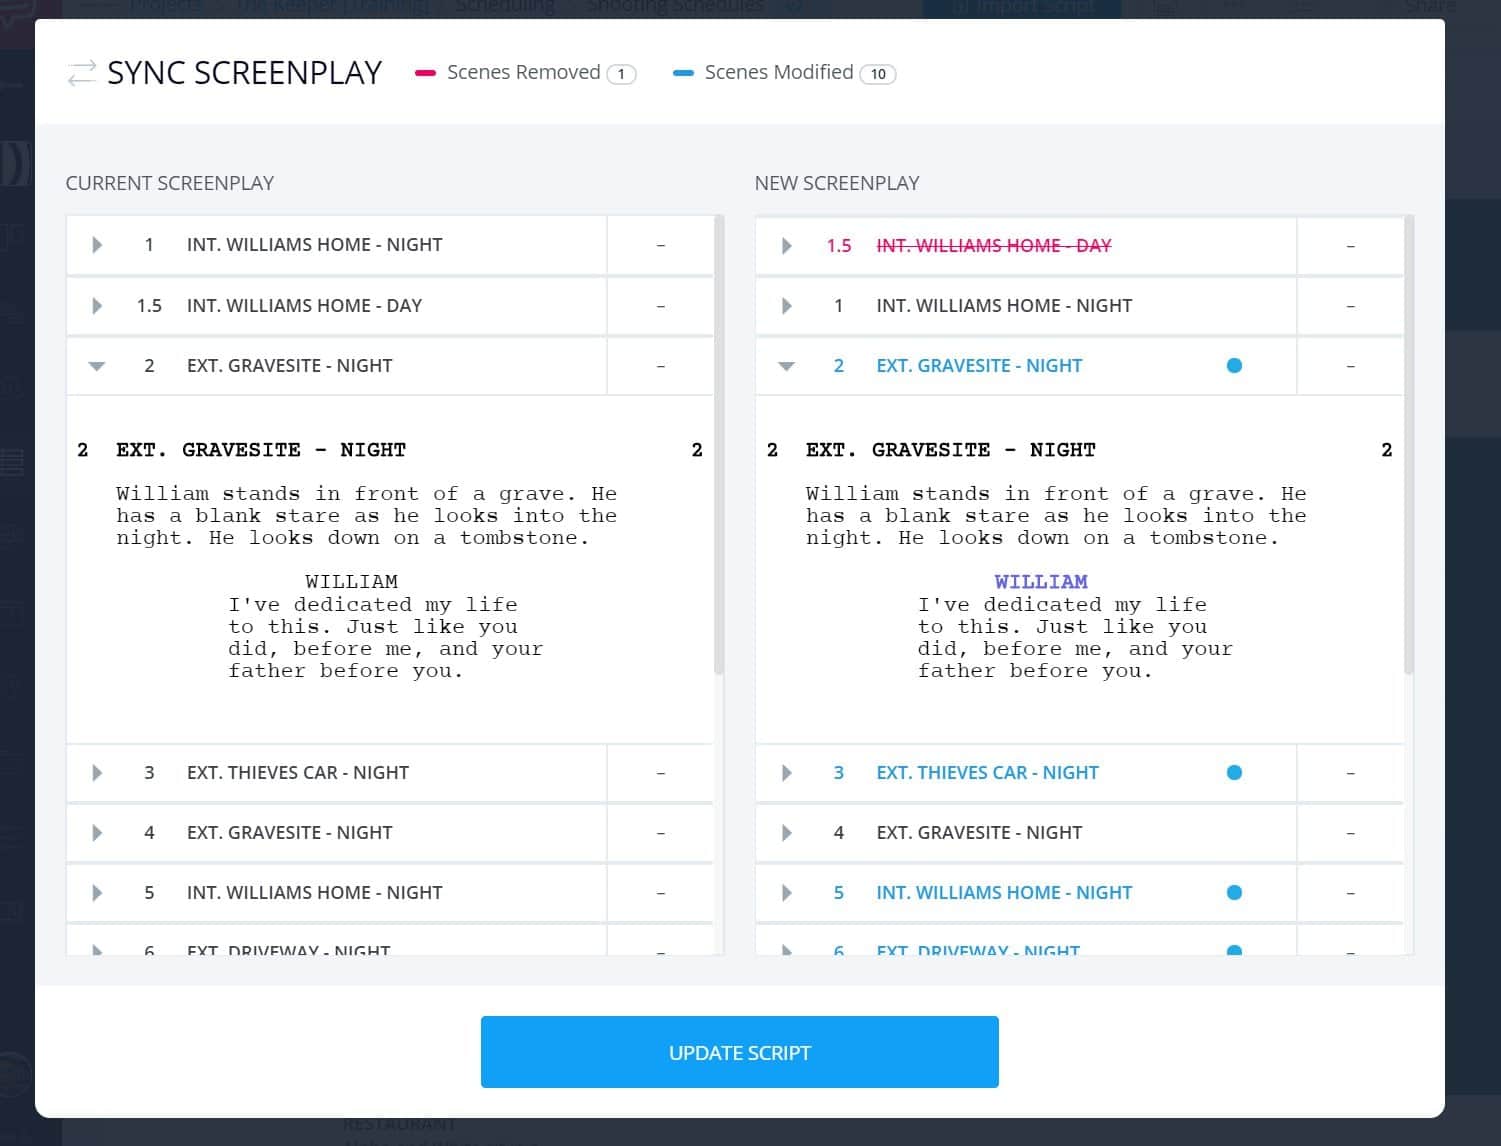
Double check your revisions
When you’ve confirmed all the changes to be made, click the “Update Script” button at the bottom and you’re back in the game.
Related Posts
Up Next
How to Watermark Scripts
Ideas are valuable. Keeping them protected is something some writers might not consider, but they should. When you’ve got a draft of your script that you’re ready to share, a simple step like adding watermarks, headers, and footers to a PDF will go a long way towards keeping your baby safe. In this article, we’ll cover why these steps are important and how easy they are to complete.
Up Next: Learn How to Watermark Scripts →
Easily create script breakdown sheets online.
Import scripts. Tag elements like props, wardrobe, and cast. Create breakdown summaries and DOOD reports in a snap.

Are there any plans to implement renumbering without losing our preproduction work? It would be nice for us to be able to use # labels and A/B/C labels as best for our screenplay/production rather than because of the limitations of this platform.
We should be able to lock elements to sections even if they get renumbered when we resync.