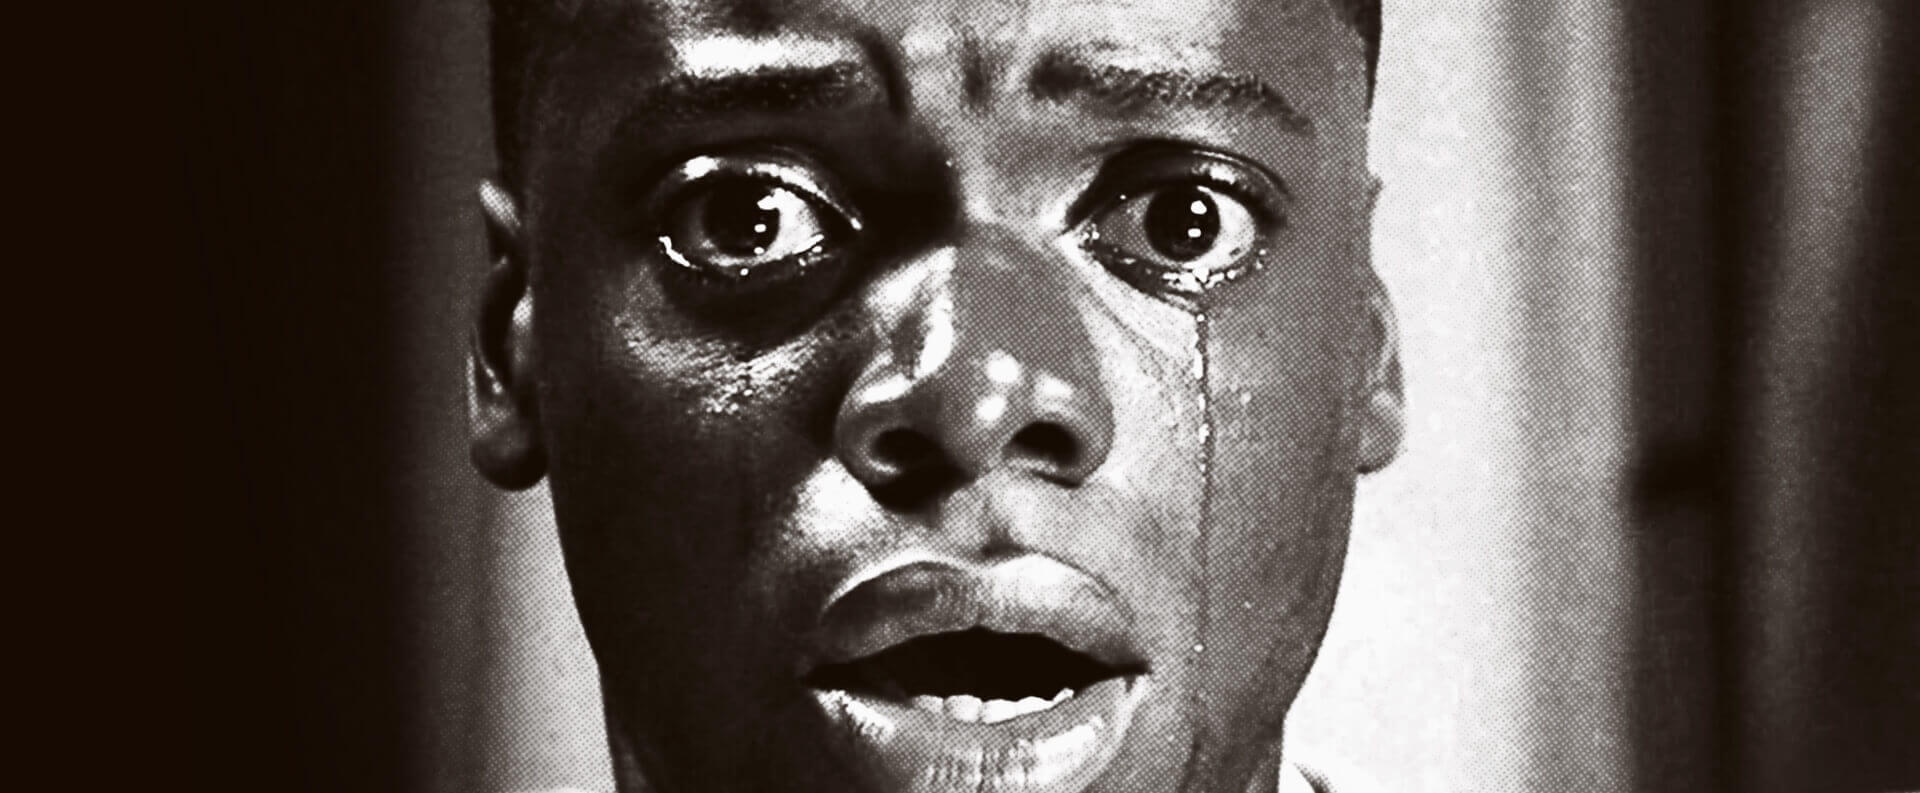
Stephen King said, “We make up horrors to help us cope with the real ones.” Although horror movies have been effective outlets for entertainment, they have also been the ideal genre to explore the social and cultural fears plaguing societies.
One of the most successful examples of this in recent memory is Get Out, directed by Jordan Peele. In this post, we’re going to explore how Peele’s storyboard preparation and shot list choices elevate the horror genre. As we’ll see, a compelling shot list is not only about progressing the story, but enhancing the themes of the narrative as well. Okay, let’s get started!
- Use Storyboards for Pacing
- Strengthen Perspective w/ Storyboards
- Visualizing Character Relationships
- Wrapping Up
How to Create a Storyboard Like Jordan Peele
get out storyboard
Pacing horror movies w/ storyboards
To storyboard is not a mandatory practice, but it is beneficial. Storyboarding allows a filmmaker to visualize scenes more effectively.
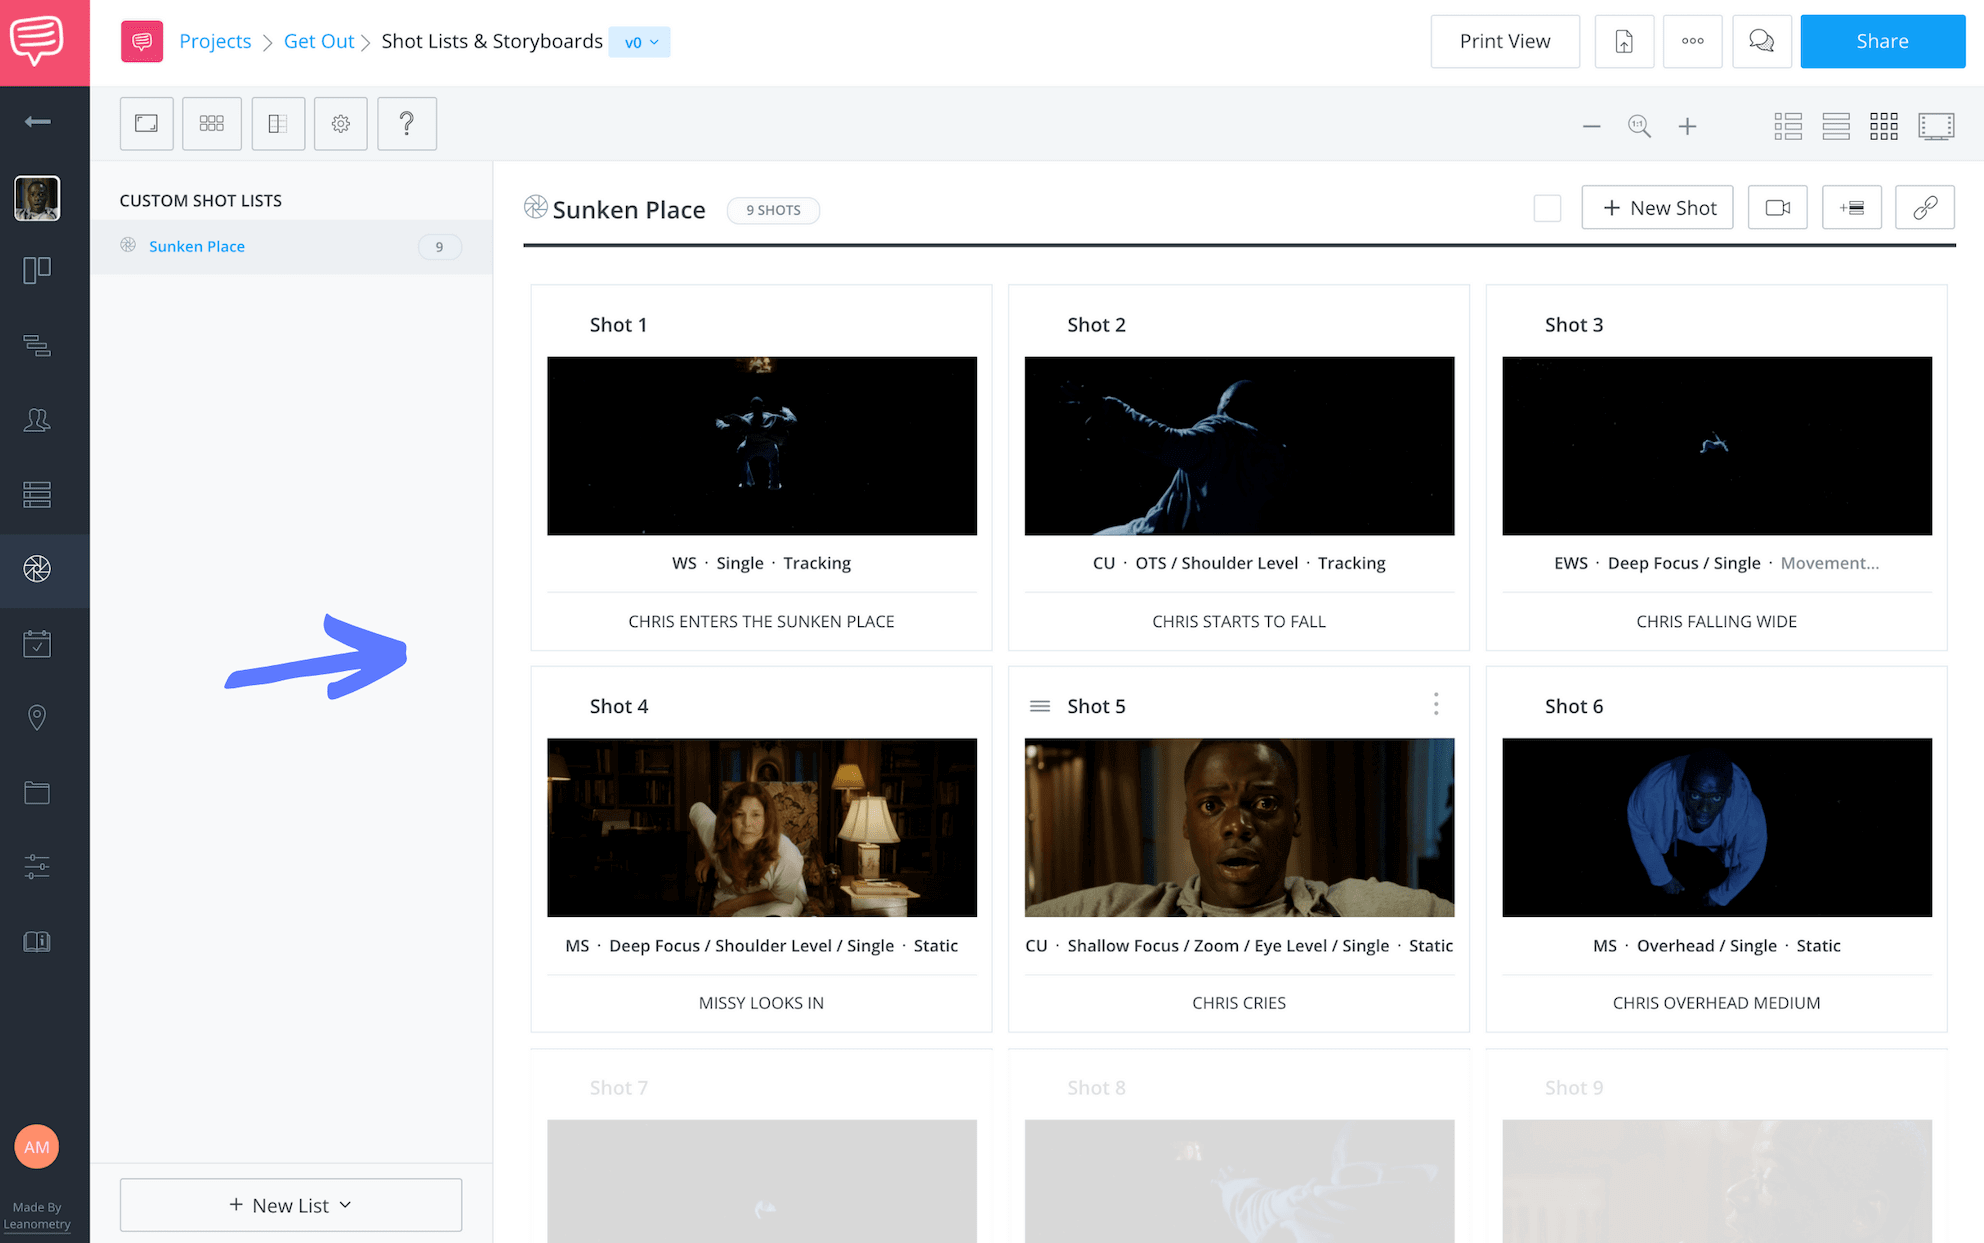
It also enables them to understand how moments connect to the greater whole of the project. In horror movies, developing an appropriate shot list compliments one of the genre’s key elements, pacing. We've used StudioBinder's shot list and storyboard function to layout this pacing.
Knowing how and when to reveal information not only builds suspense, it also provides viewers the opportunity to focus on important narrative details. Let’s take a look at the moment in Get Out when Chris first enters Missy's office, right before he goes into the sunken place.
There is a close-up on Missy that shows her power in the situation.
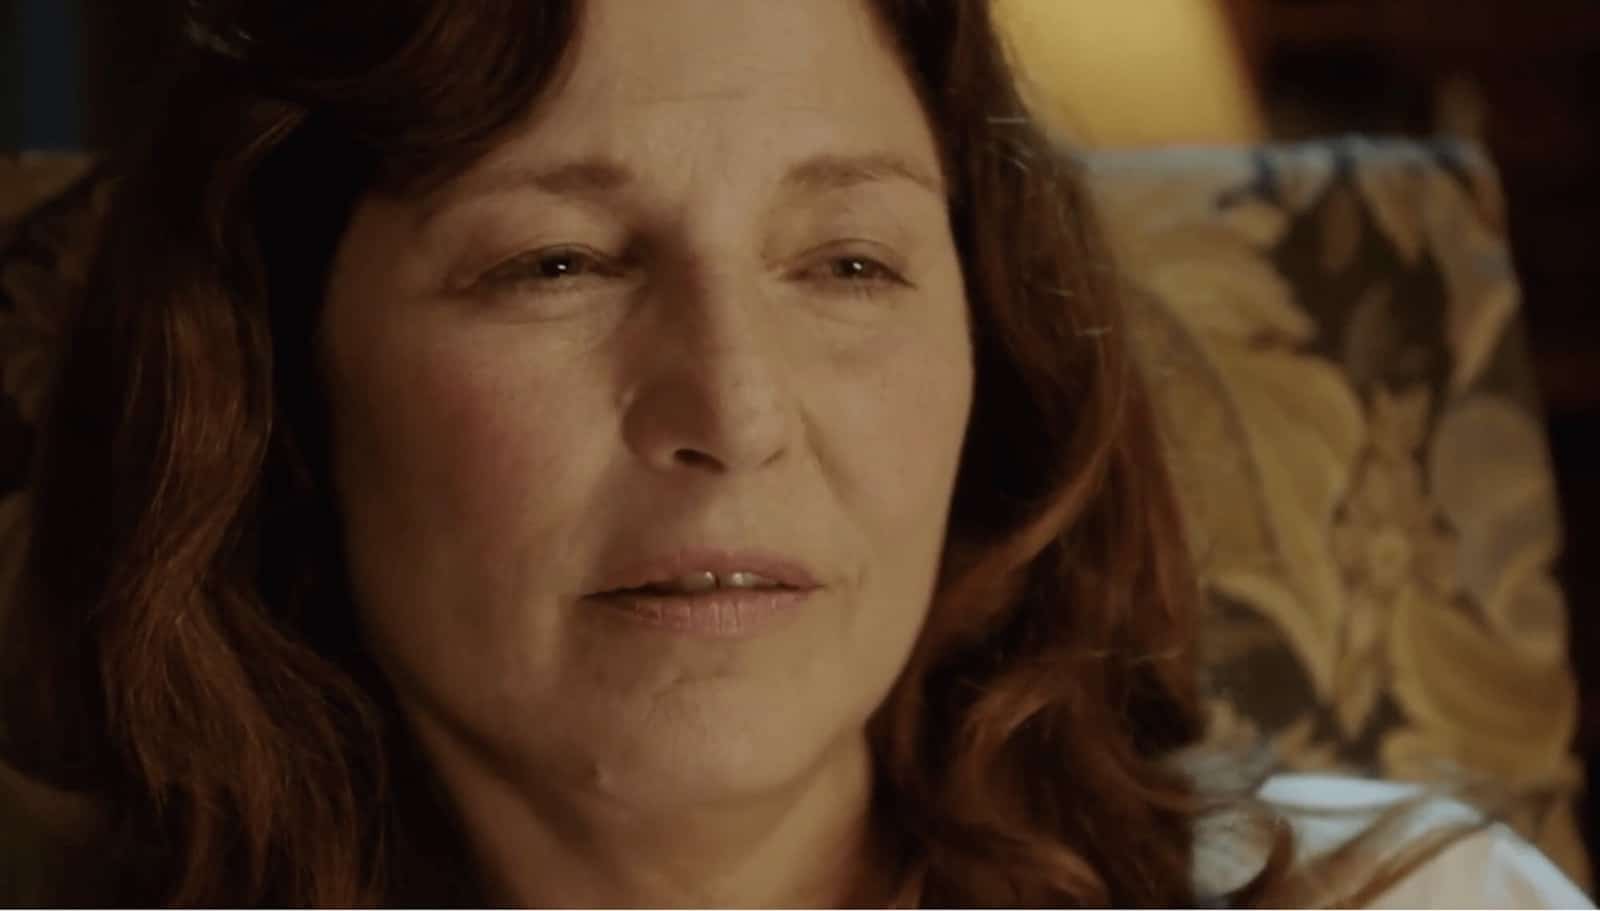
Missy is in control
It also cuts Chris off from the broader context of his surroundings.
Unfortunately for Chris, the steady tone of her voice and the tapping of the teacup are inescapable. Let's see below:
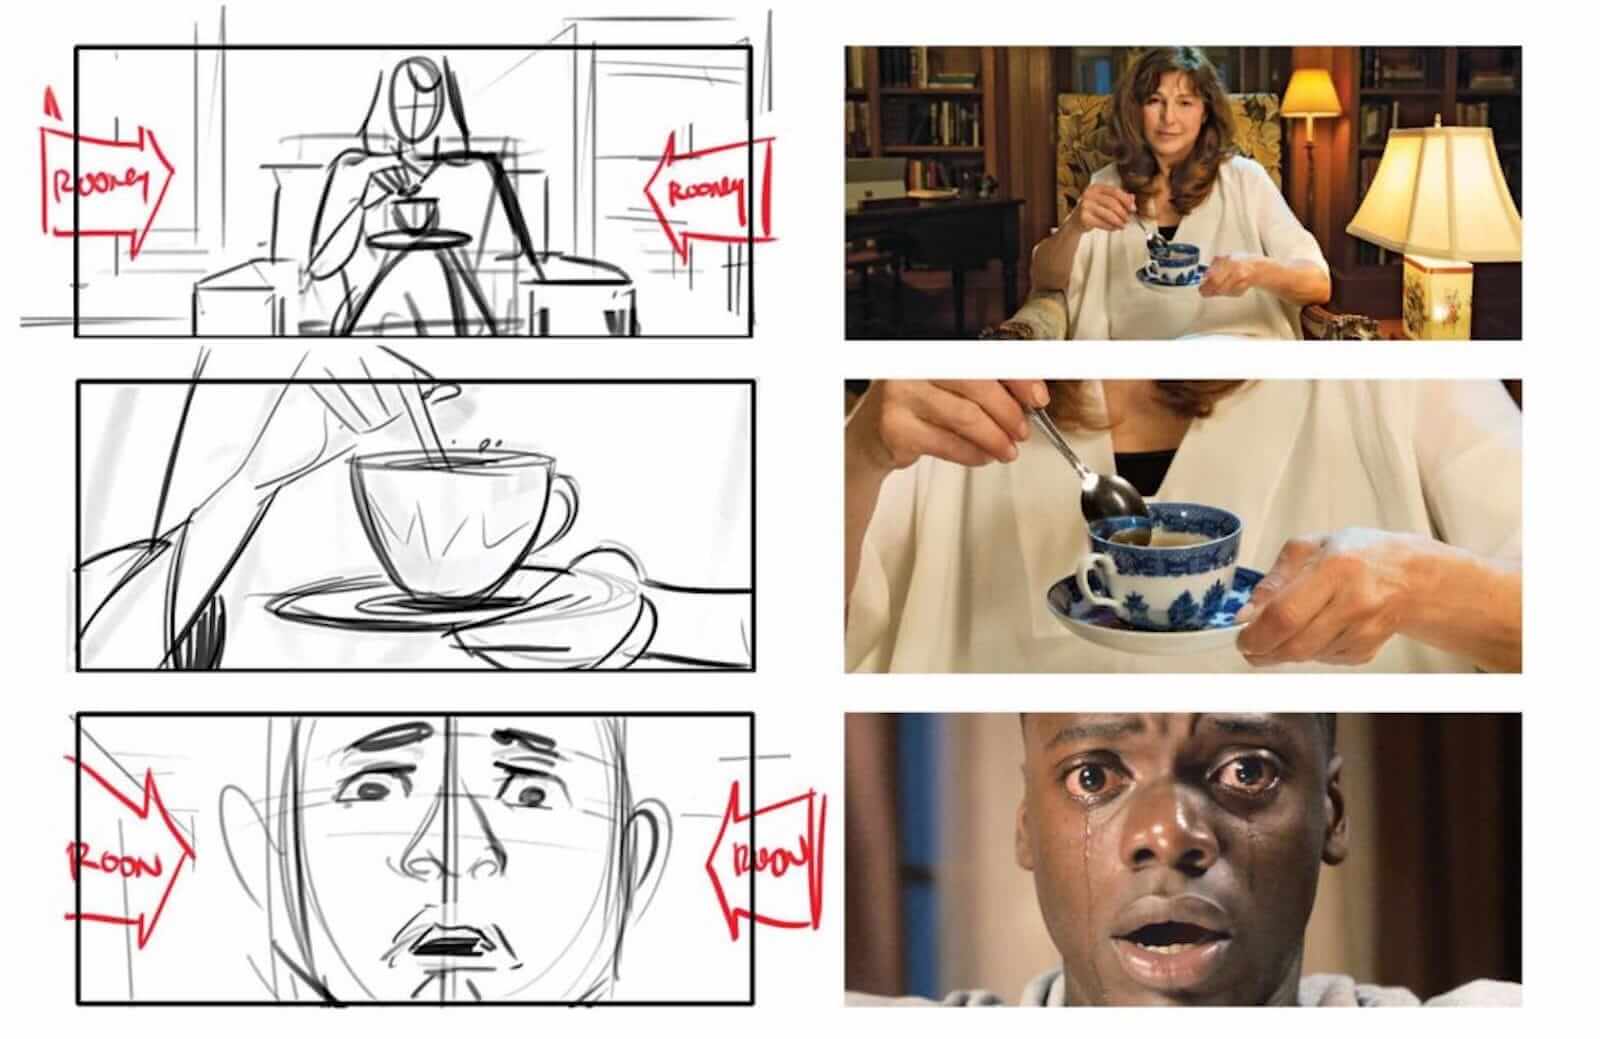
Storyboard from Get Out
The closeup and pacing bolsters Missy’s confidence, and all Chris can do is stare helplessly until she says, “Now, sink into the floor.”
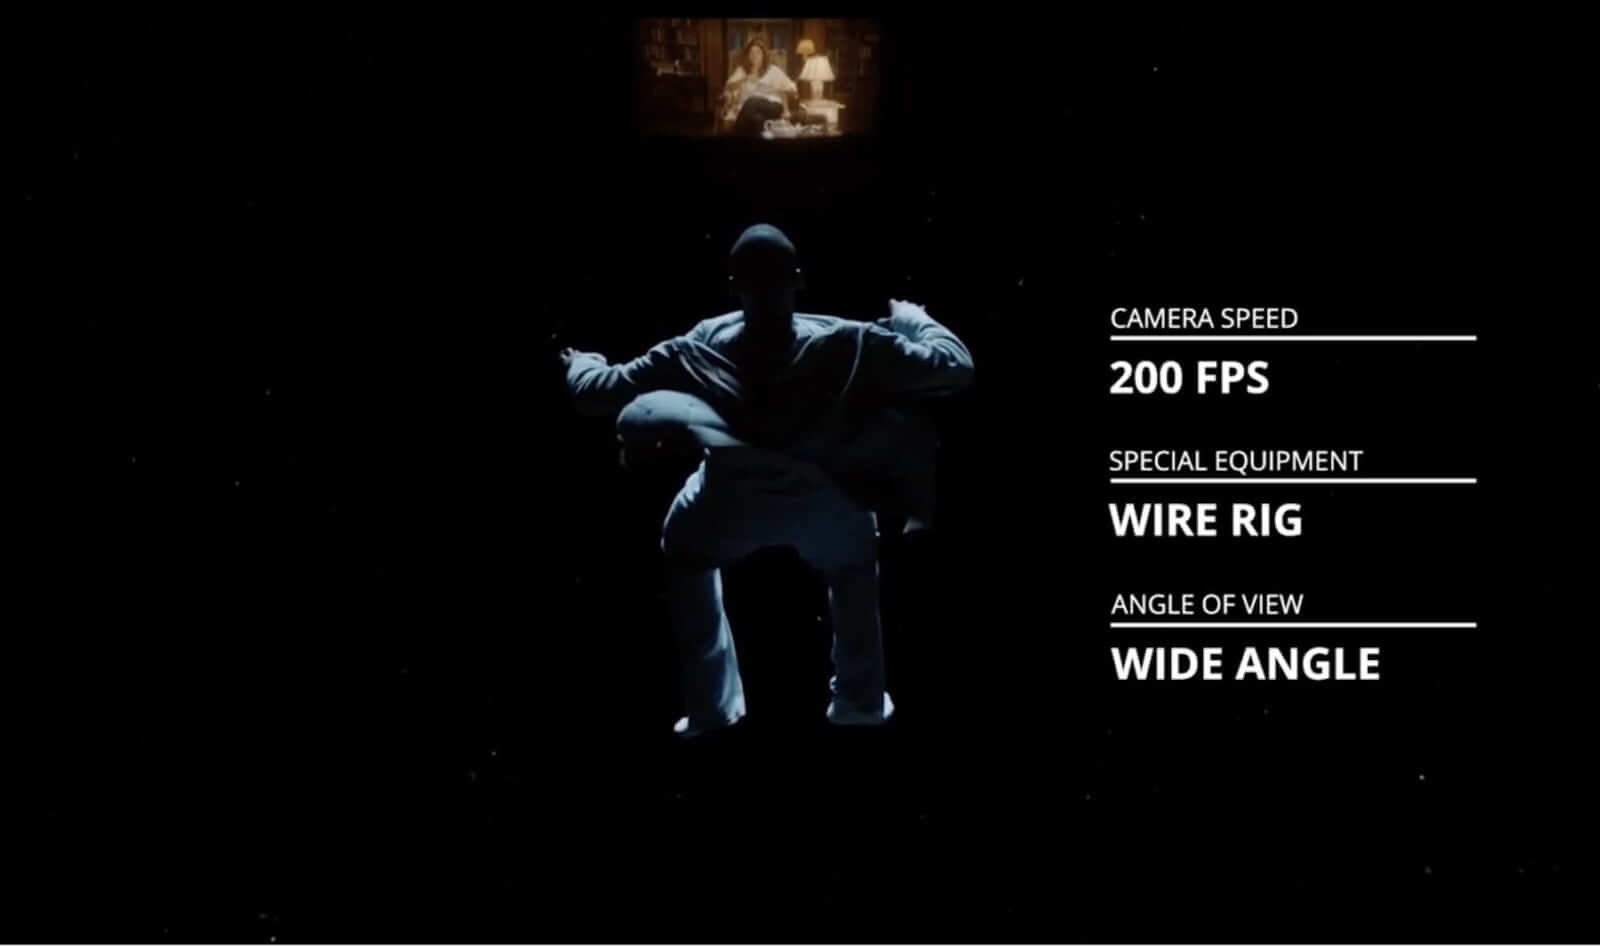
From there, as we can see in the example below, Peele abruptly switches to the perspective from inside the sunken place.
Switching POV's
Once in the sunken place, Peele transitions to a wide angle shot, and slows the speed of the scene down to 200 frames per second.
As you employ a wide angle shot, objects near the foreground appear larger, while objects in the background appear extremely small.
This enhances the perspective of a scene, injecting a three-dimensional quality to an otherwise flat surface.
Here, Missy Armitage and the living room grow farther and farther away, as Chris’ paralyzed body drifts towards the viewer.
In this case, the wide angle utilizes two of the most powerful elements of horror movies: fear of the dark, and fear of the unusual.
Both are fully present in the shot as Chris leaves the safety and security of his familiar reality, and instead tumbles into an unknown abyss.
The best horror movies use fear of the unusual
As mentioned, besides expanding the shot to a wide angle, Jordan Peele increases the frame rate to 200 fps.
A higher frame rate will result in slow motion. If you're not completely comfortable with these technicalities, don't worry, we wrote an article zeroing in on slow motion to create iconic moments.
Typically, the practice is used to prolong or emphasize the emotional intensity of a scene. Unlike the close-up revealing Missy’s control, the distance afforded by the wide angle displays Chris’ desperation.
Although he may want to thrash about, this alien world prevents him from doing so, making his terror that much more amplified.
But Peele doesn’t stop at a simple wide angle. No, he stresses Chris’ troubling situation by moving to the extreme wide perspective.
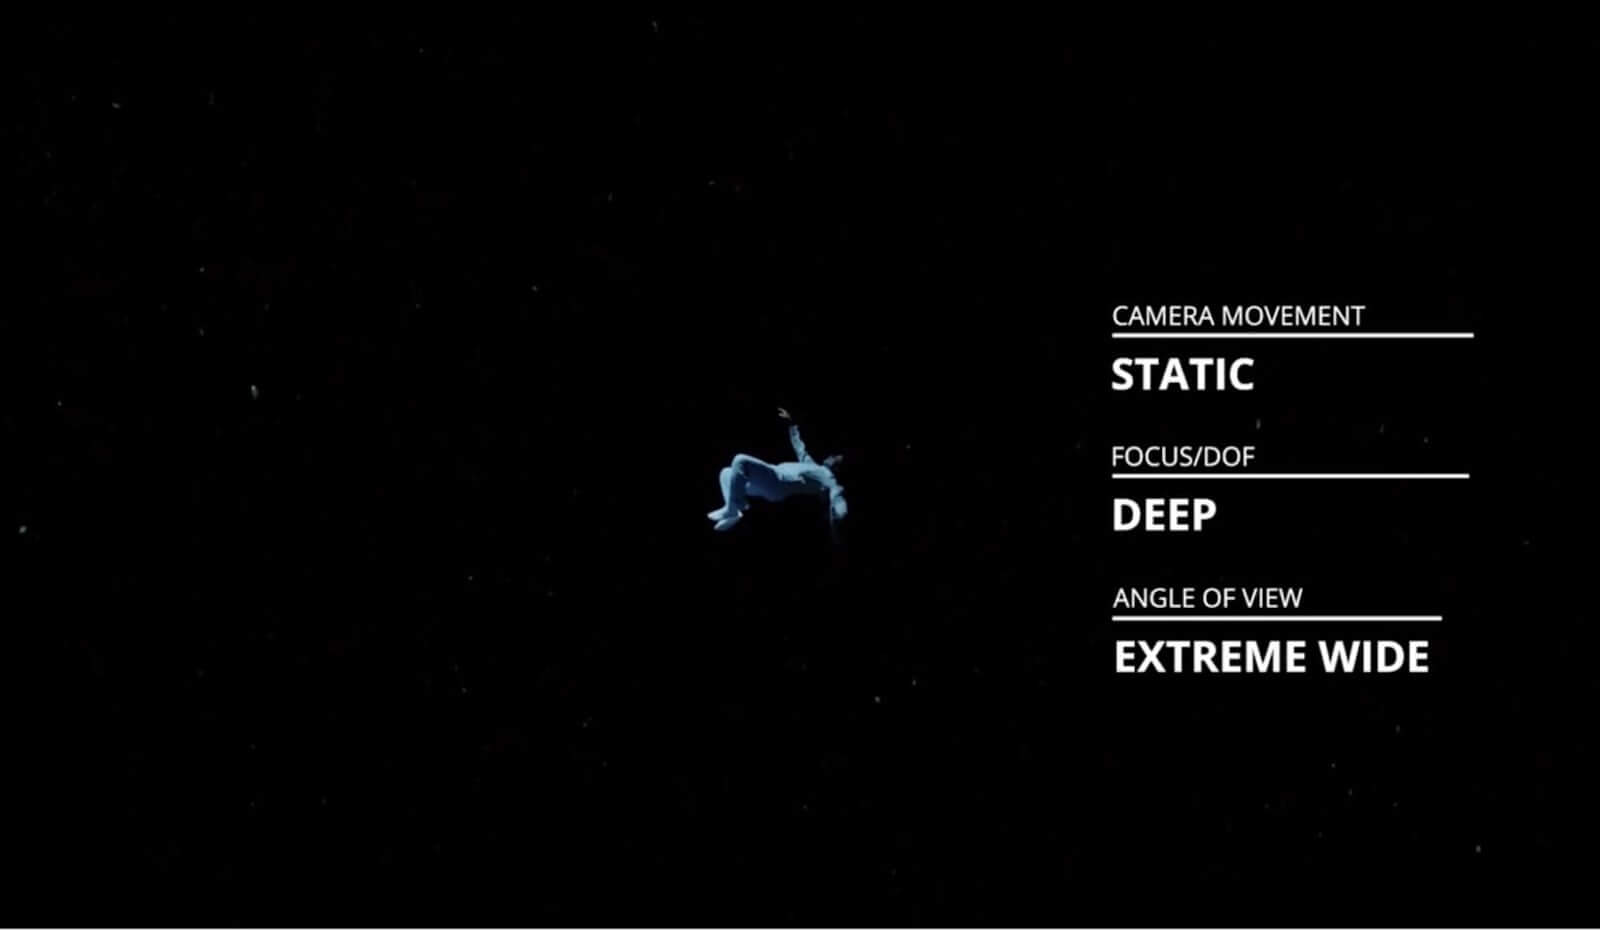
This shot depicts how far gone Chris is
If we thought Chris’ situation was worrisome before, now it seems completely dire. Like a piece of debris stuck in space he drifts, caught in a kind of invisible web. If you want more on the wide angle shot and how you can use it, check out our article completely devoted to it.
Hair-raising locations are another hallmark of the best horror movies, and it’s the extreme wide angle, showcasing the enormity of this cold void, that enhances the scare-factor.
But Peele doesn’t want the distance to isolate the viewer.
Instead, he alternates between wide angle and close-up. If you want more ideas of what to do with a close-up, read our article on on close-ups or take a dive into our extreme close-ups post.
Ultimately, this storyboard strategy allows us to feel both the horrifying nature of the environment, and Chris’ utter confusion and fear. Storyboarding out these ideas ahead of time is critical to your project's success, learn more about how to make a storyboard online here.
Related Posts
using storyboards
Use storyboards to strengthen perspectives
Soon, Chris has completed his descent and now hovers at the bottom of the space. Peele establishes this new phase with a wide angle, but then transitions to an extreme wide from Missy’s perspective.
Besides being reminded of Chris’ desperate situation, this camera technique now gives us an overwhelming picture of Missy’s power.
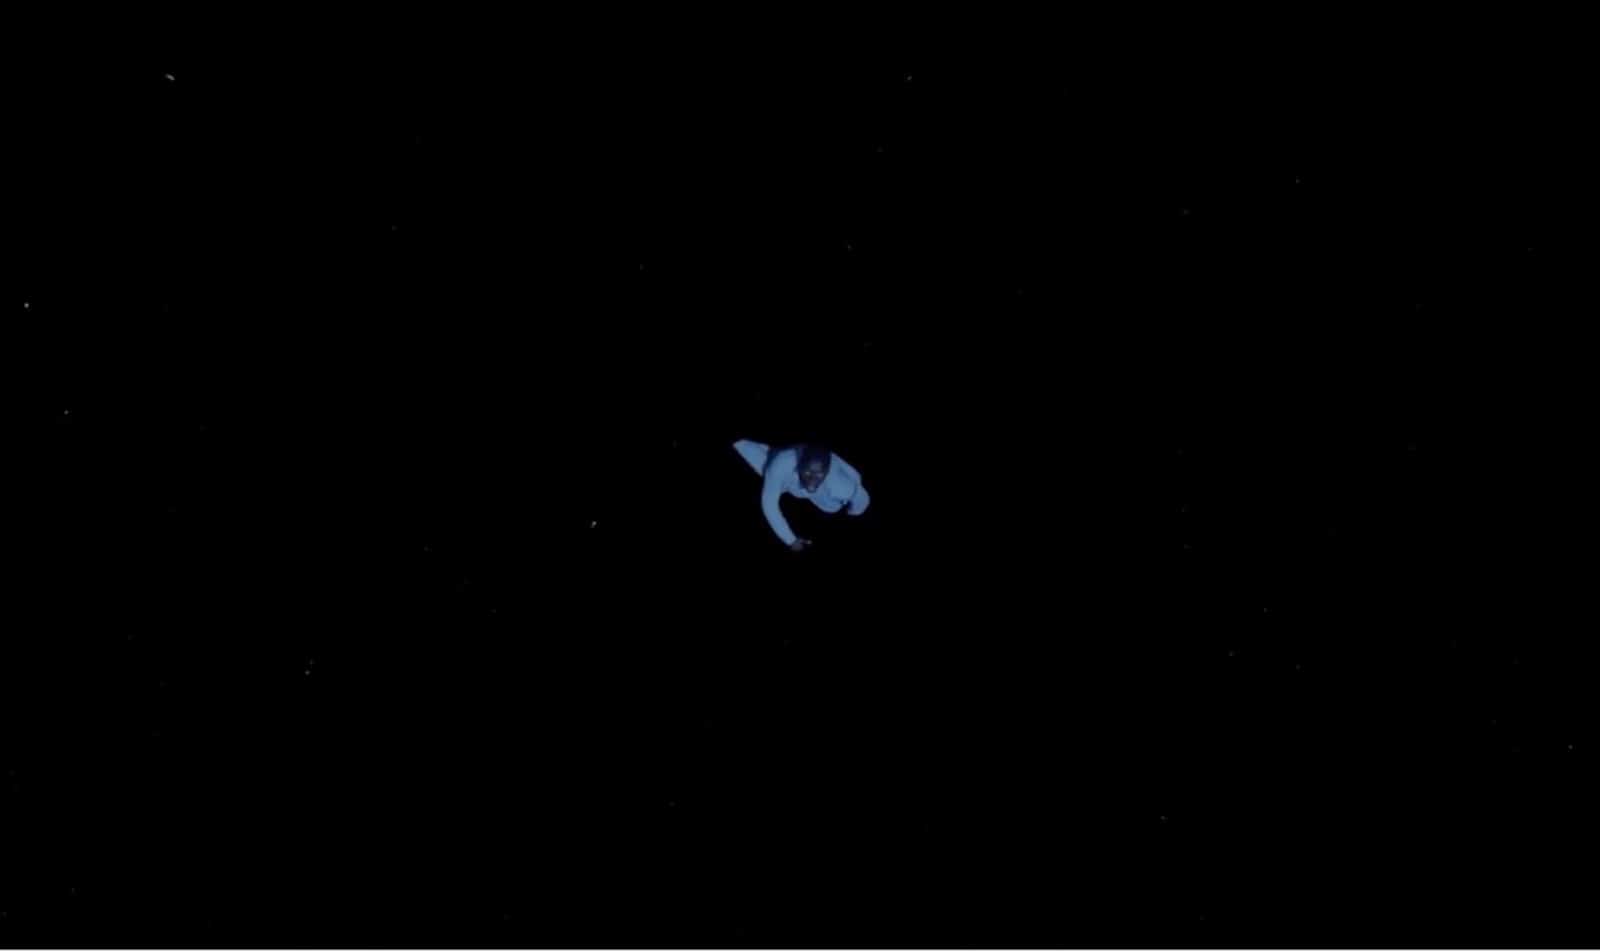
Extreme wide angle to highlight Missy’s power
More than ever, the safety Chris once knew is now a distant memory, literally out of reach.
As in the example below, Peele uses camera angle to not only establish the environment, but to act as an extension of character emotion.
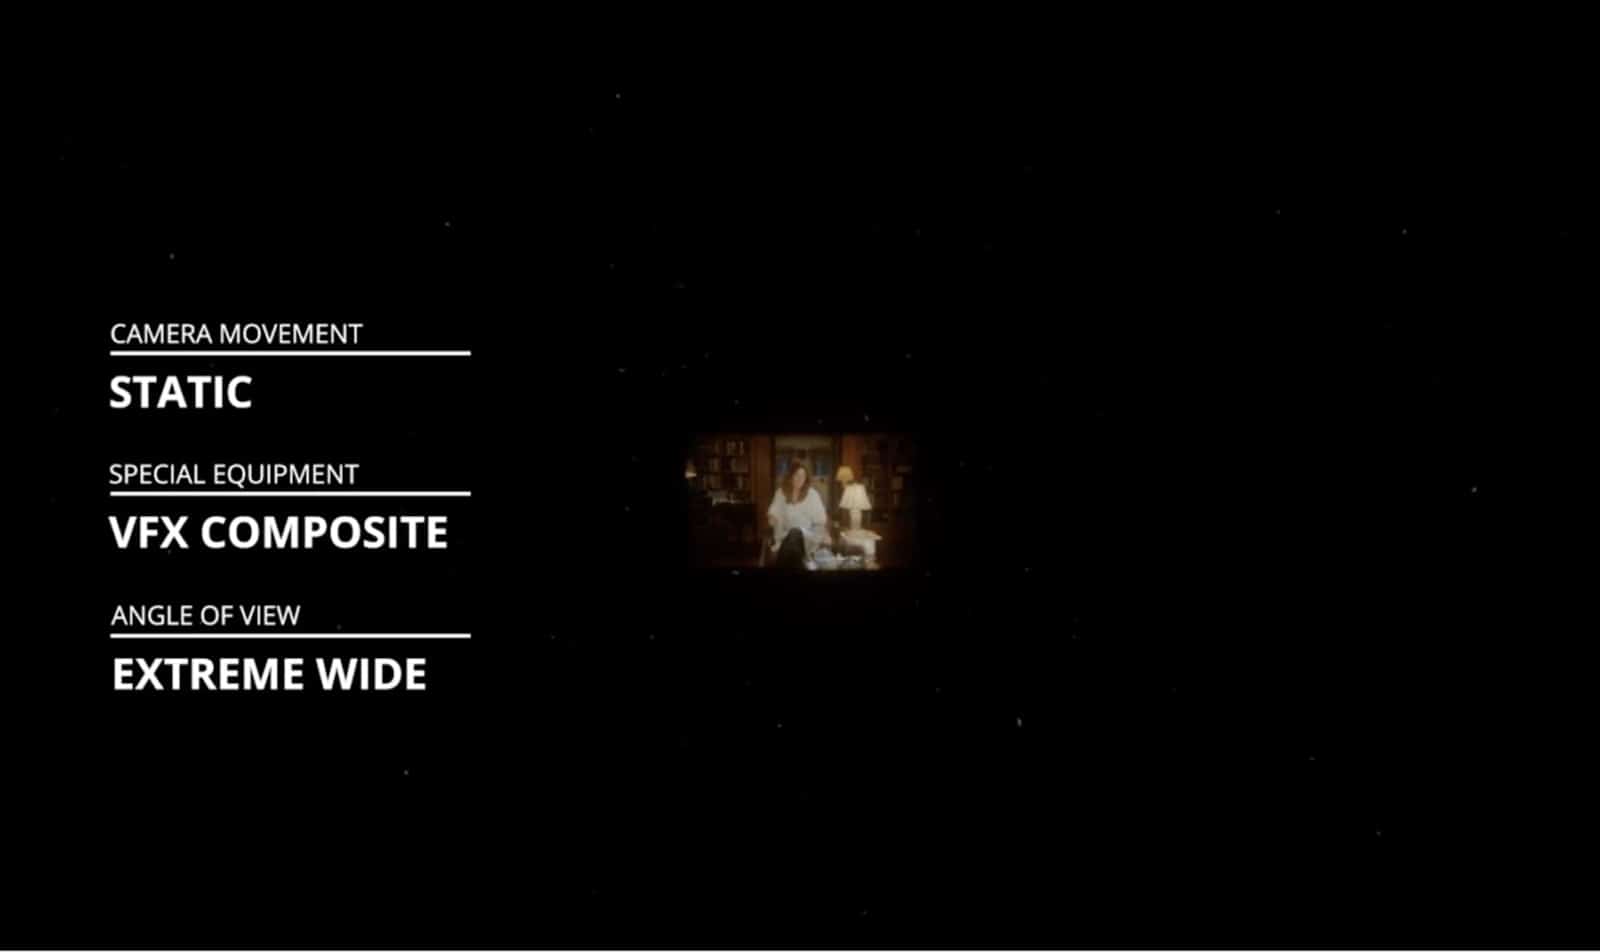
Chris is trapped
In the extreme wide Missy now towers over Chris, confirming her role as captor and his role as prisoner. Many of these shots required VFX to execute. If you want to learn more about how Jordan Peele used special effects to pull off The Sunken Place scene, check out this post.
If you want more information on camera shots and when to use which shot, read our complete guide to camera shots here.
visualizing with storyboards
Storyboard character relationships
Adding to the viewer’s sense of discomfort, Jordan Peele then transitions from the sunken place back to the Armitage home.
Utilizing the close up and alternating between the POV’s of both Missy and Chris, the intensity and desperation of the scene is evermore present.
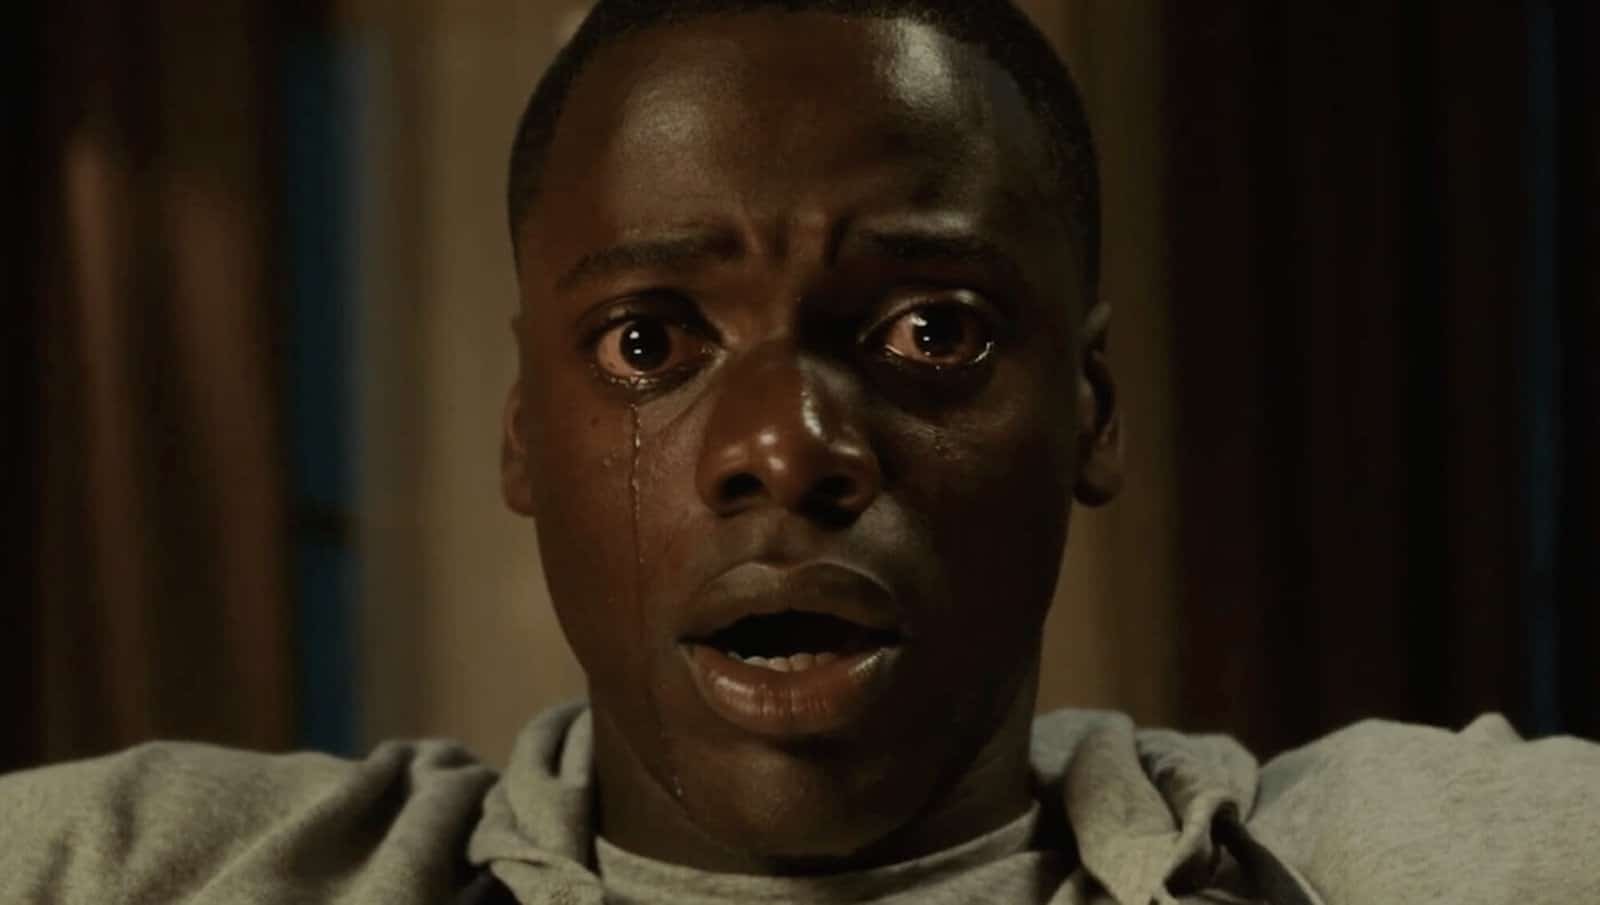
Jordan Peele's use of the close-up
Not only does it relate to the specific moment, but adds to the commentary surrounding racial injustice explored throughout the project.
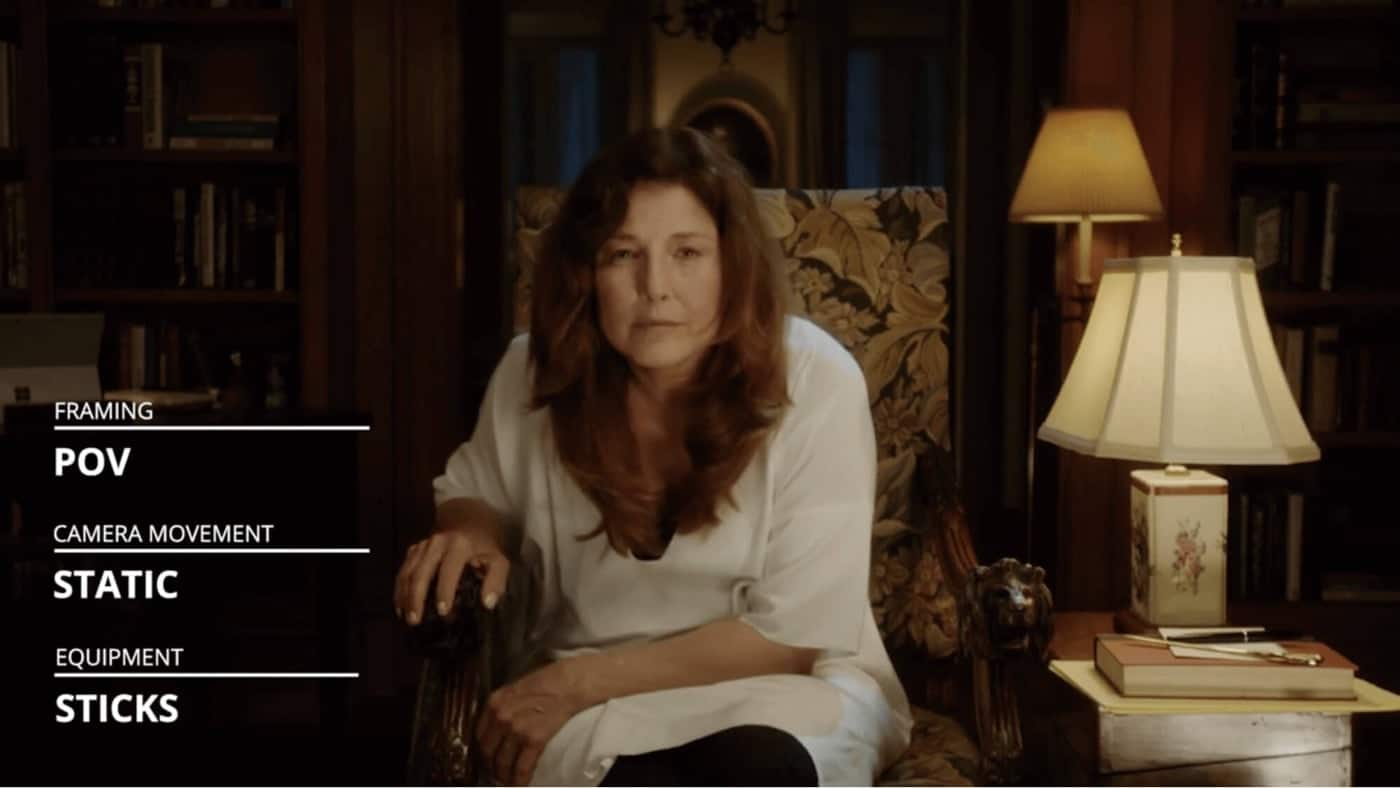
POV to highlight character relationships
Here, we experience Chris’ terror, and the confining, claustrophobic sensation of the scene.
As in the best horror movies, his paralysis becomes our paralysis, as we are forced to endure the weight of imprisonment.
But as Missy moves forward, Peele decides to return us to the sunken place. Mimicking Missy’s movement, we transition to an overhead medium shot.
Closer yet still unreachable, Missy seems to taunt Chris, confirming that his desire to escape is futile.
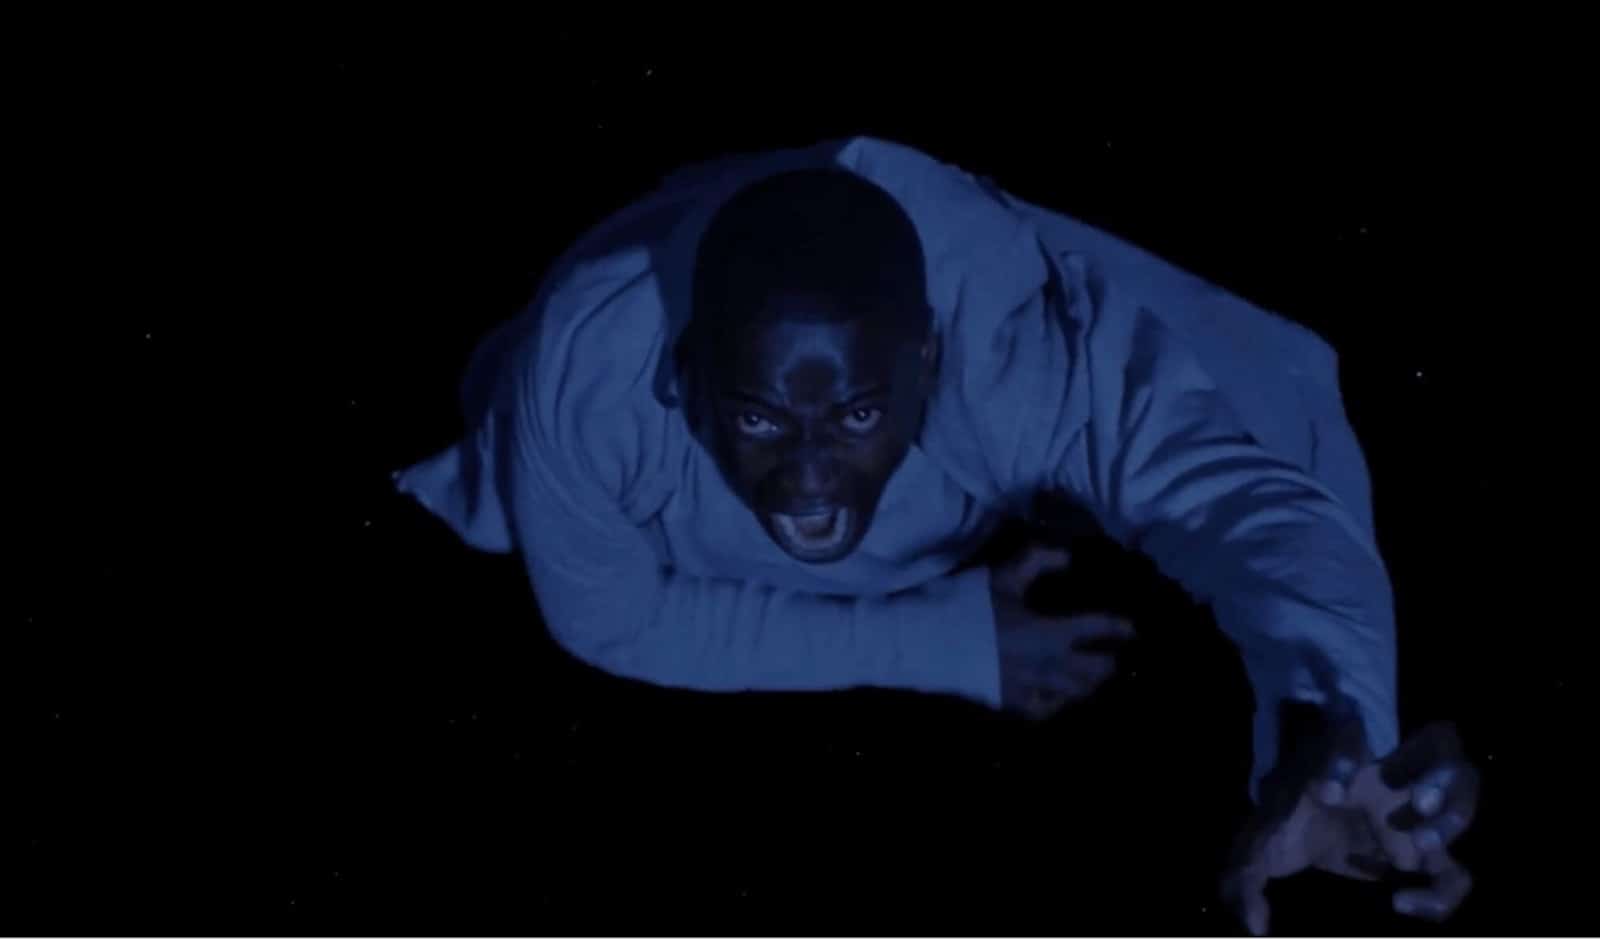
Camera mimics the movements of his characters
And as Missy prepares to leave Chris permanently in darkness, Peele shifts our perspective to an over-the-shoulder shot.
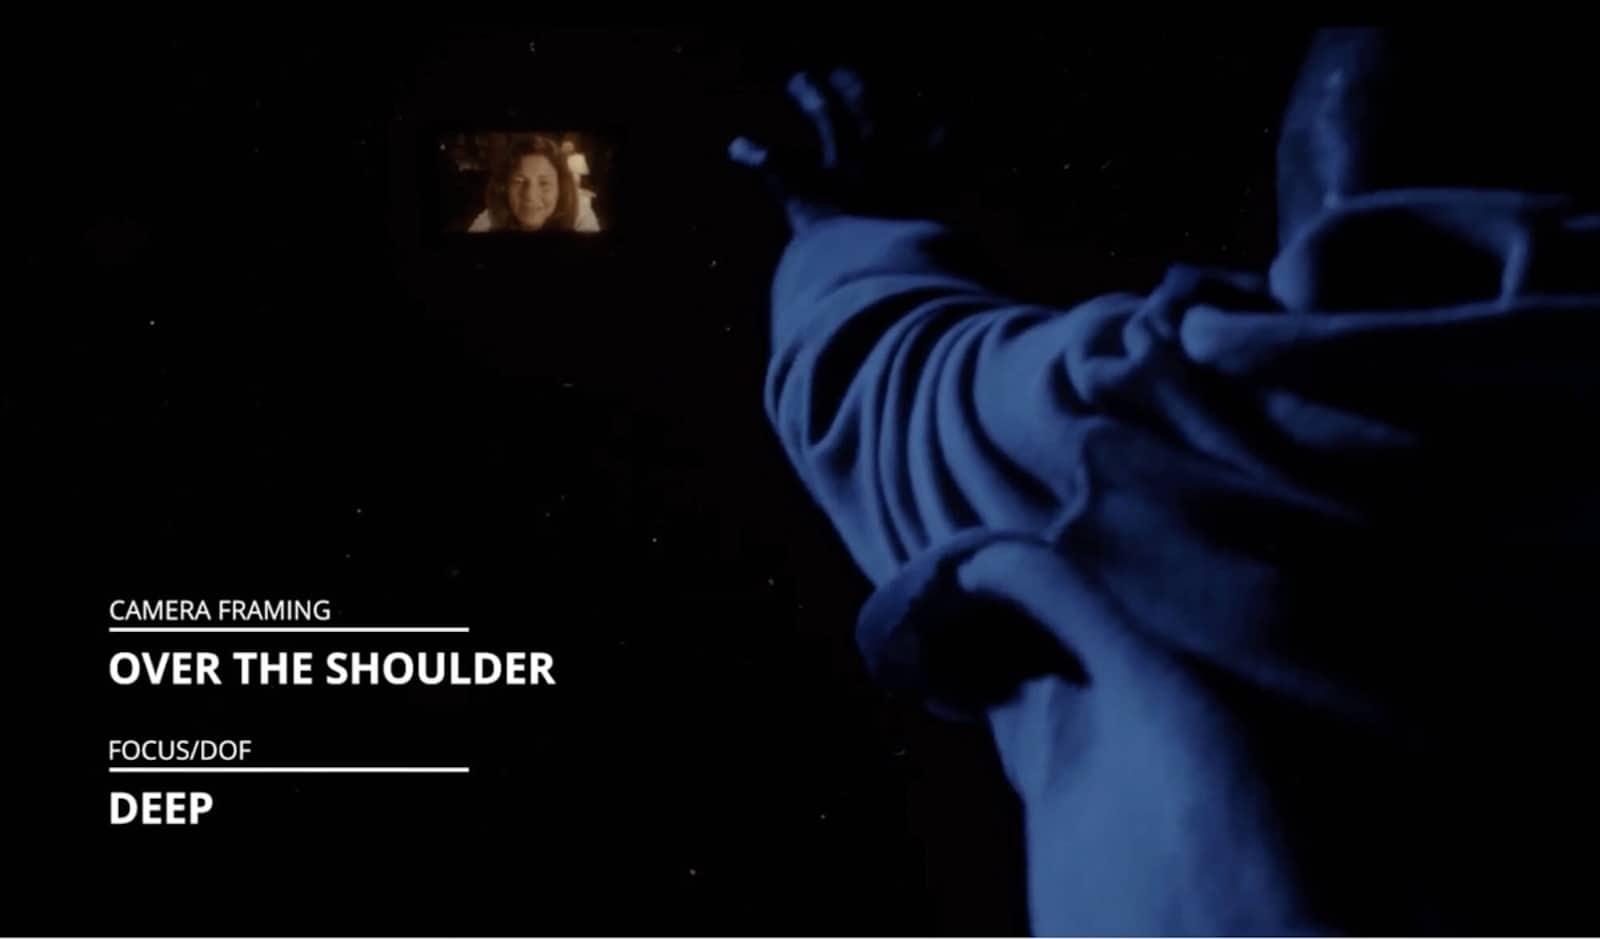
OTS for Chris' terrifying perspective
Darkness connects to one of the cornerstones of our existence, fear of death. And through the shot and storyboard choices Chris, along with the audience, is uncertain whether this is a darkness he can escape.
But luckily for Chris the darkness is short-lived, as he soon awakens back in his bed. With his heart racing he reflects on the experience.
Was it real? Was it not? Again, Peele does an effective job of pacing, so that by the time Chris awakens we along with him are grateful for the safety of the bedroom. Yes safe, but for how long?
Jordan Peele's shot selection was deliberate and motivated. If you want to learn more about different types of shots, pick your poison below.
CAMERA SHOT SIZES
Get Inspired. Explore More Shots.
Master every shot size, and learn unique ways to combine
CLOSE UP SHOTS
MEDIUM SHOTS
WIDE SHOTS
get out storyboard
Wrapping up
Because of proper shot and storyboard preparation, Jordan Peele is able to flip our expectations of what a horror movie can be.
Of course we want to be entertained by these types of stories.
But more than that, Peele successfully takes us deeper into the psychologies of his characters, and the social dilemmas they face.
Bram Stoker said, “I will not let you go into the unknown alone.”
The world of Get Out may be frightening, but with Peele as a guide, you’re willing to sink deeper into it.
Want to create your own storyboard? Sign up for StudioBinder and start building your project for free. You can even get a free shot list template here.
Related Posts
UP NEXT
How to Make a Storyboard
Now that you know how Jordan Peele storyboarded his vision, what about you? Storyboarding isn't complicated, but it does require some knowledge, especially if you're using a software.
Our next post dives into how to use software to storyboard your vision. Using software is critical for clear translation from script to screen. Use all of your resources, and learn more below.
Up Next: How to Make a Storyboard →
FREE Storyboard Example from "Get Out"
See all of Jordan Peele's shot specs in action

See the whole scene from "Get Out" storyboarded out professionally, and apply the concepts to your own project. Enter your email to see it in action.
Showcase your vision with elegant shot lists and storyboards.
Create robust and customizable shot lists. Upload images to make storyboards and slideshows.
