Scheduling your film shoot is one of the very first steps in making your project come to life. But in order to schedule, it is our job to figure out how long it will all take – from the length of individual days to the length of the entire project.
There is a way to approach scheduling that will help ensure that the work you do isn’t in vain. Let’s take a look at a few tips and rules for estimating your prep and shoot times that you want to know for your next project. Let’s put some scheduling tips into practical use so that you are armed, and ready to shoot.
How to Plan a Film Shoot in StudioBinder
SCRIPT BREAKDOWNS EXPLAINED
Making a shooting schedule
A lot of planning happens between the finishing of a script and filming. The production team has to figure out the most efficient way to shoot what’s on the page. This culminates in a shooting schedule.
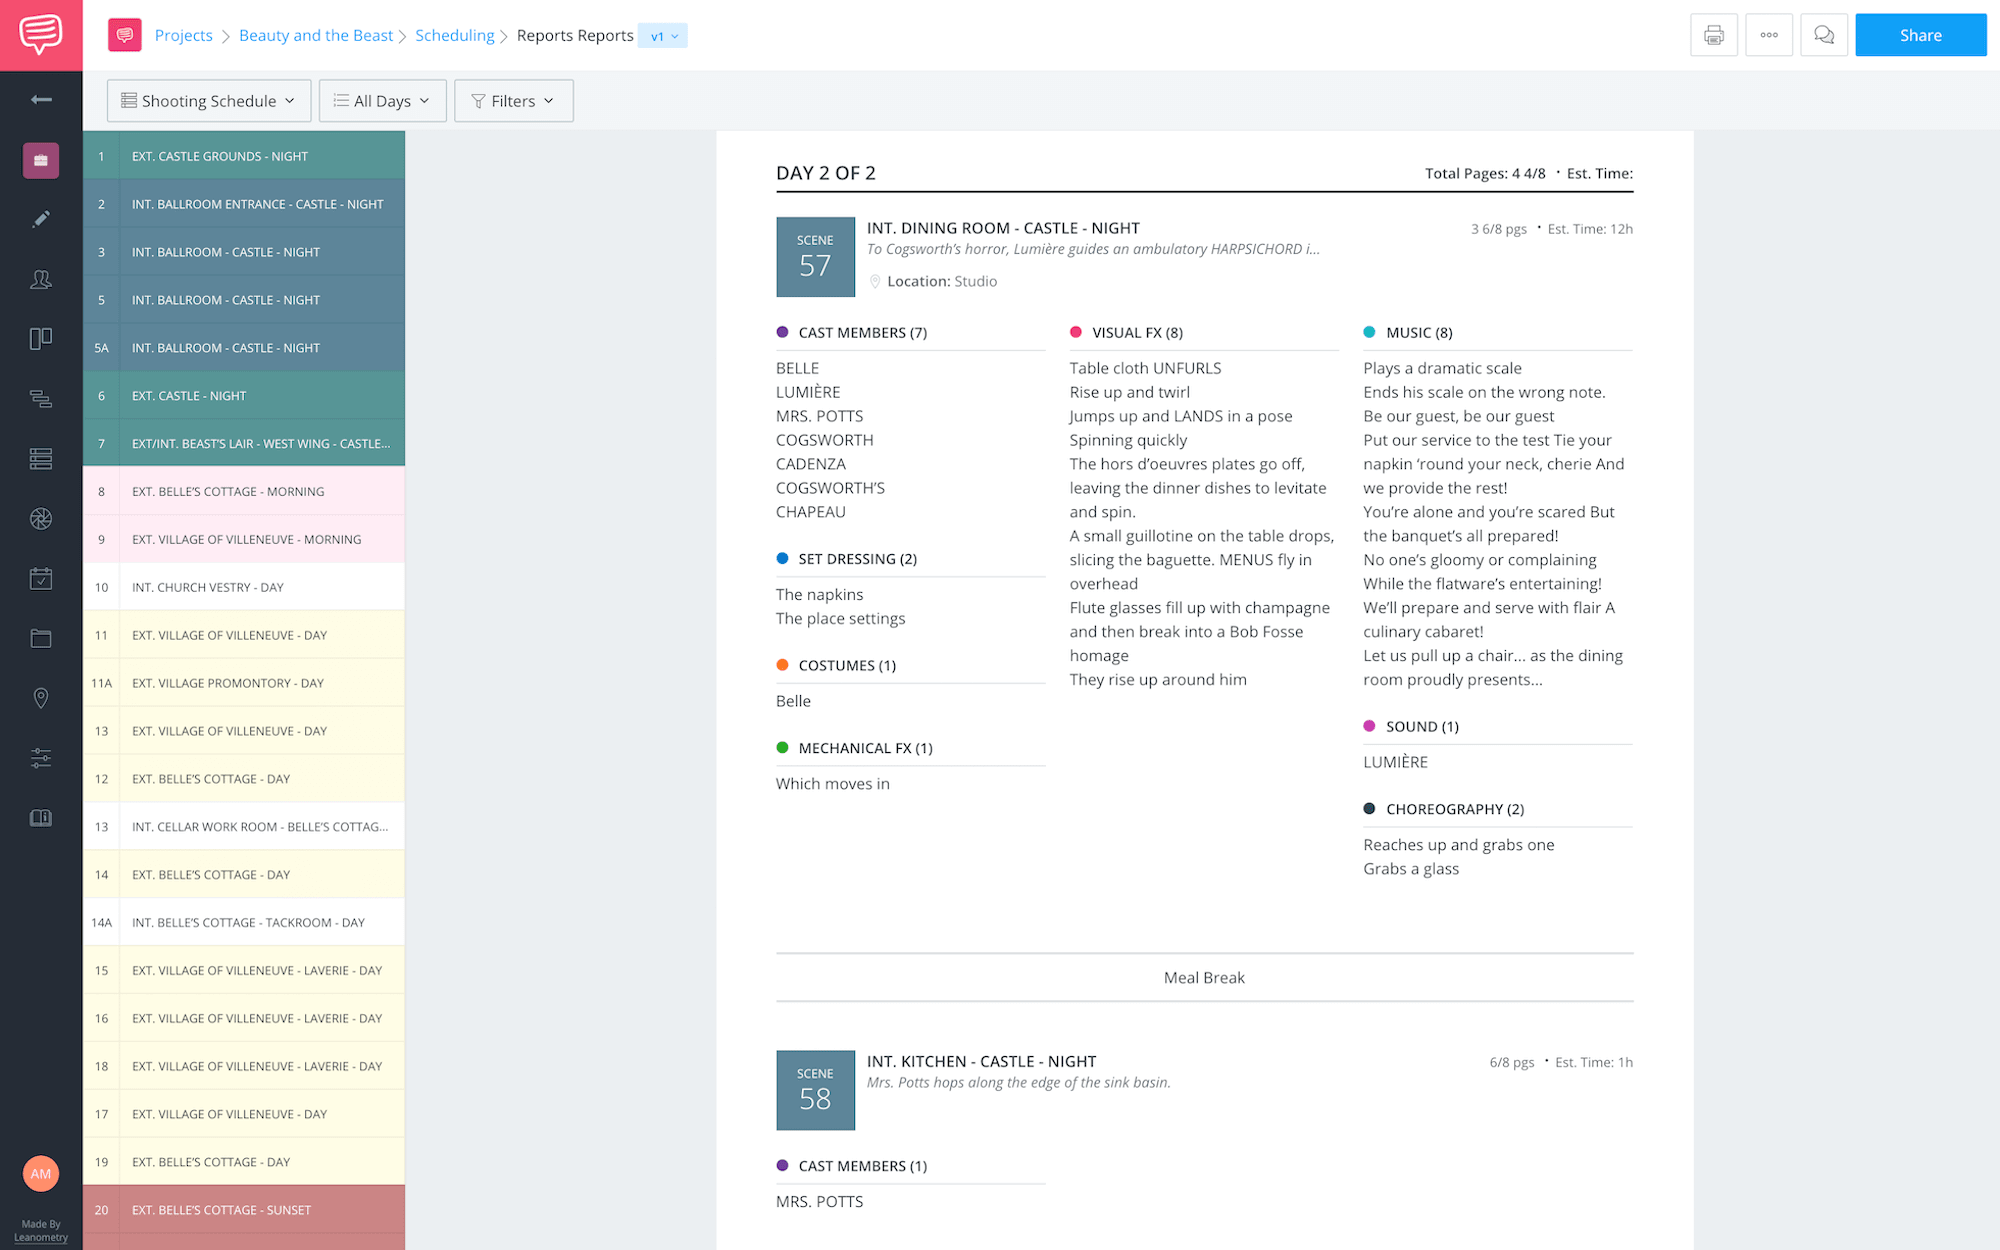
Shooting schedules require a close attention to detail, both when reading the script and when taking logistics into account. We’ll walk you through how to create such a schedule using StudioBinder’s shooting schedule software. The steps we’ll outline are universal, however; regardless of the software you use, your process should look something like this.
Pretty complex, right? Let’s look at how we get here.
SCRIPT BREAKDOWNS
Step 1 - Prepare the script
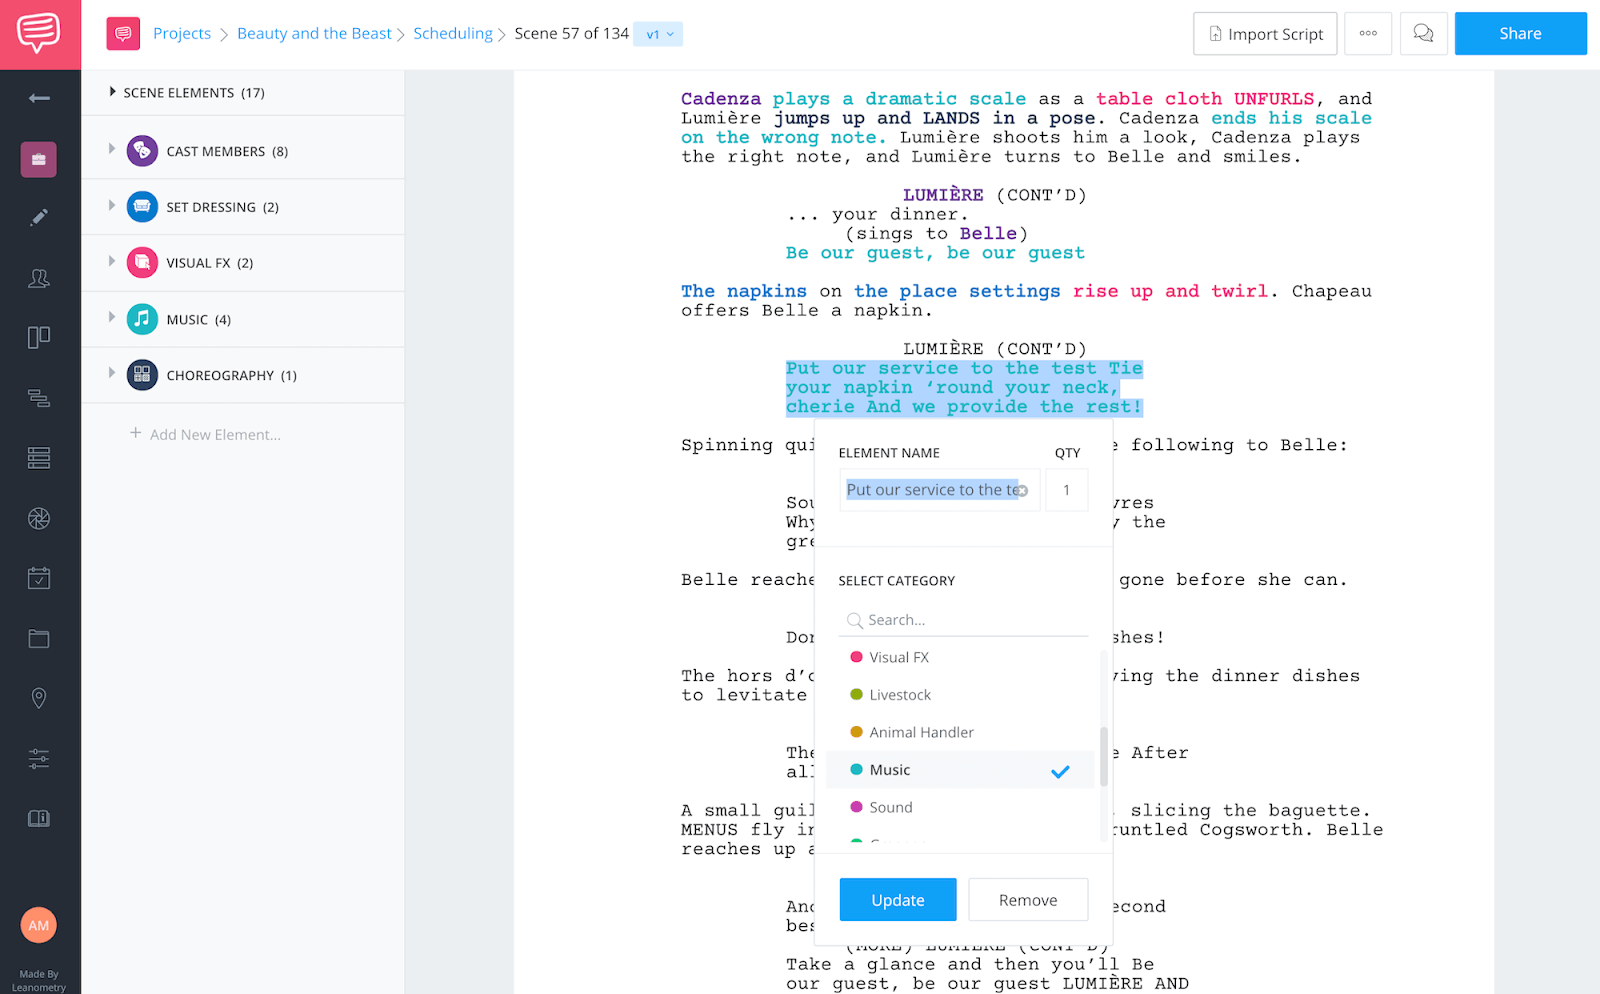
A shooting schedule depends on a properly formatted script. Once the screenplay is finished it is considered “locked,” and can be translated into a shooting script. A shooting script’s scenes are numbered, so that when the team is inevitably shooting out of order, everyone knows what scene is being shot at a given time.
As an assistant director does their script breakdown, they’ll split each script page into eighths. This gives them a more exact sense of how long each scene is, and how much time will be required to film it.
Did You Know
Even when a script is locked, changes may need to be made. But once the scenes are numbered, consistency is key.
If a scene is added, it will be given a letter in addition to a number (ex. 11A) so that it doesn’t change the numbers assigned to the rest of the scenes. Alternatively, if a scene is removed, the number will simply no longer exist (ex. a scene count may go from 24 to 26).
PLANNING YOUR FILM SHOOT
Step 2 - Add strips
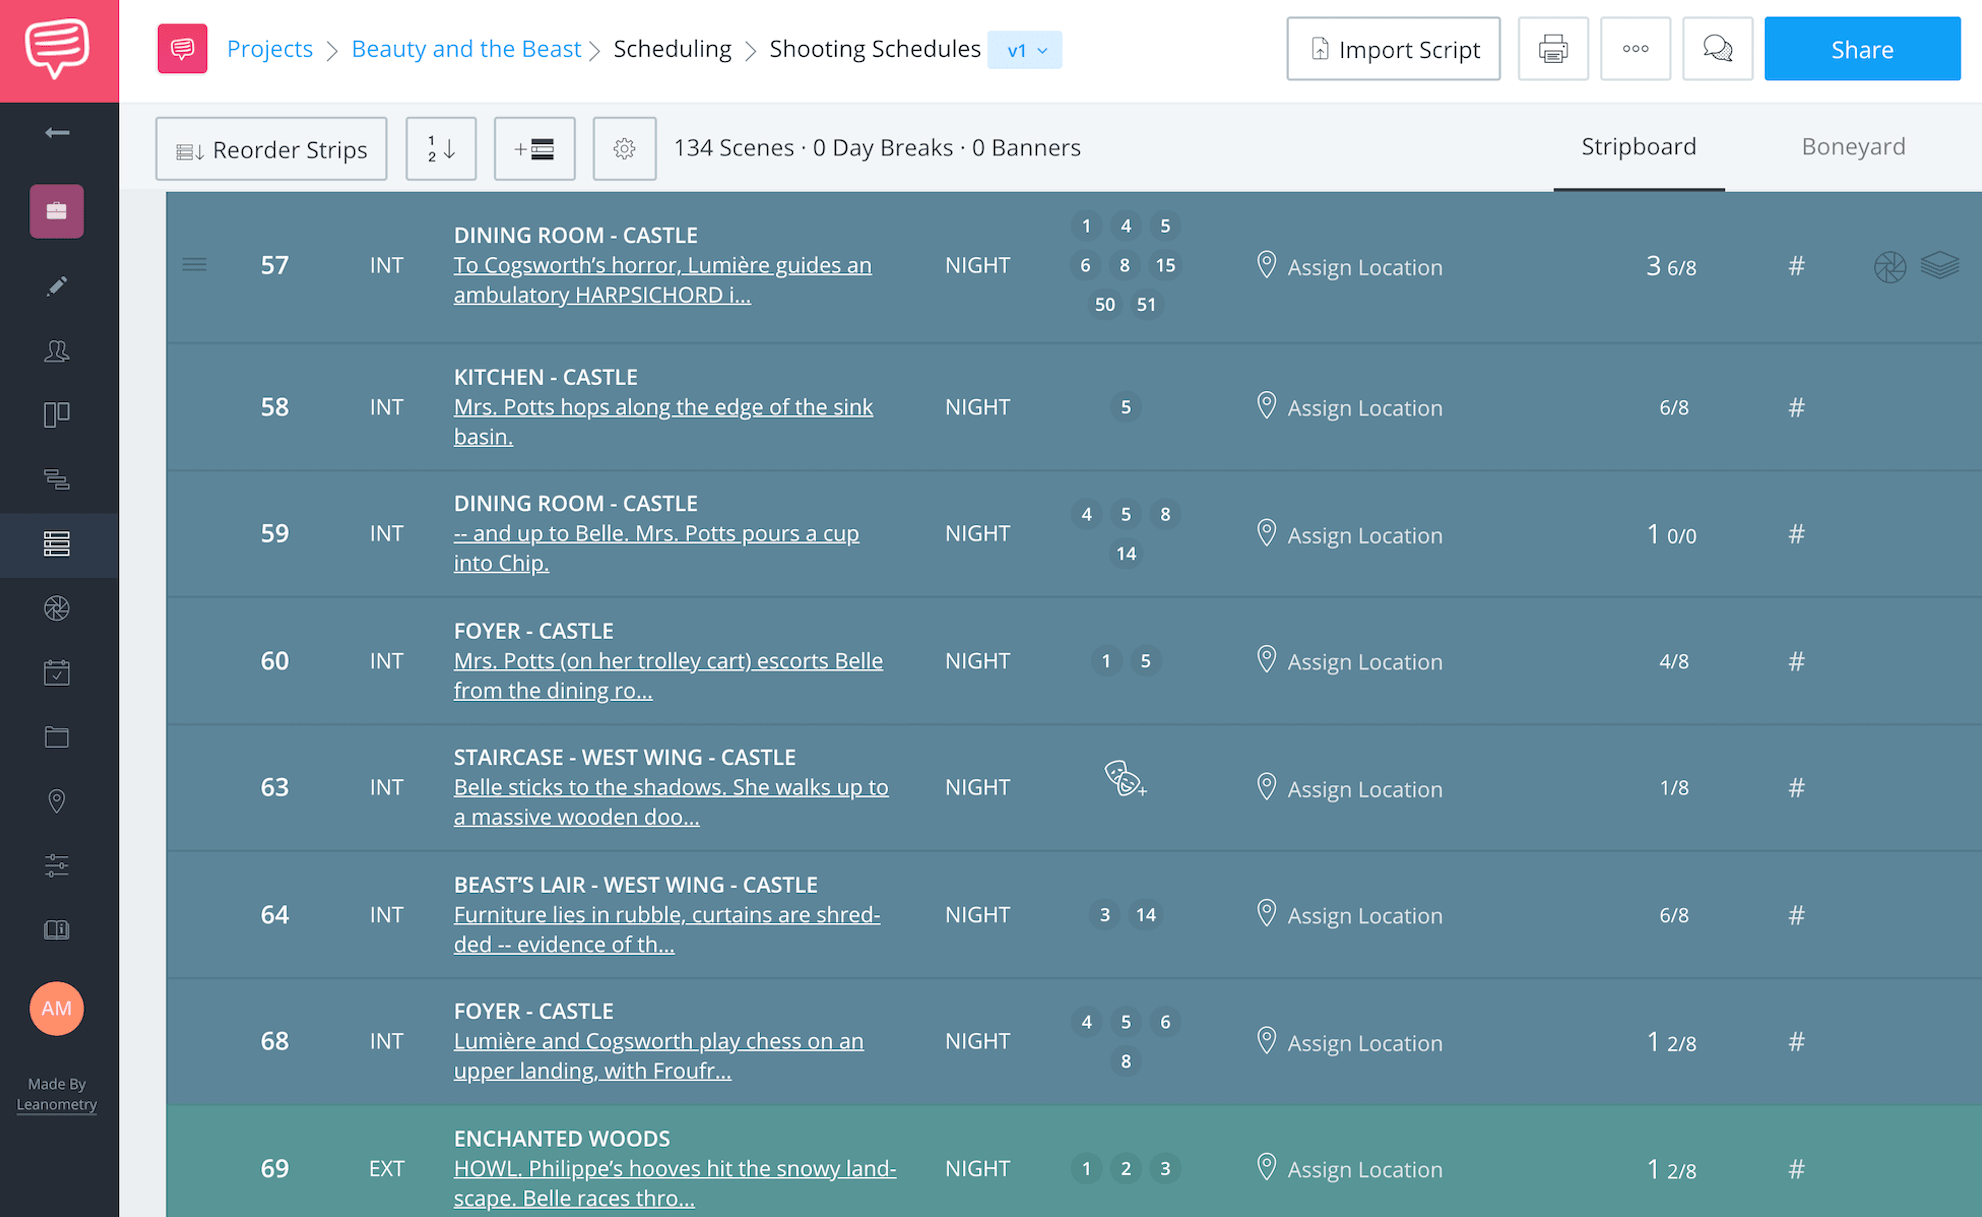
Now we move from script to strip. Shooting schedules are often arranged using stripboards, documents which give each scene its own “strip” that can be moved easily to create the ideal schedule.
So once your script is formatted and numbered, it’s time to create strips for each scene. Each strip should include a scene number, location, interior vs. exterior, length in eighths, script day, approximate shoot times, and cast names.
Color coding strips based on the time of day and whether they are interior or exterior can help with organization. This will allow you to quickly comb over the schedule, group night scenes together, and so on.
Did You Know
Color coding can be tedious. Luckily, if your scenes are correctly labeled, StudioBinder can color code for you based on time and INT./EXT.. Any mistakes in scene headings can be manually adjusted.
SCHEDULING YOUR SCENE
Step 3 - Order strips
With your strips created, you can now start moving them around to create your shooting schedule. Considerations for how you select your order will vary, but typically the paramount elements are time of day and location.
If you have four scenes that take place at a circus, you’ll likely want to shoot those together, so that you don’t need to have an unnecessary company move there and back. Similarly, night scenes and day scenes are often placed together (unless you’re faking day for night).
Again, there will likely be other considerations to take into account, such as actor availability, stunt work, weather, specific equipment rentals, and more.
SHOOTING SCHEDULE ELEMENTS
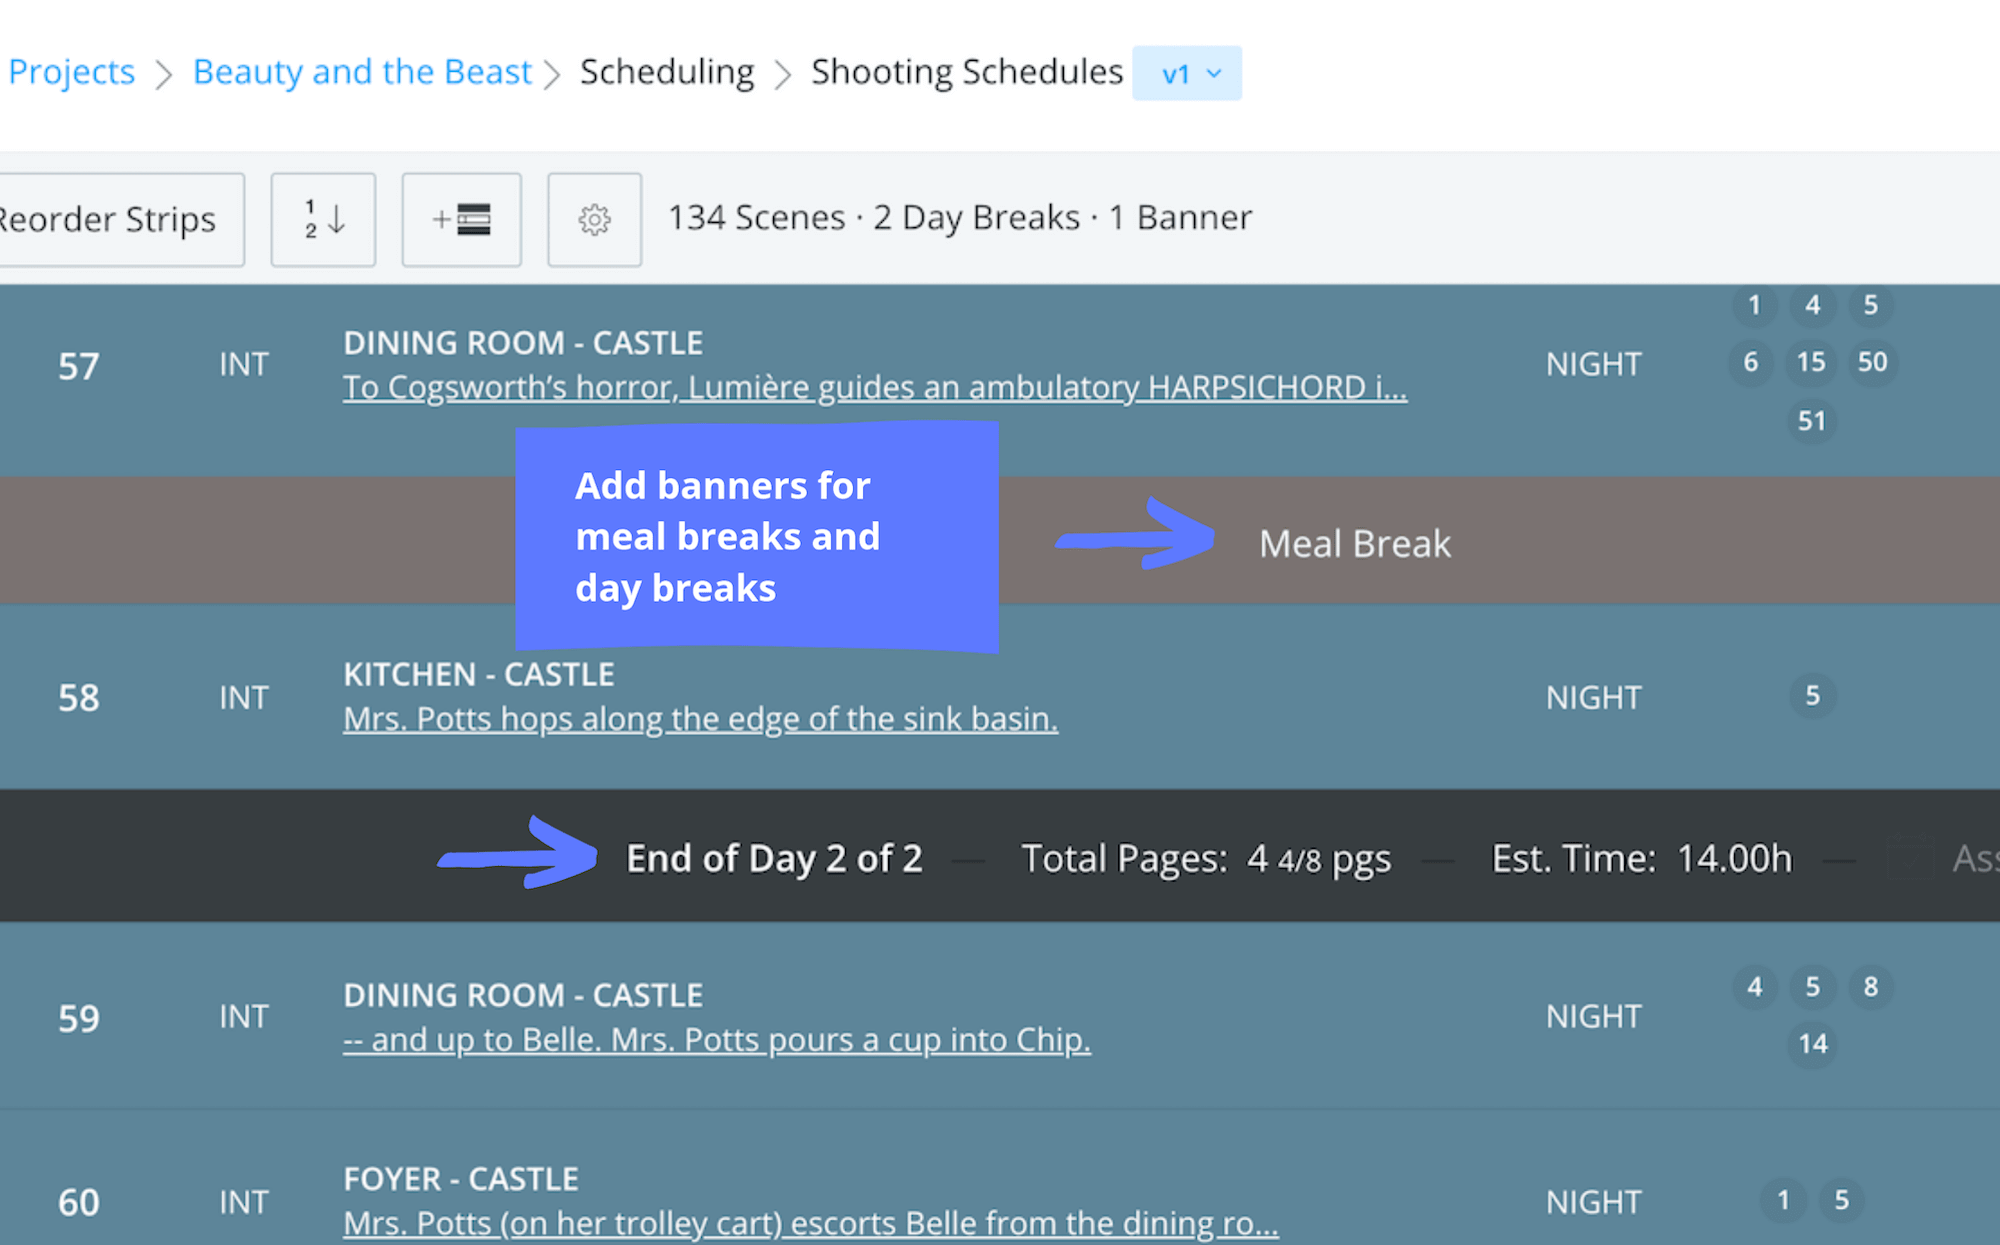
Step 4 - Create banners and day breaks
Figuring out the order of your strips is the lion’s share of your scheduling work, but you’re not done yet. Next, you’ll need to add banners and day breaks.
Banners are usually used to mark meal breaks and company moves– essentially, anything that will take time that isn’t shooting a scene. These elements will also need start and end times, just as you have start and end times with your scenes.
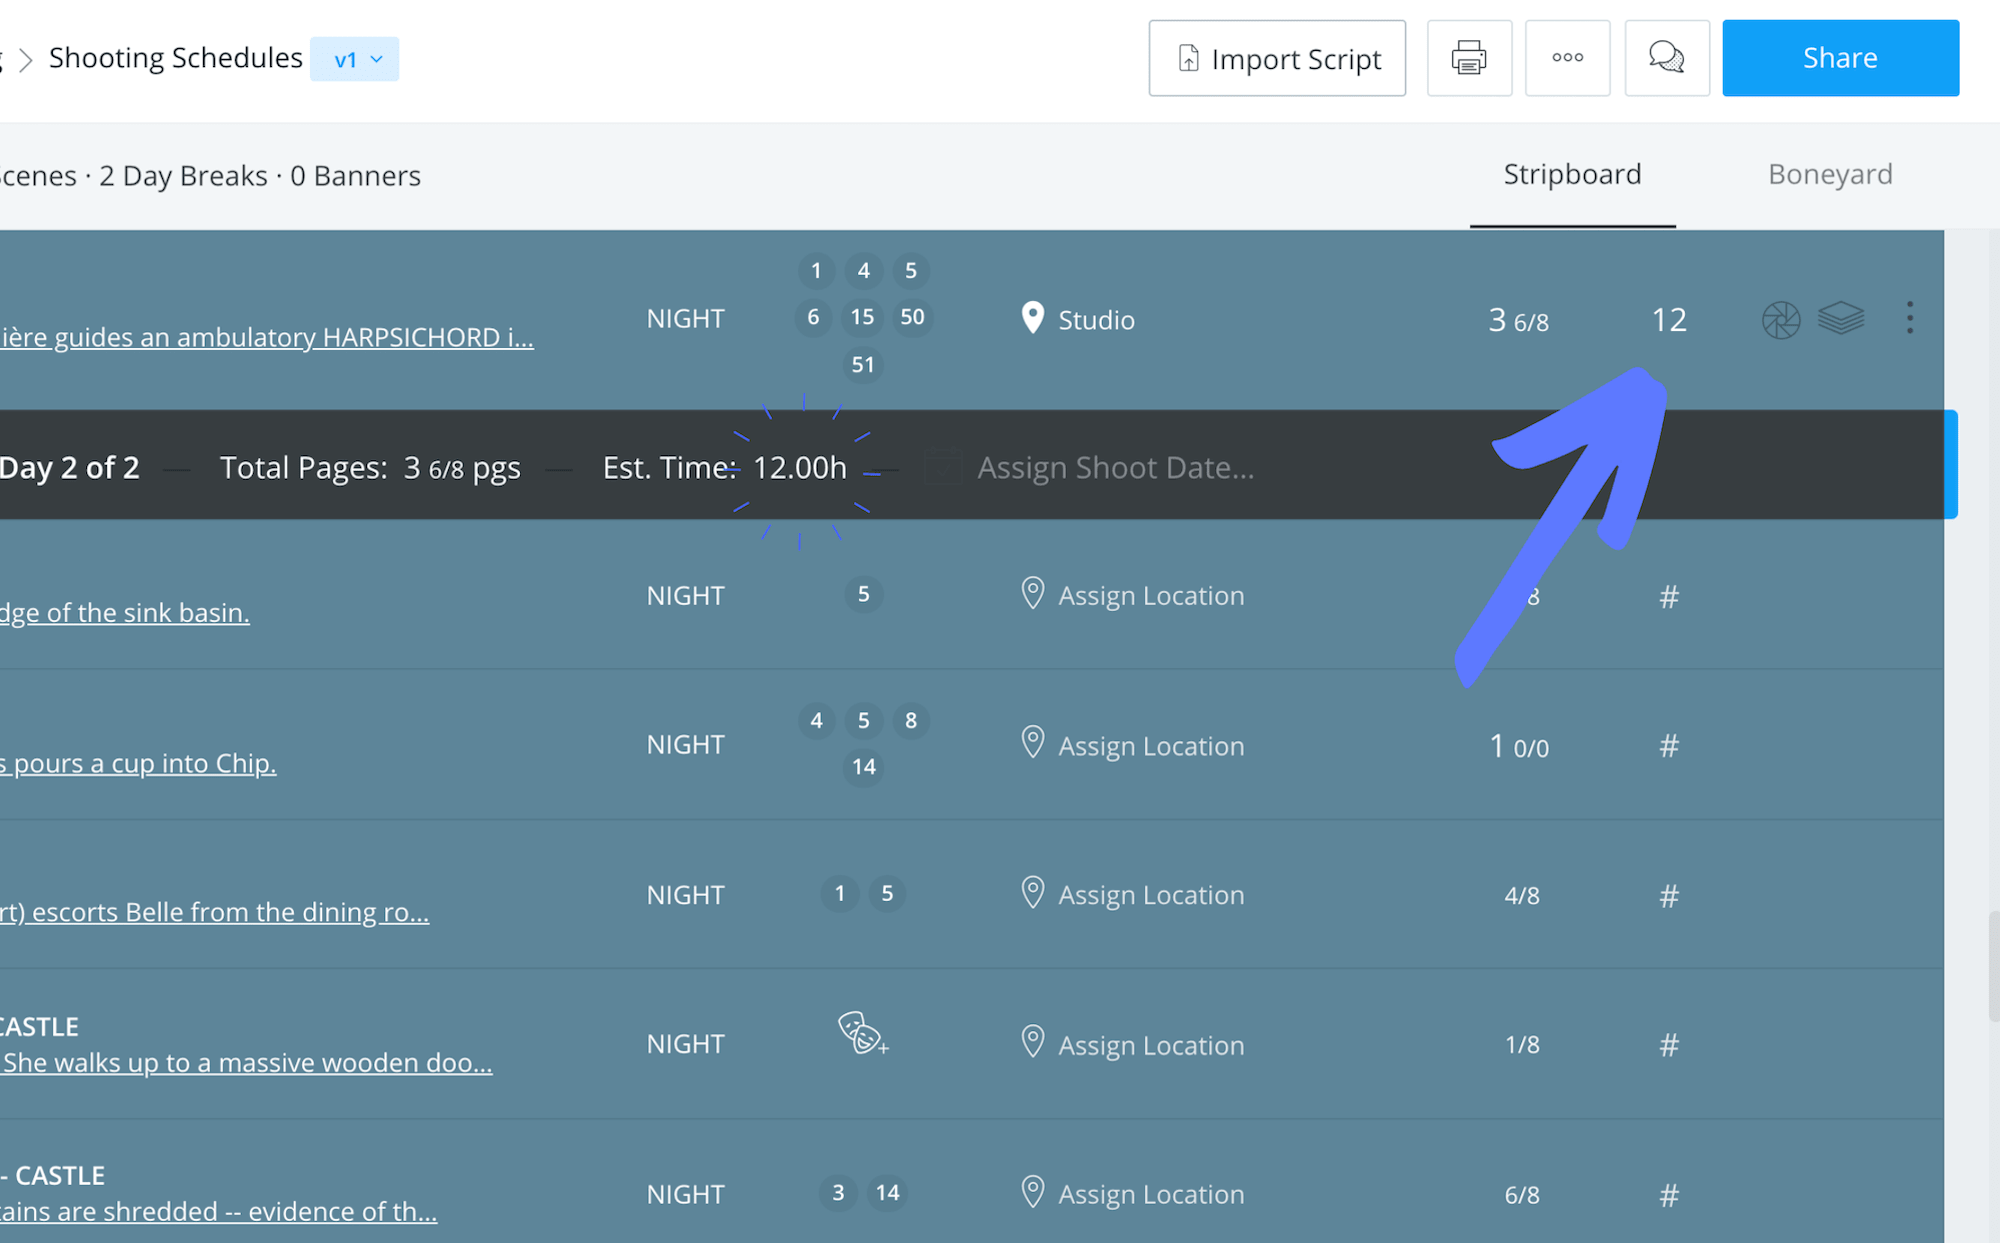
Day breaks, meanwhile, mark the end of a day. This can be as simple as adding the times of each scene and banner up to the maximum amount of time you can spend each day.
COLLABORATING WITH YOUR SCHEDULE
Step 5 - Share the schedule
You haven’t finished your schedule until you’ve sent it out to the team. You may think you’ve considered absolutely every variable when putting together your strips, but department heads may have concerns that you weren’t even aware of.
So make sure you give yourself ample time to incorporate feedback before the schedule needs to be finalized. Then, you can generate a PDF and send it out to the rest of the team.
Often, a film crew’s greatest enemy is time. A great shooting schedule can help alleviate the stress and manage expectations.
Up Next
Use stripboards to create a schedule
Estimating your prep and shoot times takes practice. Scheduling has a ton of moving parts, and familiarizing yourself with the process, as often as you can, is key to becoming a great producer, or first AD.
Learn how to make the most effective shooting schedule by using stripboards. If you haven’t worked with stripboards before, read on to become a scheduling pro.
