From time to time, a little bit of masking might prove necessary throughout our various editing pursuits. Learning how to mask in Adobe Premiere Pro doesn’t need to be a hassle. In this post, we will walk you through the four steps needed to create and use a mask in Premiere Pro. But, before you boot up Premiere, make sure it’s the right tool for the job.
How to Mask in Premiere Pro
Is Premiere the right tool for the job?
While it is entirely possible to mask in Premiere Pro, that doesn’t necessarily mean it is the perfect tool for the job. While Premiere should be able to handle any simple masking tasks you can throw at it, it might struggle with more complex and intensive masking requirements.
If you have access to the full Adobe Creative Cloud, you may want to consider using After Effects for any heavy-duty masking as you will have more options and tools at your disposal for this type of editing.
Masking in After Effects
For alternatives, you can take a look at our list of the best software programs and tools for filmmakers. If your masking needs are relatively straightforward, then Premiere should be more than capable of getting the job done. So, let’s learn how to mask in Premiere Pro.
How to Mask an Object in Premiere Pro
Load your footage into the timeline
Once you have Premiere open, the first step is to load the footage you intend to mask into the timeline. There are a few ways to import your footage into Premiere such as dragging and dropping or pressing “Command”+“i” on Mac or “Control”+“i” on PC.
The following video covers the various ways to import footage into Premiere.
How to import footage into Premiere • Premiere Pro masking
Just as with importing, there are a few ways to load your newly imported footage into the timeline. With an empty sequence, you can simply click on the clip and press the “,” or “.” keys.
You can also simply click and drag the clip into the timeline, which will create a sequence if you didn’t already have one in place.
How to Masking in Premiere Pro
Create your mask
With the designated footage in the timeline, we’re ready to create our mask. Make sure the clip is selected and open the Effect Controls panel. Next, expand the Opacity controls by clicking on the drop-down arrow.

How to create a mask in Premiere Pro
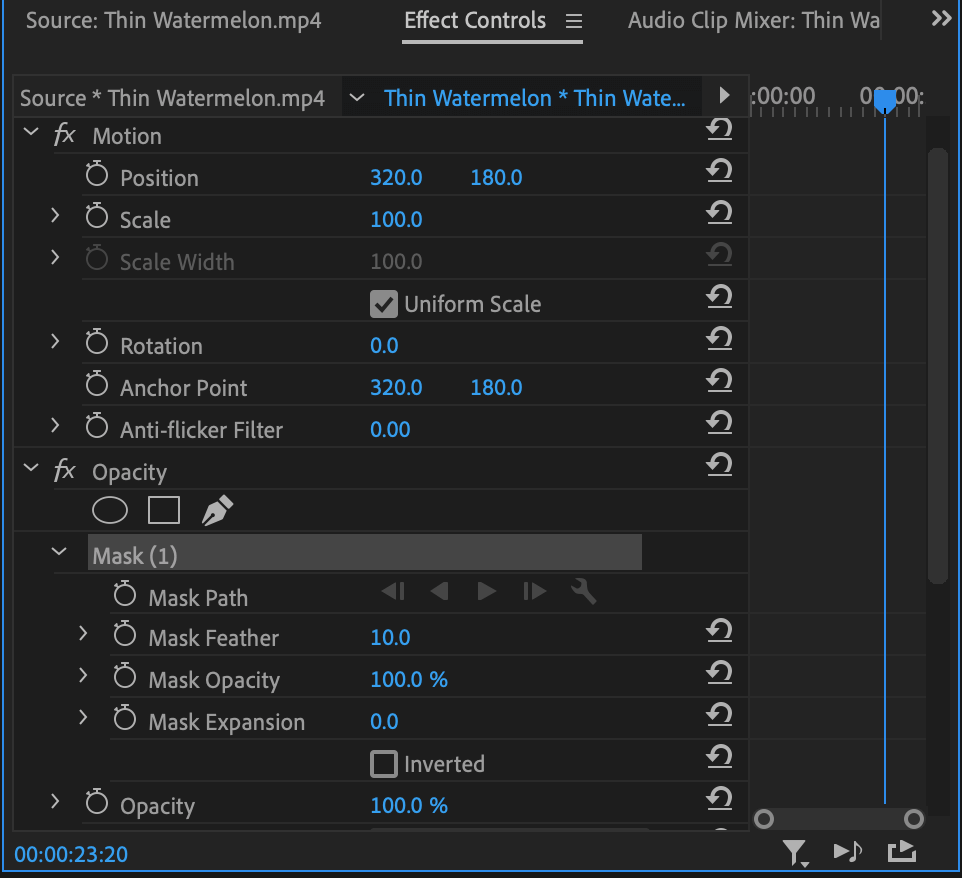
This is where you will find Premiere’s three tools for creating masks. You can use the Ellipse Mask tool to create a circle- or oval-shaped mask or use the 4-Point Polygon Mask tool to create any four-sided mask shape.
If the shape you need to mask is more complicated, then select the Free Draw Bezier tool by clicking on the pen icon. Next, put it to use.
How to use the Free Draw Bezier tool • Adobe Premiere mask
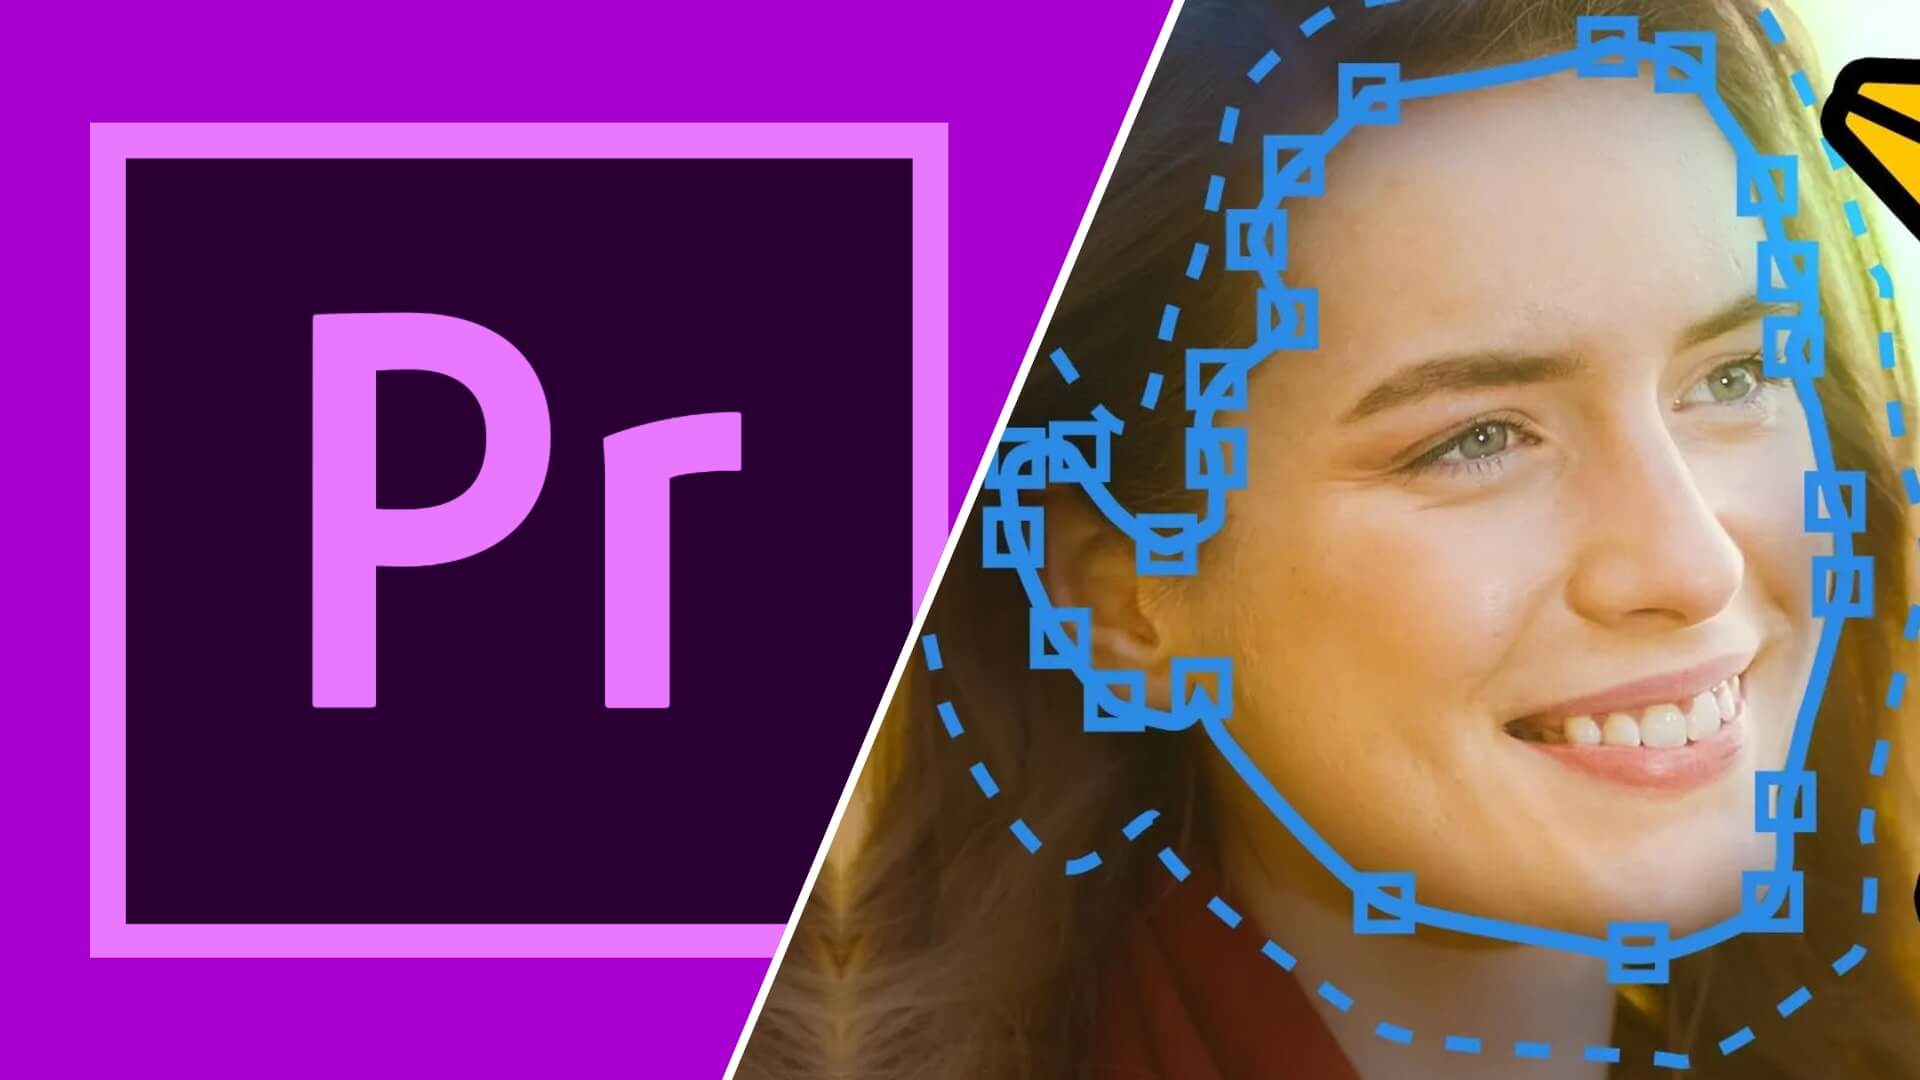
Create nodes outlining the desired shape of your mask using the Free Draw Bezier tool. This is similar to the standard pen tool found throughout the entire Adobe suite but will create a mask when the circuit of nodes is joined up.
We will be cleaning up the mask in the next step, so don’t worry about being pixel-perfect with your mask shape at this point. When your mask is complete, the area outside of the shape you just created should disappear.
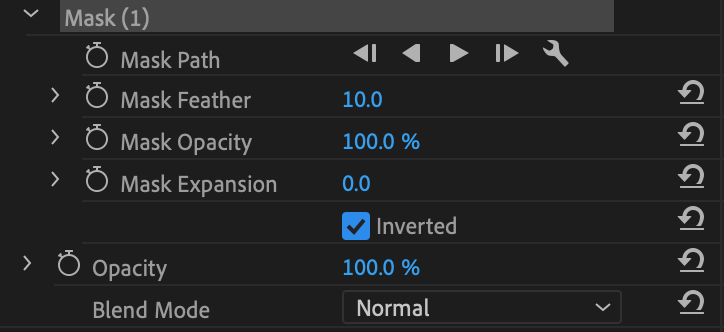
If you want to remove the inside instead, simply click the Inverted checkbox.

Invert your mask using this checkbox
At this point, you can move the entire mask by clicking and dragging, add additional nodes by clicking at a point along the line between two existing nodes, or adjust existing nodes by clicking and dragging.
How to Add a Mask in Premiere
Fine-tune the results
Now is the time to dial in the mask parameters as precisely as possible. Add additional nodes to make the mask shape more precise or tweak the existing nodes by adjusting their positioning.
The line between two nodes will be straight by default, but you can turn that line into a curved arc instead by clicking and dragging on a node. You can also twist the handles that appear to further control the curve.
Masking techniques for Premiere • Mask Premiere Pro
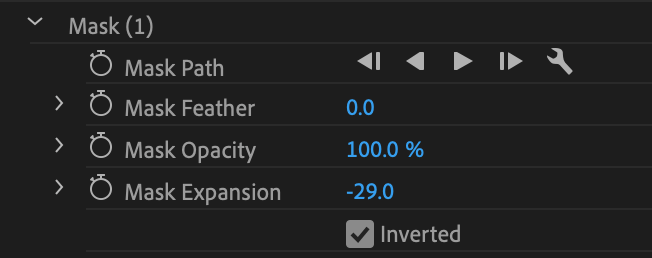
Premiere provides a few parameters that you can use to further fine-tune your mask, each of which can be keyframed to change throughout a shot if necessary by clicking on the stopwatch icon.
Mask Feather determines how hard or soft the edge of your mask is. Mask Opacity controls the opacity for the masked portion of your clip. Altering the Mask Expansion parameter will retain the shape of your mask while adjusting its size. A larger number expands the mask while a smaller number contracts. Be aware that this parameter can extend into the negatives.

Fine-tuning mask parameters
With our fine-tuning done, we are pretty much finished with our mask. There’s only one thing left to do.
Masking in Premiere
Put the mask to use
If your goal with masking was simply to remove a portion of the frame and replace it with black, then you are already finished. However, the point of masking is often to composite two or more elements together similar to keying out a greenscreen and replacing it with a different video element.
Tips for compositing • How to add a mask in Premiere
For the simple compositing of two visual elements in Premiere Pro, first, raise your masked clip to a higher video track. Next, select the element you want to combine with the first clip and position it beneath the other video track.

Position your video elements
The below video will be visible through the masked portion of the above video. You can continue to fine-tune your mask as well as add additional masks and additional video elements. A large project with several video layers and masks can take a toll on Premiere.
If your computer is struggling to keep up with complex edits, consider upgrading to one of the best laptops for video editing or make the jump to a program like After Effects. And, if you do make the switch, consider using our free After Effects templates and plugins.
Up Next
What is Compositing?
You now know how to mask in Premiere Pro, including the very basics of compositing. But, there is much more to learn about compositing. Learn the definition and history of compositing, see how the practice is implemented in large budget films, and learn how to composite with green screen footage.
Up Next: Compositing →
Showcase your vision with elegant shot lists and storyboards.
Create robust and customizable shot lists. Upload images to make storyboards and slideshows.
