It’s always good to go into a creative endeavor with a plan. Whether it’s for a music video, ad campaign, or short film, a storyboard can be extremely useful. Storyboards help you outline your vision and understand how you’ll go about creating your project. Never used a storyboard before? Fear not. In this post, we’ll look at how to make a storyboard for video, why you should, and the elements you should include.

Why Use a Storyboard?
Understanding the basics
The process of taking the vision in your head and turning it into images on screen usually begins with a storyboard. Learning how to make a storyboard for video ensures your ideas translate seamlessly from concept to execution.
This serves two functions:
Refine your ideas on paper
Share them with your film crew.
Therefore, the more you understand how to make a storyboard, the more efficient it can be.
So, what is a storyboard?
STORYBOARD DEFINITION
What is a storyboard?
A storyboard is a visual representation of a film sequence that breaks down the action into individual panels. It serves as a crucial tool in visual storytelling, sketching out how a video sequence will unfold, and functions as a trial run for your finished film, video, or commercial, laid out in a comic book-like form.
Storyboard elements:
- Images or illustrations panels
- Scene descriptions
- Shot numbers
- Storyboard arrows
- Timing information
- Notes and annotations
Famed filmmakers throughout cinema history have made storyboards to plan out their shoots. Here’s a storyboard example for Alfred Hitchcock’s Psycho.
Click the image to see the entire shower sequence — how closely does it match the finished film?

Here, Hitchcock's sketches meticulously lay out one of the most famous scenes in movie history. This doesn’t just give the cinematographer a good idea of what to capture; it is also a helpful rubric for an editor.
With a detailed board, you’re providing a blueprint to your entire crew. One of the key benefits of storyboard creation is that it helps streamline communication, ensuring every department understands the visual direction before production begins.
Leveraging storyboarding tools can enhance this process, making it easier to visualize shots and plan efficiently.
The Storyboard ABC’s
7 Steps to make a storyboard
Building a storyboard should feel exciting – this is the sandbox where you can visually plan how your project will look, ensuring that every shot and sequence aligns with your creative vision. Here’s a step-by-step guide using StudioBinder's storyboard creator.
Even though we're using a particular software, the process is universal — whether you're working digitally or with good old pencil and paper.

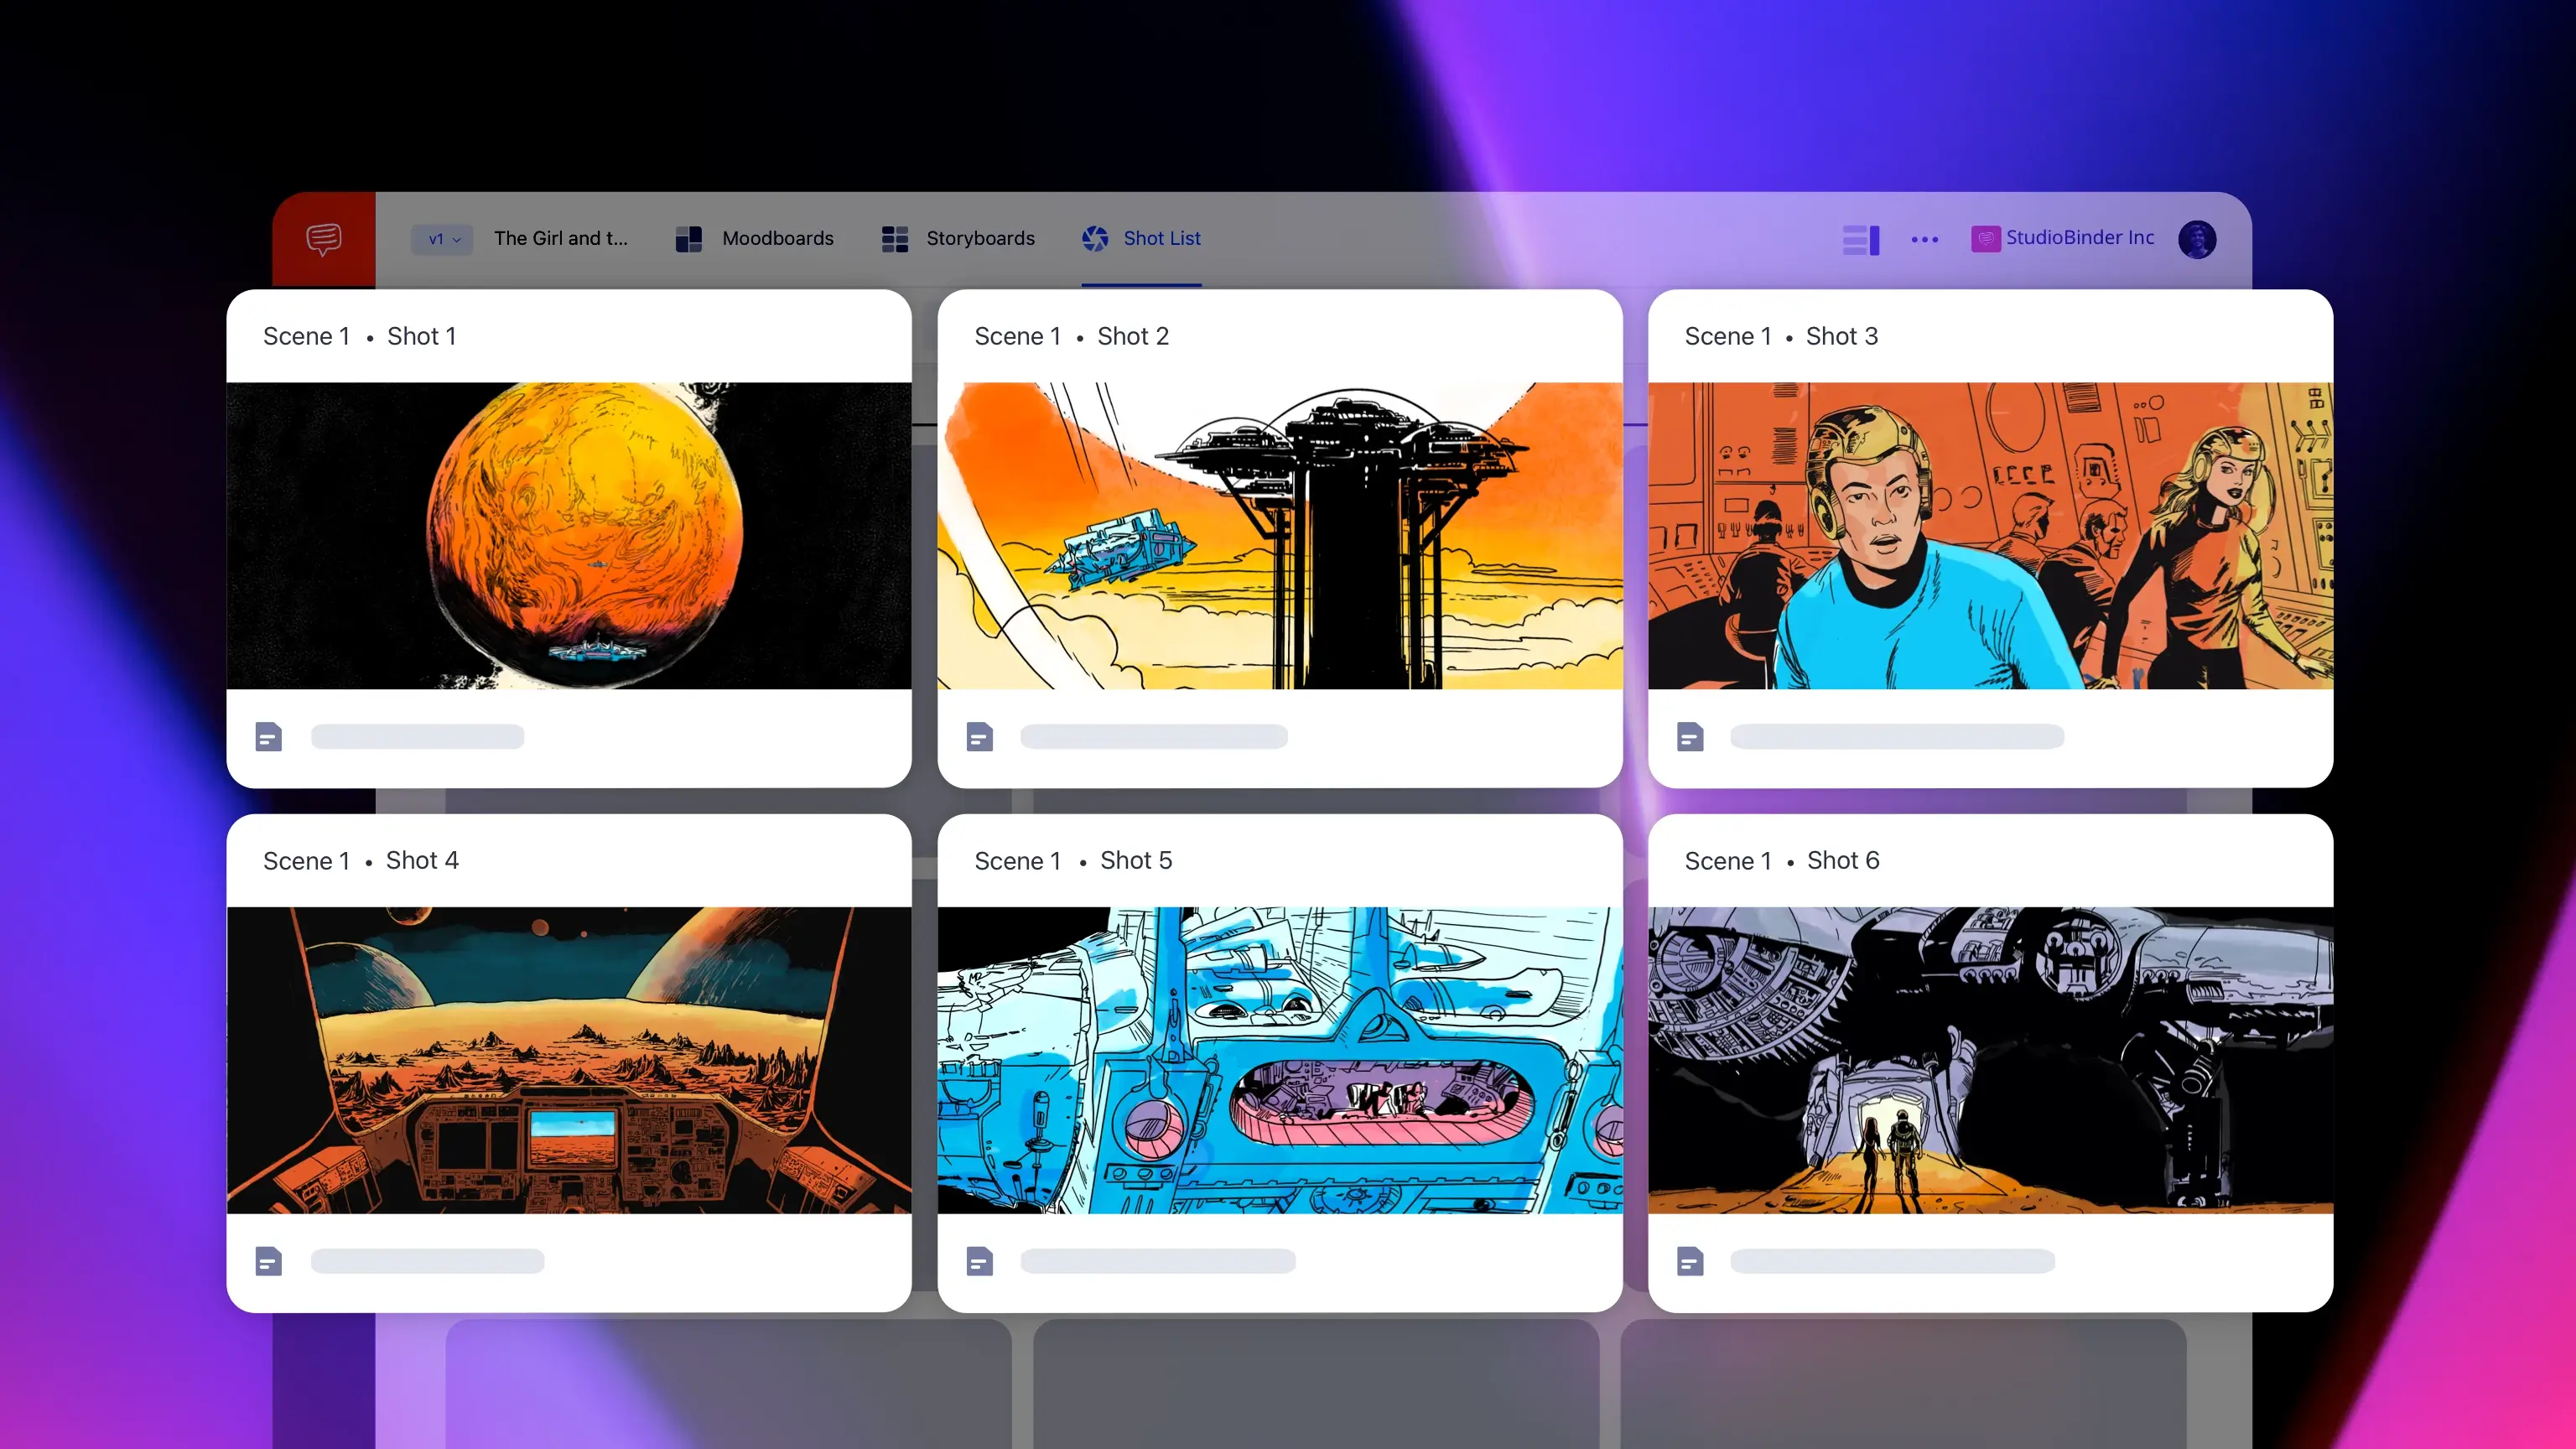
A typical Storyboard Example • Made in StudioBinder
Let's get 'boarding!
Step 1: Choose your presentation format
Before you start gathering images, drawing panels, hiring a storyboard artist, or doing any nuts-and-bolts illustration and pre-visualization work, you need to choose how you want to present your storyboards.
If you want to draw basic, straightforward sketches, you may want to create a board with twelve panels on a page. Using a storyboard template can help structure your visuals efficiently. But if you want your illustrations to be detailed and complex, you may want larger frames, in which case you’ll only have a few panels per page.
The latter technique is typically the preferred option if you are planning on using your boards to pitch your project since you can wow potential clients or investors with your visuals.
With StudioBinder, you can toggle between view types. This means that if you change your mind on your approach later, it’s no sweat. You can easily choose a different format.
Whether you prefer a 4-column view...

Storyboard Formatting
...Or a one-column storyboard, you have the option.

Storyboard Formatting
Step 2: Read the scene
It should come as no surprise that to make a good storyboard, you need to understand the scene you’re boarding. What is the core purpose of the sequence? What are you trying to get across? How is the plot moving forward, and how are the characters affected?
All these considerations will inform your shot choices and camera movement, which is why learning how to make a storyboard for a video can give you a huge creative edge.

From script to storyboard
Related Posts
Step 3: Create or find your images
Once you’ve determined the aspect ratio and other settings for your project, you’ll need to start creating or gathering images. Storyboard software can help organize your visuals efficiently and maintain consistency across scenes. A storyboard template can provide a consistent framework for organizing your shots.
There are two options. The first is the old-school method of drawing out each panel. How can you make a storyboard for video if you can't draw? Even simple stick figures can effectively convey movement, composition, and framing without requiring advanced artistic skills. Here are some alternative storyboarding methods for non-artists.
The second option is the more modern incarnation of using storyboarding software and sourcing pre-existing visuals. You can take photos of your own or use images from TV shows and movies as your visual references. Many filmmakers use storyboard software to streamline this process and enhance their visuals. As long as they communicate your vision, there's no reason not to.

Storyboard images
No matter the medium you choose, the content of your boards should be approached with the same level of purpose and detail. This is where storyboard composition comes into play. A storyboard template can help maintain consistency and clarity in your visuals.
Remember, with a storyboard, you can make creative and practical decisions without consequence. For example, choosing your shot sizes, your camera angles, or your camera movement can be worked out in advance, saving you time and creative energy when you're on set.
If you want to take an even deeper dive, you'll find our complete playlist of videos on these various elements in our Shot List series on YouTube.
Related Posts
Step 4: Add arrows
You can use storyboard arrows to indicate movement. Is a character walking across the frame? Is it a close-up shifting to a wide shot? Or a tracking shot following the main character? Here are some quick examples of how arrows are used to indicate a moving camera.

Annotating a storyboard
As with every storyboard element, arrows should add clarity. Don’t use too many and clutter the frame.
Storyboard arrows help communicate movement—whether it’s a character, camera, or object in motion. They can also indicate special effects sequences, such as explosions, CGI elements, or lighting changes.
The video below shows how to easily add, resize, and adjust arrows in StudioBinder using a simple drag-and-drop tool. Watch to see how this feature enhances clarity and brings your storyboards to life!
How to Add Storyboard Arrows in StudioBinder • Subscribe on YouTube
Step 5: Include descriptions and annotations
Now it’s time to add descriptions that will ensure the intention of each panel is clear. This can include shot descriptions, special notes, and visual annotations.
If you're using software like StudioBinder, you can add storyboard notes along with dialogue and shot specs. You can then quickly add arrows and text to mark how things are moving. Don’t like what you’ve added? You can always re-do the step.

Storyboard Notes
Step 6: Share and collaborate
It’s time to take your finished panels and distribute them to your team.
If you’re pitching a video concept, now is when you pull back the curtain on your boards and share them with clients. Or, you can share it with your cinematographer and other relevant departments to get their thoughts.
You can also send the board to your actors or models to allow them to know what to expect on set. A storyboard maker can help generate clear, professional visuals that communicate scene details effectively. This storyboarding step ensures that performers understand blocking and camera movements ahead of time. Usually, this means sending a PDF.
But even better than that, using an online storyboard allows for easy collaboration, real-time feedback, and seamless updates throughout the pre production process. That being said, if you’re using StudioBinder, sharing is easy with just a few clicks. Directors and 1st ADs may want edit access to elaborate on shot specs or manage shooting locations.
Others, like clients or executives, may want comment access to provide feedback. You can share with a view-only link, or let collaborators work on specific pages rather than the entire project. No matter what kind of special needs your project has, with storyboarding software, you can make real-time adjustments and collaborate seamlessly with the team.

Sharing your storyboard
PRO TIP
If you’re working with a cinematographer, it’s better to have their input on your storyboards sooner in the process rather than later. It’s their job to be deeply involved in how to shoot a project, so their thoughts will significantly alter how your board looks.
Related Posts
Step 7: Print
You’ve done all the hard work, so you’ll want to make sure you have your boards at your disposal on set. Providing copies to your production team ensures that everyone stays on the same page throughout filming. Printing a storyboard template ensures every department has a clear visual reference. This means printing out hard copies to hand out to departments. This will ensure that everyone is on the same page.
StudioBinder’s customizable PDF generator allows you to print boards with professional presentations with added security. You can hide/include shot specs, determine your page layout, choose whether to have color, create front and back covers, add custom watermarks, and select headers and footers.

Print off your board
Storyboards can be the backbone of a production. When you’re feeling overwhelmed on set, it’s great to know that you can turn to your trusty storyboard. While there are some do's and don'ts of storyboarding, the only thing that matters is if they facilitate your imagination and your collaboration with the team.
Related Posts
Up next
Create a storyboard of your own
Now that you know how to make storyboards, it's time to put all this practice into action. A storyboard creator can help you efficiently structure your shots and bring your vision to life. You've got a project burning a hole in your creative pocket. And you can even see how the scene plays out, shot by shot. Get started creating a visual representation of that vision, and you'll be closer to seeing it come to life.
Up Next: StudioBinder storyboard creator →

Showcase your vision with elegant shot lists and storyboards.
Create robust and customizable shot lists. Upload images to make storyboards and slideshows.

A great book to read which helps understand the directing process and in turn helps with storyboarding is “Film Directing Shot by Shot by Steven Katz. Really recommend that for anyone interested in storyboarding. Also, http://www.frameworks-la.com has some nice storyboards on their site to reference.
Wow! Each article of your’s are really worthy! Keep going…
HI
I RAJESH B. AS I HAVE BEEN DOING MANY ILLUSTRATION WORK FOR DIFFERENT CONCEPTS THESE ARTICLE IS REALLY GOOD FOR STORYBOARDING AND DETAILS
THANKS A LOT
Thanks for another magnificent article. Where else could
anyone get that kind of information in such a perfect method of
writing? I have a presentation subsequent week, and I am on the
search for such information.
Hi,StudioBinder Team. First of all, I want to say you guys did a really great job, and I really appreciated.
I have a little experience after watched your how to make a storyboard toturial, may be you want to know.
The Arrow part of video may be a little confusing for me. At the beginning , the camera move along arrow reversely(left and right), after that the camera move along the arrow(foward and backward).
Its just my experience, if I got it wrong, just forget it. In the end, thanks your sharing
A good lesson i find studiobinder is a best
Thanks for the comment, Iain. StudioBinder actually provides a blog explaining Storyboard Arrows in details.🙂
You can check it out here: https://www.studiobinder.com/blog/storyboard-arrows-meaning/
Thank you, Rajesh.
Thank you, Kheri!
Thanks for that!
Thanks. Those are really great storyboard recommendations!