Planning a shoot can be scary. There are countless moving parts and decisions you have to make– and the same goes for being on set. So any way you can make your life easier during the process can be vital. This is where shot lists come in. In this post, we’ll look at how to make a shot list and why it’s important to have.

How to Make a Shot List — Tutorial Playlist
The shot list, defined
What is a shot list?
To understand how to make a shot list, you need to understand what a shot list is. No matter the project you’re working on — from tv commercials to music videos to features — it’s a great tool to be able to lean on.
SHOT LIST DEFINITION
What does a shot list do?
A shot list is an organized list of shots that sequence together and become scenes. The director and/or cinematographer fills out the shot list and breaks down all the camera positions that the scene requires (known as “coverage”). Then, once on set, they can literally go down the list to capture all the footage they need.
Elements of a shot list:
- Shot details (camera angle and movement)
- Scene details (location and time of day)
- Action details (the content of each shot)
You can learn more about the nuances of these shot list templates by checking out the only shot list template you need.
Shot list terminology
Elements of a shot list
A good shot list efficiently delivers all the information a team needs for each piece of coverage. Let’s look at the information you’ll likely want to include.
- Scene number: The shot’s corresponding scene number, which is labeled in the script.
- Shot number/letter: Each shot’s own specific demarcation, allowing everyone to know which is which.
- Description: What is happening in the shot. The more to the point you can be, the better.
- Shot size: The framing– close-up, medium, wide, extreme wide, etc..
- Angle: Where the camera is placed. Eye level, low angle, high angle.
- Equipment: The necessary rigging to achieve the shot. This could be a tripod, a drone, a dolly, a crane, etc..
- Movement: Any camera moves that are required, such as pans, tilts, and dollies.
- Lens: The lens you want to shoot on. It’s important to mark the focal length.
- Frame rate: If you are only going to be shooting in 24 fps, this section may not be needed.
- Cast: Who of the actors will be in the shot.
- Notes: This will typically be filled in on set and reviewed by an editor, such as which take is best.
Now that we know what goes into one, let’s look at how to make a shot list.
Related Posts
How to create a shot list step-by-step
8 Steps to Make a Shot List
Shot lists require a lot of thinking and attention. For the step-by-step walkthrough, we're going to use StudioBinder's shot list software to visualize each step. Although we're using StudioBinder, the following process is universal — whether you're using software to create your shot list, or just a sheet of paper and a pen.
To start, this is what a shot list typically looks like...

A typical shot list • Made in StudioBinder
Here’s how to go about making your own shot list.
1. Read the Scene
First thing’s first, read what you want to film carefully. Take note of the scene’s story beats, as well as any actions that will need to be captured. Your guiding question: how can you film this scene in a way that services the story?
Traditionally, your next step would be to line your script, which refers to breaking down a screenplay in terms of required shots. A person would draw separate lines to represent each of these angles parallel to the script.
With StudioBinder, however, you can lay out your required shots more easily. Simply preview the script and tag specific moments with specific shots.

Tagging a scene with StudioBinder
Related Posts
2. Add Details to Each Shot
Now it’s time to fill out the list. For each shot that you’ve marked on your script, carefully consider each element that we listed out above. What camera angle do you want to use? Will there be camera movement? What camera lens will be best for framing?
Take your time during this process. The whole point of a shot list is that you don’t have to think on the fly. With StudioBinder, you can get creative by daisy chaining specs to create unique shots.

Populating a Shot List
StudioBinder Academy provides a free Intro to Shot Listing course that walks you through the step-by-step process of updating shot specs.
Intro to Shot Listing • How to populate a shot list
3. Include Images in Your Shot List
It can be hard to imagine what your shots are going to look like simply by reading through their specs. To make the conceptualizing easier, you can look for reference images from similar movies or photographs that have the general look you’re going for.
If you have a storyboard artist, or feel ambitious about drawing your own storyboard frames, that works as well.

List View
For a more image-centric view, StudioBinder makes it easy to swap the view type from list to a storyboard view. You can choose how many columns per row. Whether you prefer traditional 3-column view...

Storyboard View • Three Column
...Or a one-column storyboard, you have the option.

Storyboard View • Single Column
4. Get Feedback
Film is a collaborative medium. You don’t want to be the only person working on the shot list – get your director of photography or assistant director to weigh in. Generate "view-only" links so anyone that has the shot list link can see your latest changes. You can also invite collaborators to chime in with comments, or grant them "edit" access to modify the shot list directly.

Shot listing is better together
5. Include a Floor Plan
Planning with a shot list is great, but you can prepare even further with a floor plan. This is typically devised by the cinematographer, who will map out where different elements of the shot will be placed (from lights to camera to actors).
Upload floor plans via import, or you can use the webcam feature to snap a photo of your floor plan drawing...

Using the webcam to snap a photo
...then crop and fine-tune the image...

Finetuning images in StudioBinder
And now you have a floorplan on your shot list.

Shot list with a floorplan added
6. Group Into Setups
Now that you have your shots, and you know what will go into each one, it’s time to order them for production. This means ordering for maximum efficiency. If multiple different shots require the same lighting set up, you’ll want to do those shots together. It would be a waste of time to move lights only to have them put in the exact same spot later in the day.
You or your collaborators can group shots into setups. A DP and AD will likely be able to help, since they’ll be taking non-story factors into account, like actor schedule, time of day, etc.
In StudioBinder, you can add setups to your shot list to demarcate each coverage position.

Group your shots into lighting setups
7. Print the Shot List
You’re all done! But what good is a shot list if you don’t have it with you on set? Export your list as a PDF and print multiple copies so that you and other crew members can reference it throughout the shoot.
You can print different versions of your list for different crew members. Some might be more technical, some more visual, and others more bare bones.

Customize your PDF's layout
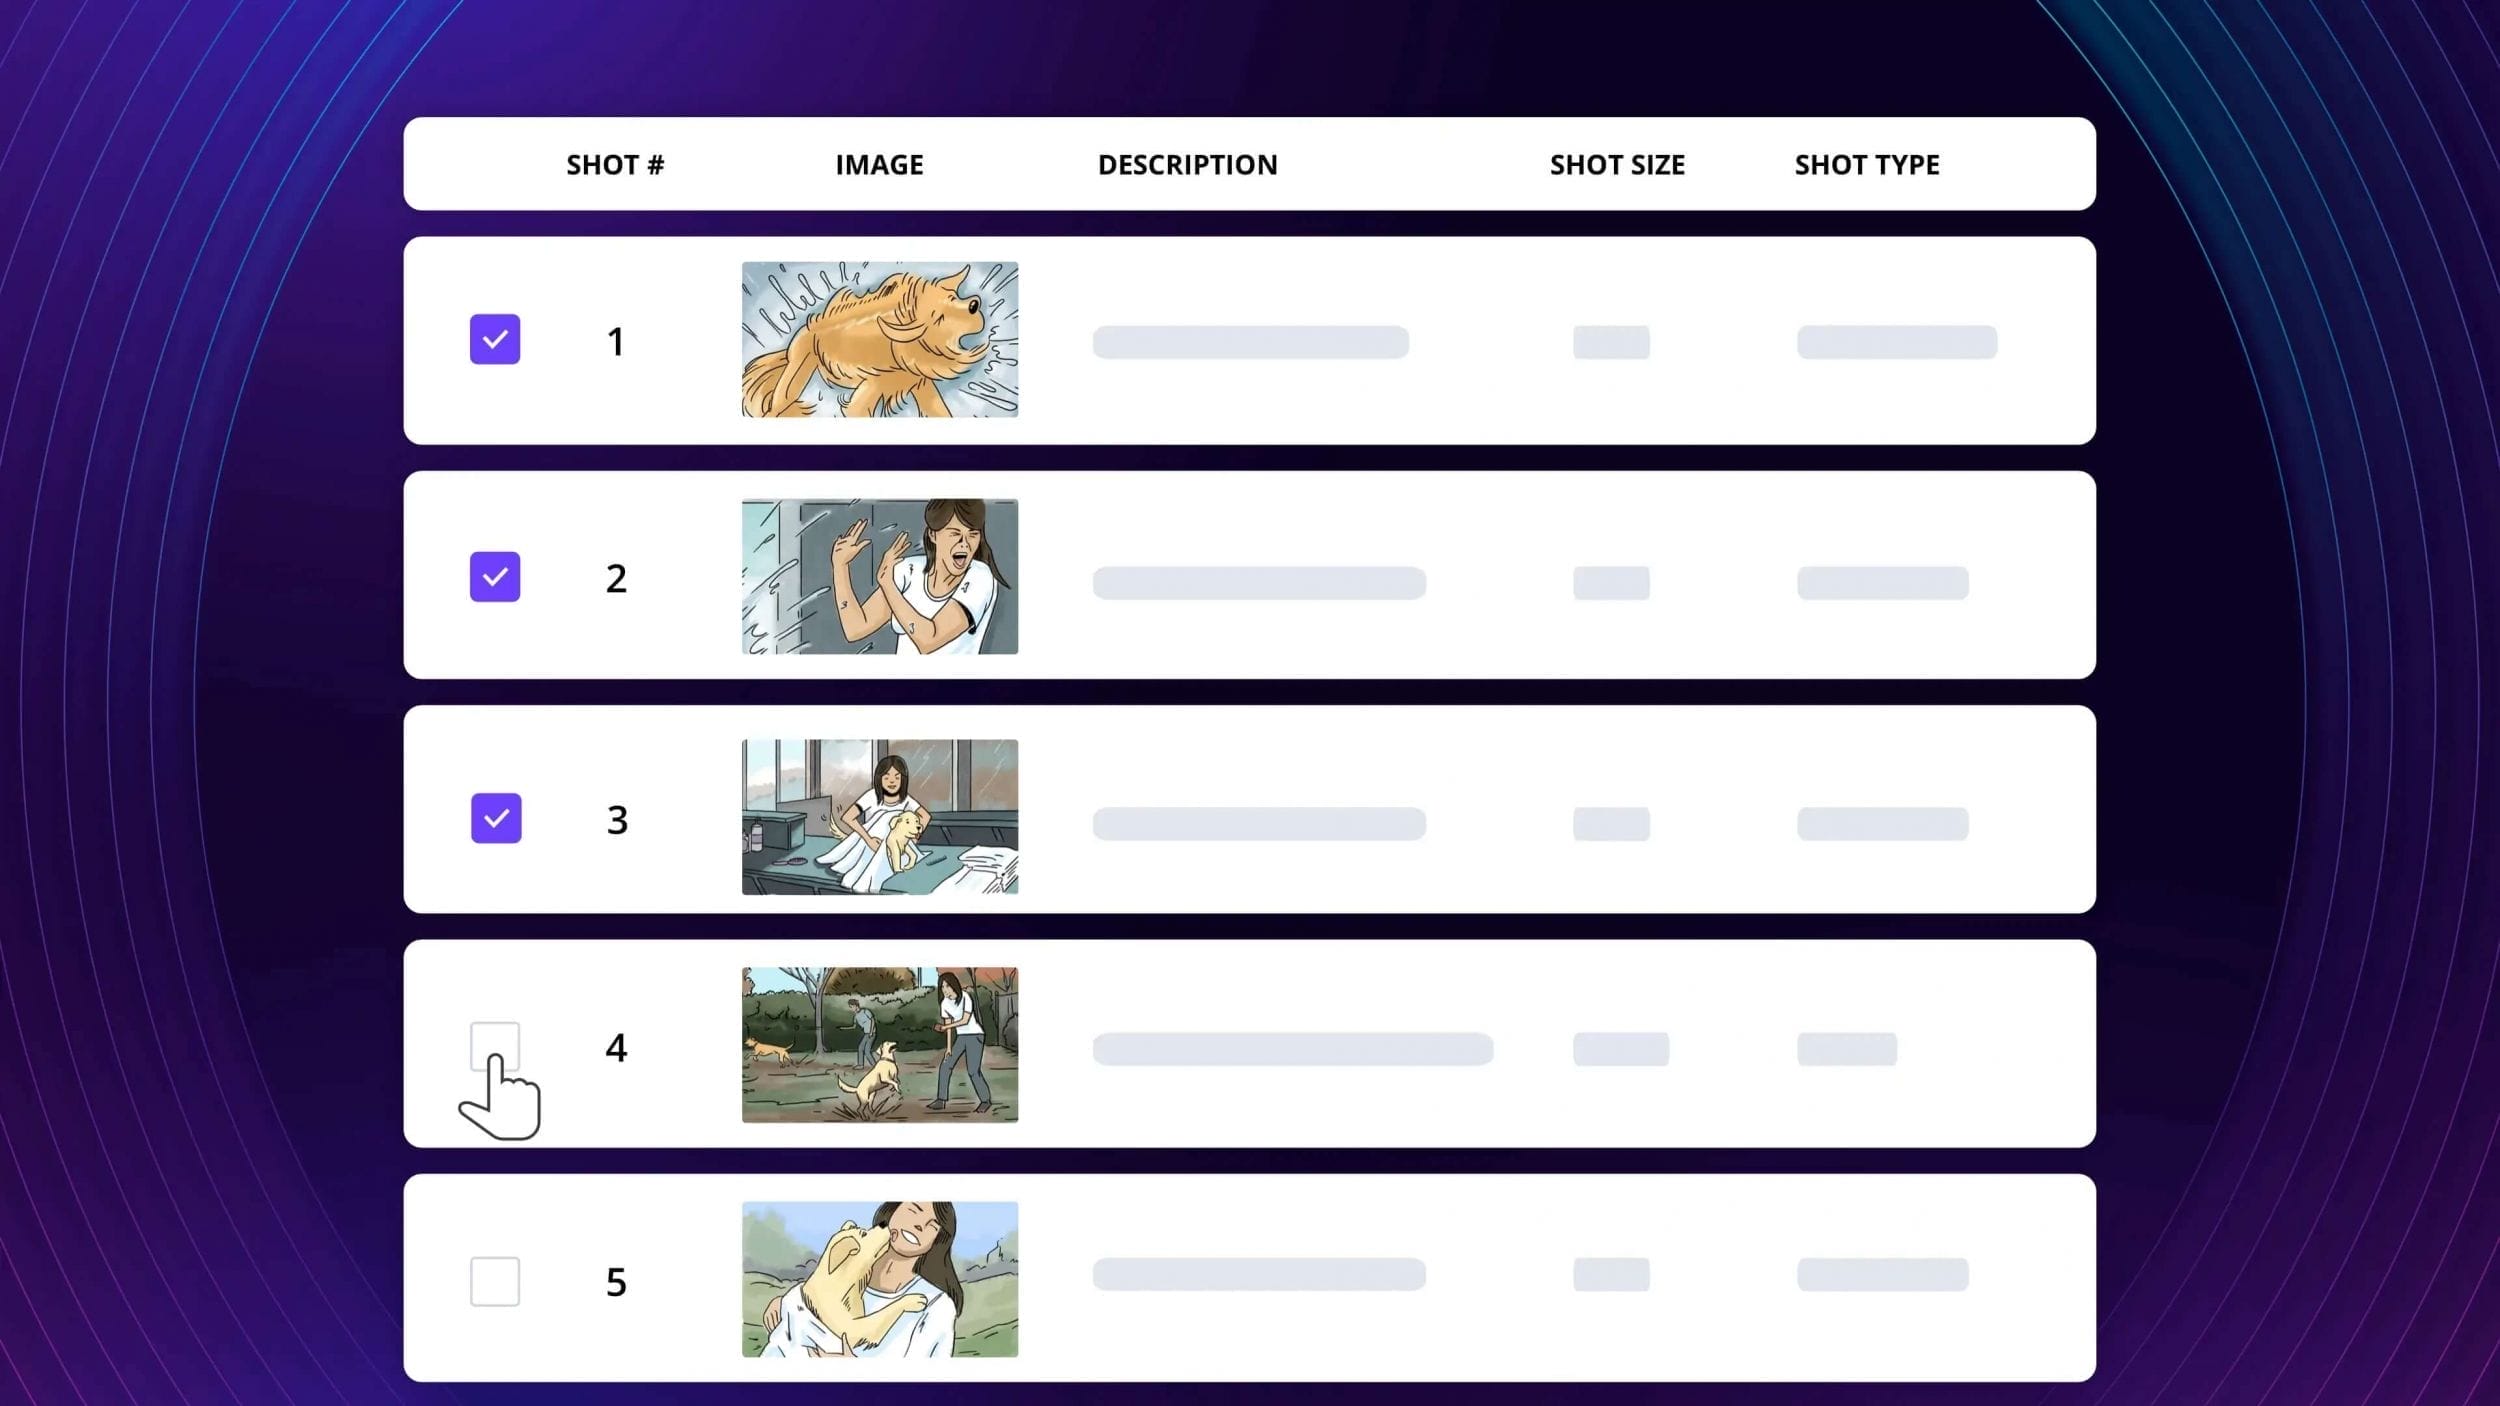
8. Check Off Shots as You Go
When you’re on set, you’ll want to mark which shots you’ve completed. You can access your list on your phone with StudioBinder. This allows you to quickly see which shots are needed as pickups the next time you log in. This process may also be completed by a script supervisor.
Shot lists are a great tool to stay organized and efficient during pre-production, production, and post-production. They ensure that your shots are thoroughly considered and captured.
Check off each shot that's "in the can"
Related Posts
Up next
Create a shot list of your own
Now that you know how to make a shot list, it's time to put all this practice into action. You've got a project burning a hole in your creative pocket. And you can even see how the scene plays out, shot by shot. Get started creating a visual representation of that vision and you'll be closer to seeing it come to life.
Up Next: StudioBinder Shot List Creator →

Showcase your vision with elegant shot lists and storyboards.
Create robust and customizable shot lists. Upload images to make storyboards and slideshows.
