As time goes on and technology evolves, new jobs being created within a production is inevitable. Creating and keeping track of all this is enough to drive anyone insane. Luckily, StudioBinder makes it easy by not only having a pre-set list of production jobs, but also by letting you add your own custom positions to fit your exact needs. Follow along for a step-by-step process on how to customize departments and roles.
Custom Roles Example
The Mandalorian crew list
Alright, full disclosure. I just watched Disney Gallery – Star Wars: The Mandalorian series. If you haven’t checked it out it’s definitely worth a watch. I love every episode, but episode four got me really excited for the future of filmmaking. It talks about the technology that was used to film the series. Long story short, they brought the location to the actors and used a video game engine to map the digital world. My description doesn’t do it justice but it’s really, really cool.
So, this peaked my interest and I decided to look up the crew list for The Mandalorian on IMDb Pro. I narrowed it down to episode, or as they refer to it, Chapter 1 and there were 969 people who are listed.
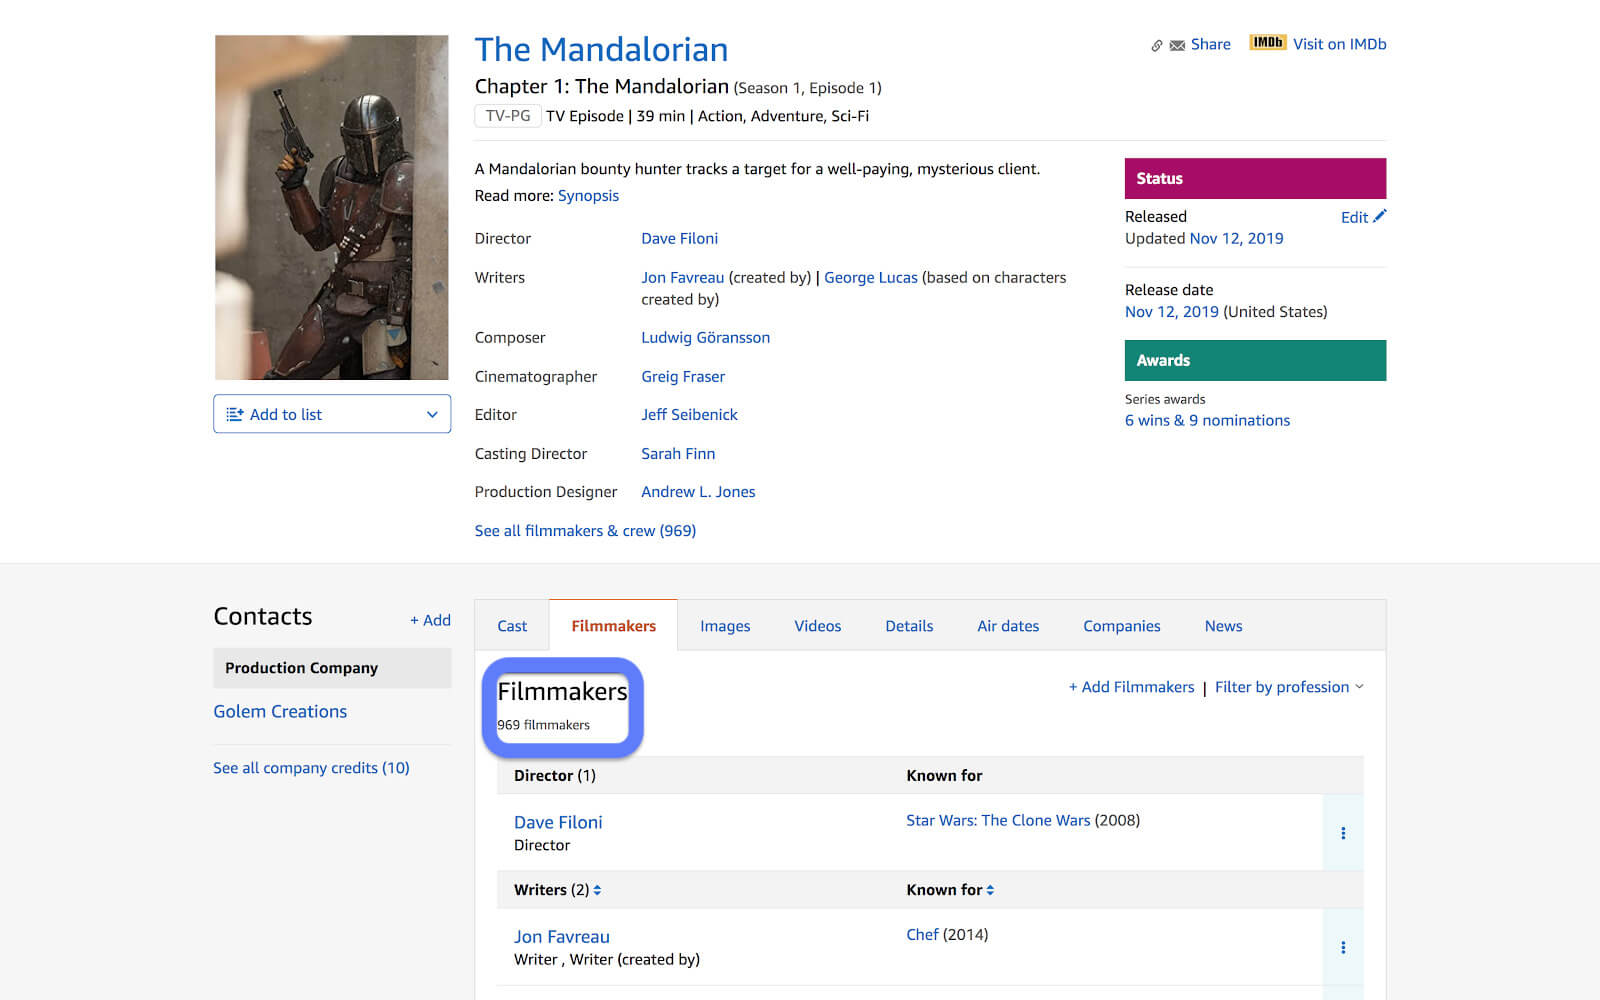
IMDb pro • The Mandalorian crew list
I then filtered down to just the visual effects department and it’s more than half of the entire list.
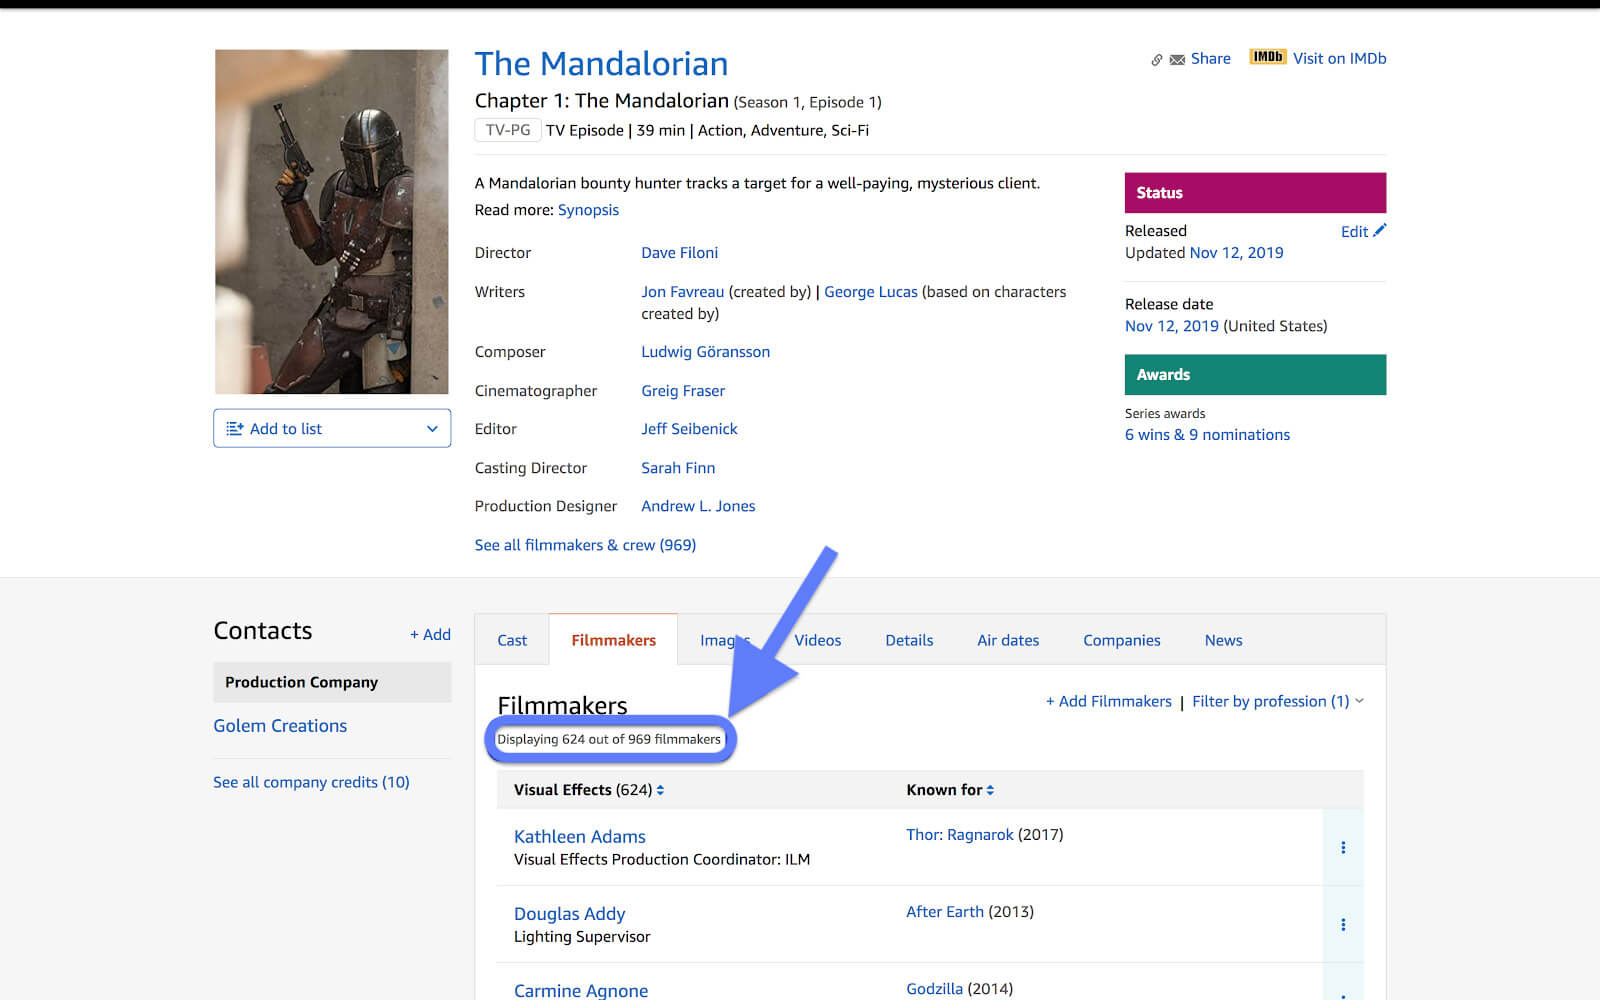
The Mandalorian crew list • Visual effects department
So, if we jump into StudioBinder and look at what the pre-existing list contains for the visual effects department…
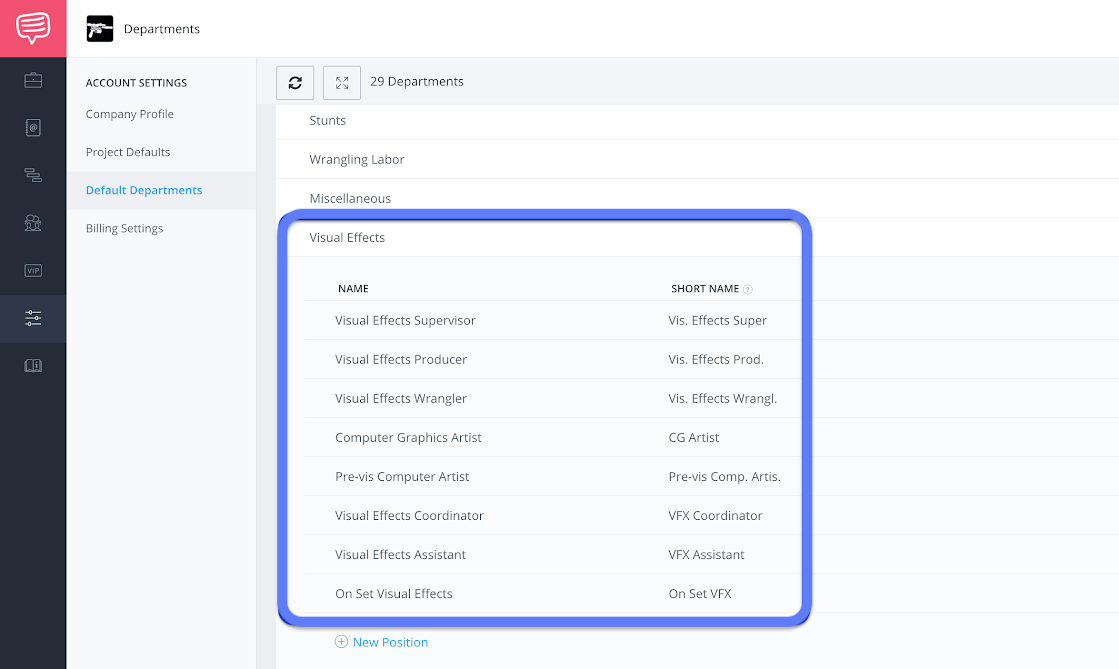
StudioBinder default departments page • Visual effects department
Just with a quick glance, you could see that this would need to be customized to fit the exact needs of The Mandalorian list.
For example, take a look at the second name on the visual effects list, Douglas Addy…
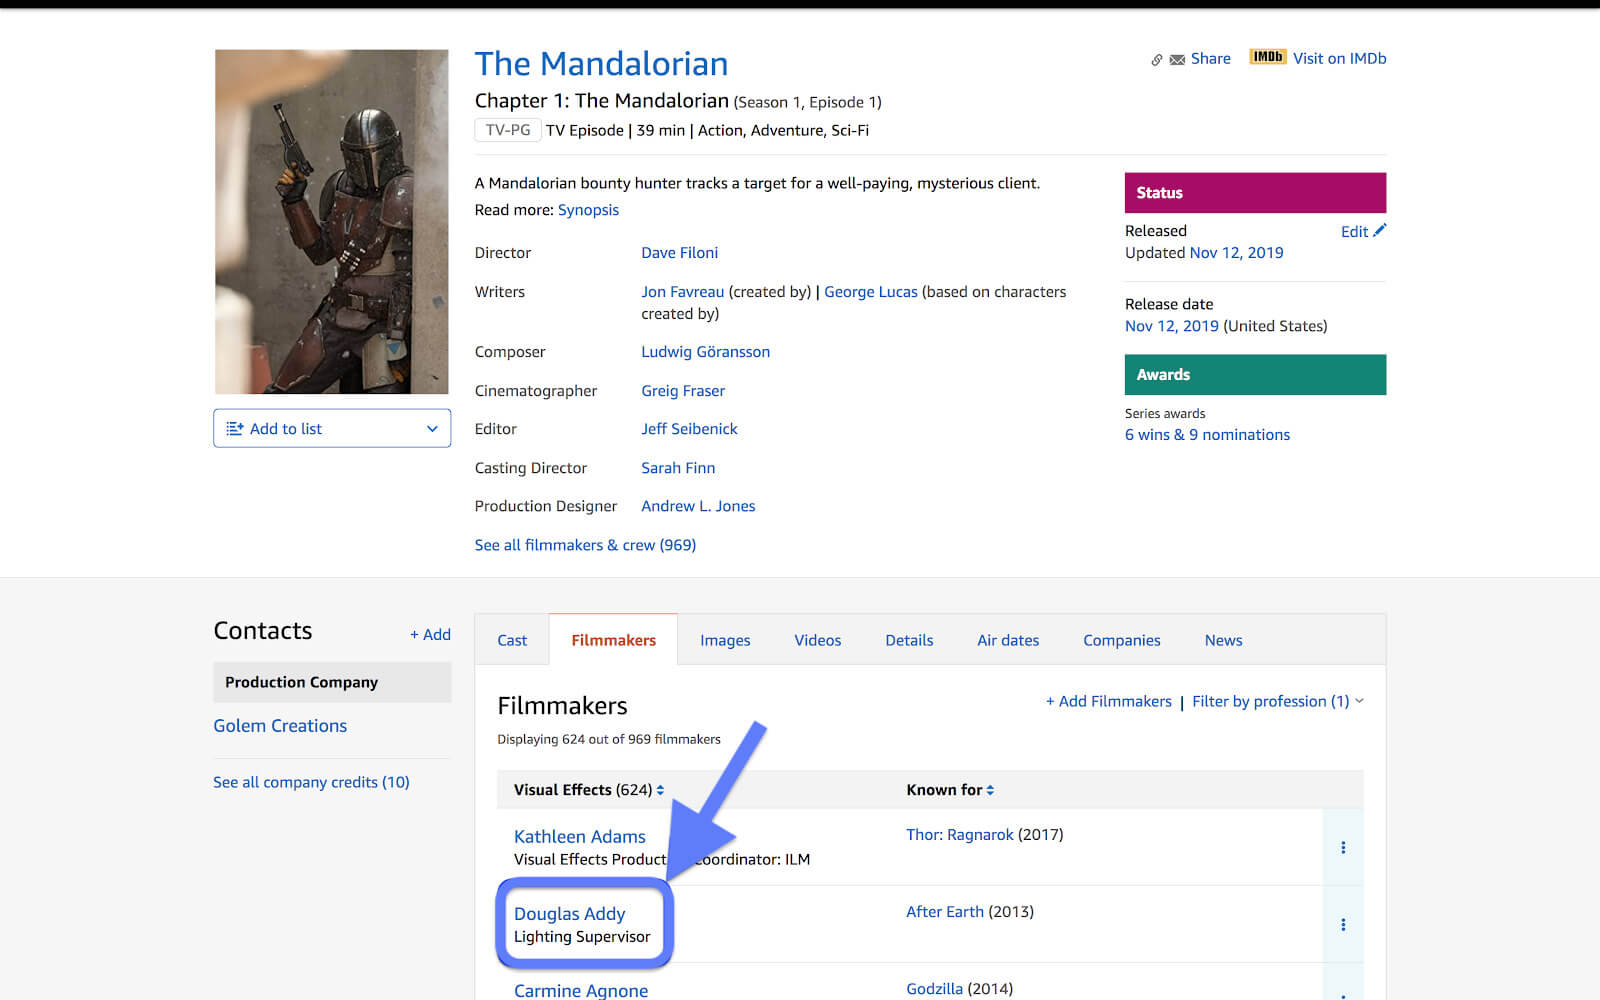
IMDb pro: The Mandalorian • Visual effects department
...the position of Lighting Supervisor does not appear on the list.
This is when you would need to create a custom role or position. So, let’s jump into StudioBinder to create the new role.
Company Settings
Step 1: Navigate to default departments
Ok, before we get started, I need to get some technical stuff out of the way. In StudioBinder, you have the option to edit the default departments for both the account as well as individual projects. If a new department or role is added to the account and a project has already been created, that project will have to be manually updated. I’ll also be touching on how to manage this from the call sheet builder a bit later. For this example, I’ll be adding the role from the account default departments page.
So, from the account dashboard, the first page you see when you log in...
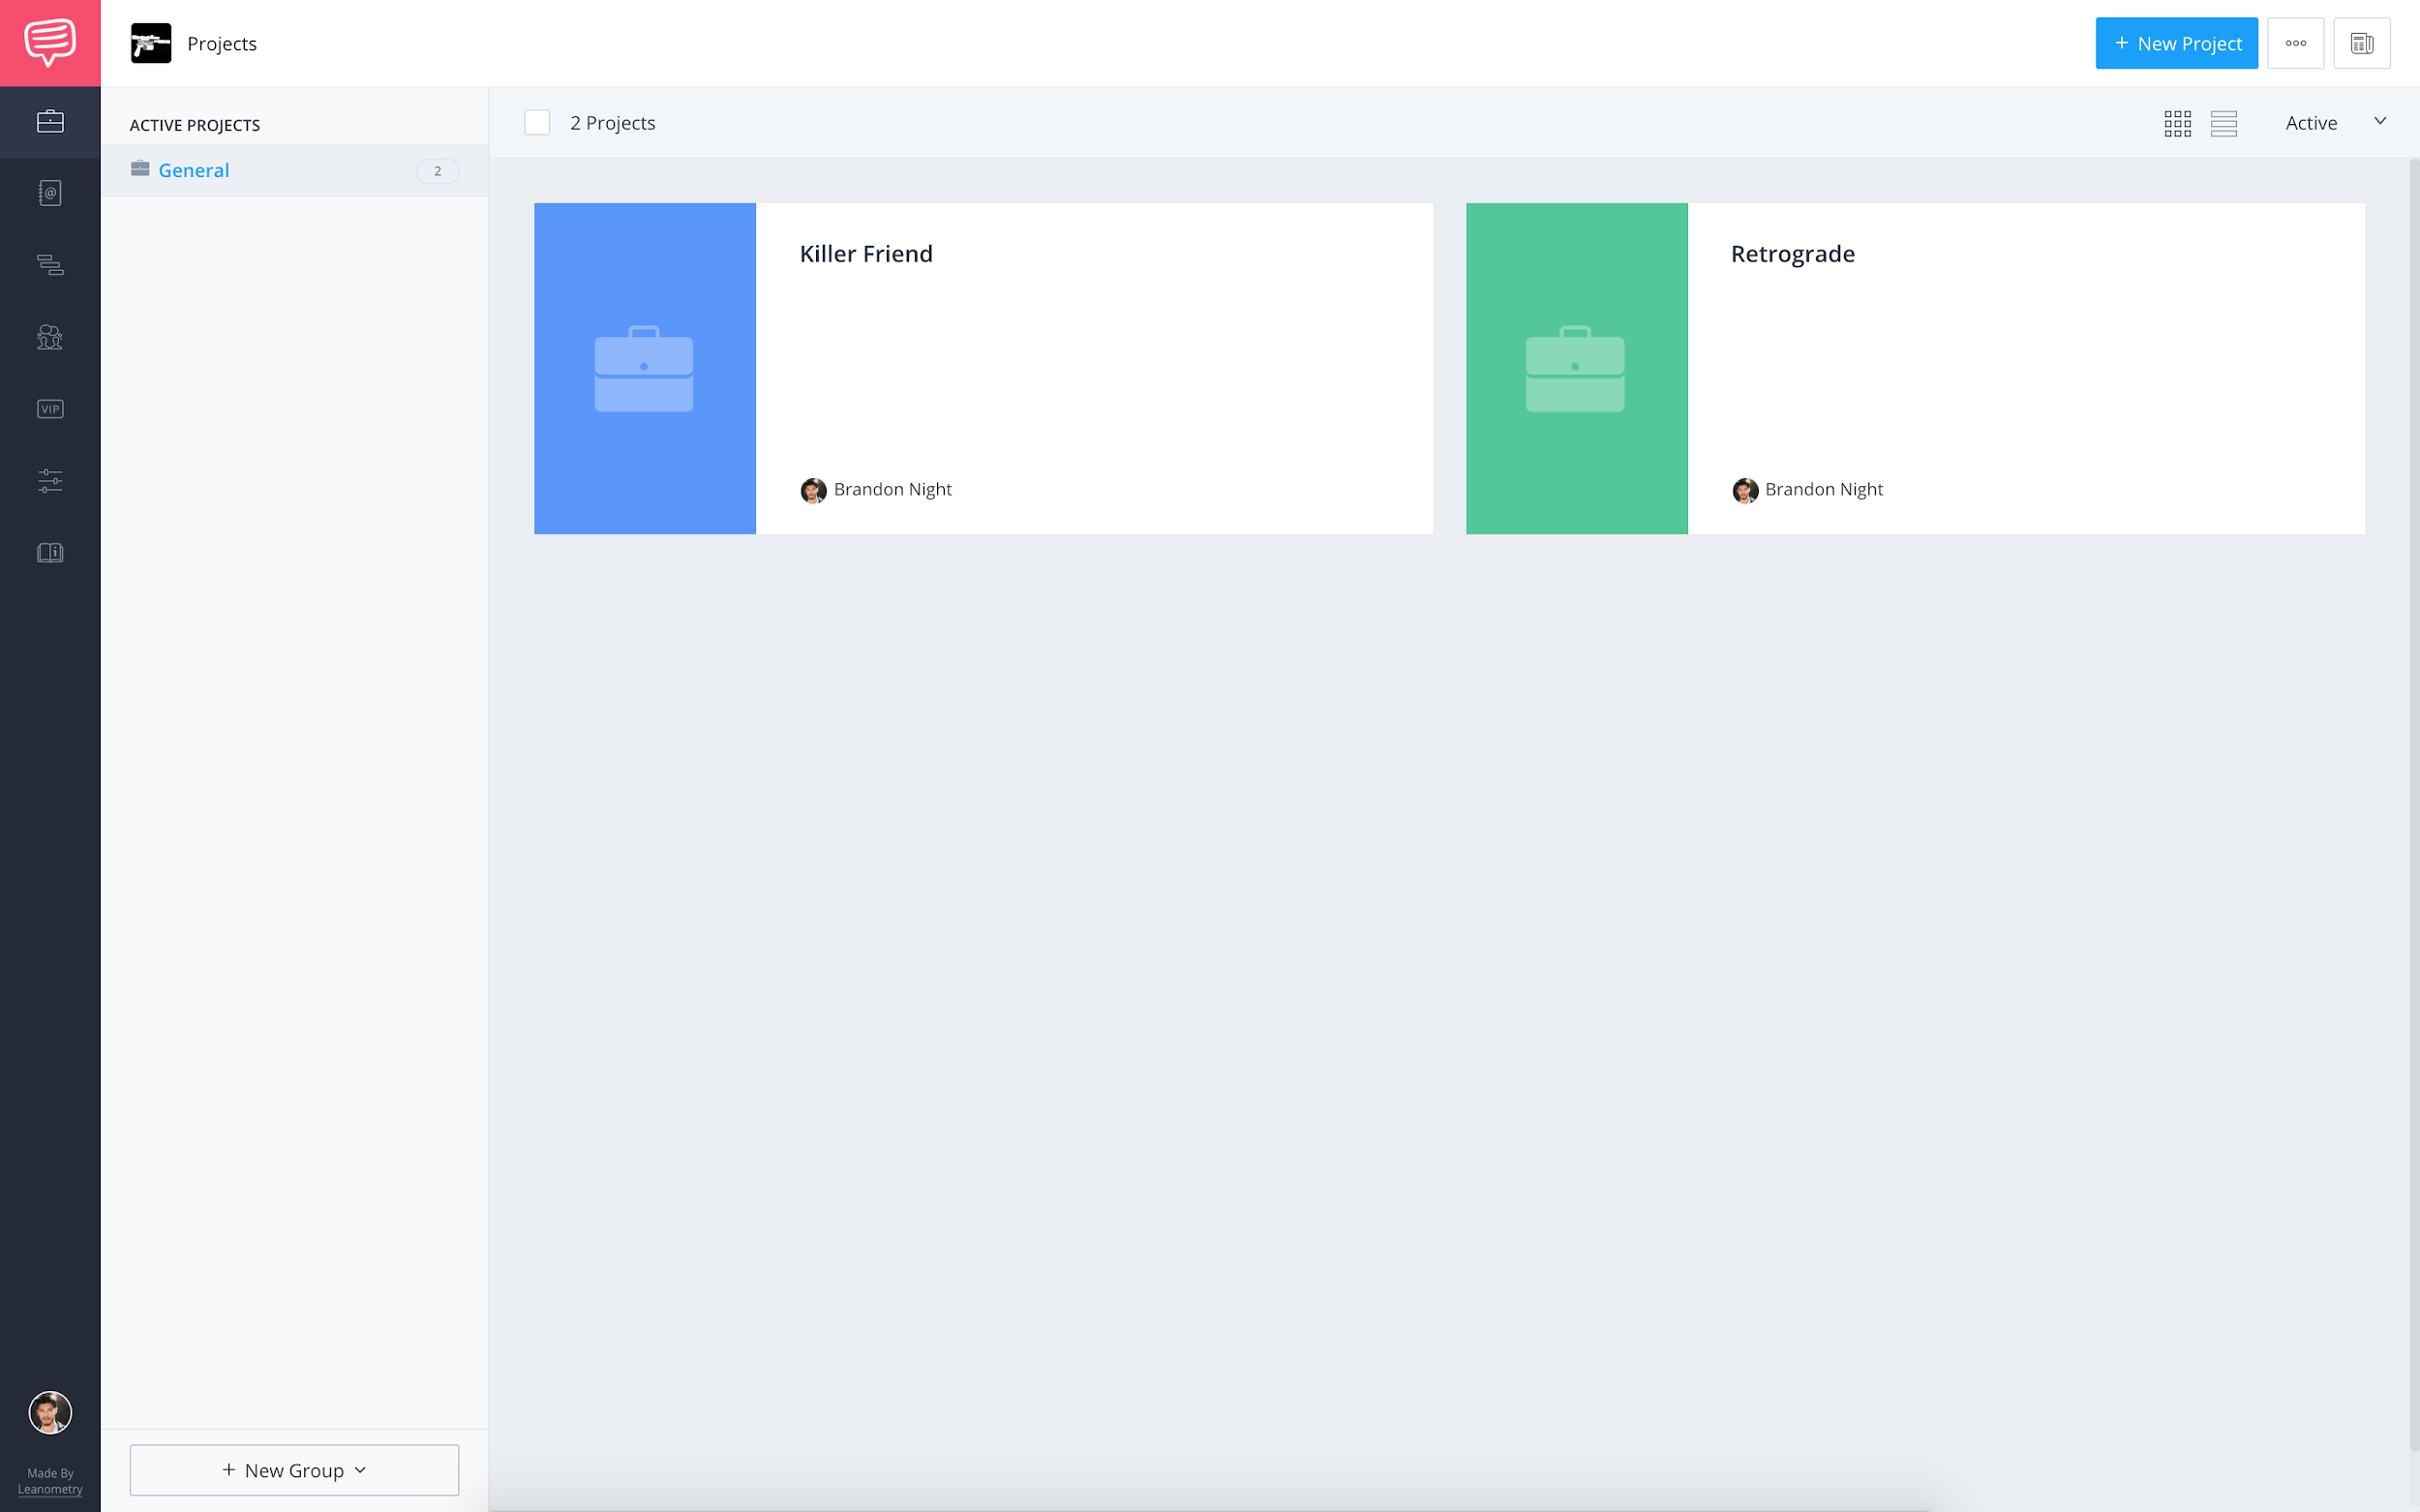
StudioBinder • Account dashboard
...click on the company settings button…

Navigation sidebar • Company settings button
...and then on default departments.

Company settings sidebar • Default departments
Now, with the default departments page up we can add the new role to the visual effects department.
Custom Role
Step 2: Add custom department/role
Alright, the advantage of having all of the information in StudioBinder is when you go to create call sheets, the contact’s department and role will automatically be imported for you.
So, from The Mandalorian example from above, the visual effects department does exist already within StudioBinder. Therefore, I’d just need to add the specific roles to that department. However, if I needed to add a new department, I’d just use the + New Department button.

Default departments • + New Department button
Ok, to add a new role, click show positions on the department strip…

Visual effects department strip • Click show positions
...then, click + New Position...

Visual effects department • Click + New Position
...now, you’ll be asked for the position name and position short name, from our example before the position is Lighting Supervisor. So, the short name could be Lighting Super.
Pro tip:
It’s important to fill out the short name as well as the full position title, as the short name is what will appear on the call sheet. There can and probably will be full position titles that are exactly the same as the short name.

Position name • Position short name
Then, click create and the new position will be added to the list.

Visual effects department • New position
You can then click and drag the position around to re-order the hierarchy. This modifies how the names are listed on the call sheet within each department.
So there you have it, new positions and departments are a breeze in StudioBinder. Once you’ve put a position in it will remain there, so, your list will keep growing and growing. Allowing you to stay at the cutting edge of technology.
But wait! There’s more. I mentioned earlier that you can also manage the departments and roles from the call sheet builder. Let’s jump over there to see how.
Call Sheet Builder
Step 3: Manage from call sheet builder
One of, if not the, main reasons for inputting contacts into StudioBinder is to eventually add them to a call sheet. Once a contact has been created, any information you input for them will be automatically imported into the call sheet, once they’ve been assigned as a recipient. Even better, is the ability to customize departments and roles directly from the call sheet builder.
For this I’m going to start a brand new call sheet, from the project overview page, click Call Sheets...

StudioBinder project overview page • Navigation sidebar: call sheets button
...then, click + New Call Sheet...

Call sheets page • Click +New Call Sheet
...fill in the call sheet details and click next...

Call sheet details page • Enter details and click next
...on the recipients page, add your recipients to the call sheet by clicking + Add Call Sheet Recipients…

Call sheet recipients page • Click + Add Call Sheet Recipients
...and then select the recipients and click add recipients.

Select recipients • Click + Add Recipients
Now, click next and this brings up the customize page of the call sheet builder. Scroll down to where you see the crew section.

Call sheet builder: customize page • Crew section
How the names are listed on the call sheet are determined by the default departments and roles that you have set for either the project or the overall account. Here on the customize page you have the ability to directly modify the hierarchy as well as add new departments and roles if needed.
To do this, click the manage button…

Call sheet builder: customize page • Click manage
This brings up the departments and roles page.

Call sheet builder: manage departments • Departments and positions
Here, you can reset the list to the default, add new departments/roles, make this current list your account default, or adjust the hierarchy.
For example, I would like the Writer/Director to appear first, so, I’ll drag the production strip to the top of the list.

Departments and positions • Adjust hierarchy
Now, when I click back to the call sheet, the production group has been moved to the top.

Departments and positions • Adjust hierarchy
So, there you have it. Managing departments and roles is always going to be an ongoing process. Luckily, with the aforementioned evolution of technology, such as production management software like StudioBinder, your job is that much easier. Cheers, to the future of filmmaking.
Related Posts
Your Move
Create your call sheet
Now it’s time to log in to your account and put everything you’ve just learned to practice. What are some custom departments/roles you use on your productions? Let us know in the comments below!
Up Next: How to Make a Call Sheet →
Share your vision with elegant shot lists and storyboards.
Create robust and customizable shot lists. Upload images to make storyboards and slideshows.

The manage button on the call sheet is gone with the new update. I have already created the custom position name/ short name and added it to the correct department. I have even assigned the new position name to the specific team members on our contact/ crew page. However, when I try to assign the new custom position name to those same team members on a call sheet it is not available as an option. This is very frustrating and I have not been able to find a user-friendly solution. Is there a way to achieve this without having to completely wipe out the call sheet that was made and start from scratch?
Contact support@studiobinder.com and they can help you out!